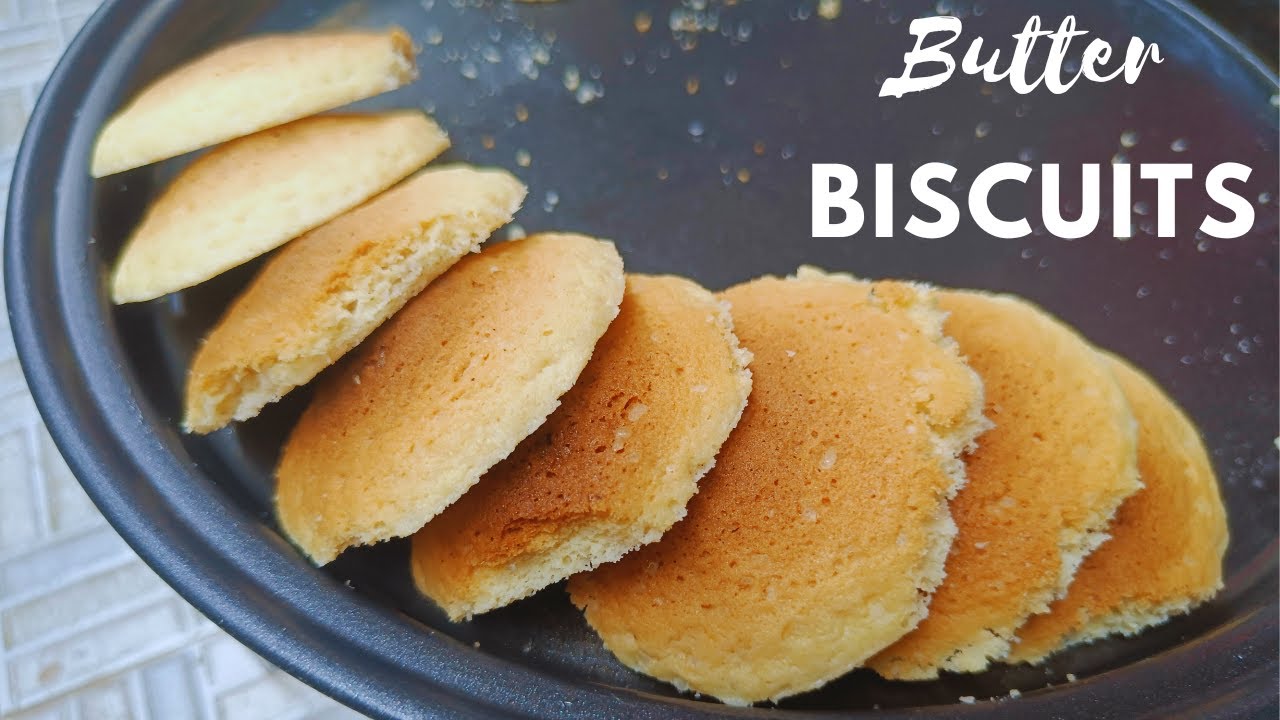
Butter Biscuit Recipe: Butter biscuits are one of those timeless baked treats that never go out of style. Soft on the inside, slightly crisp on the outside, and filled with the rich flavor of butter, they bring warmth to every bite. Whether served as a morning snack, an evening tea-time companion, or even a festive treat during holidays, butter biscuits have a universal charm.
The beauty of butter biscuits lies in their simplicity. With just a handful of pantry staples and a little effort, you can create a batch that rivals even the best bakery versions. And the best part? They are versatile—you can enjoy them plain, dress them up with sweet or savory add-ins, or pair them with spreads like jam, honey, or cream.
Why Butter Biscuits Are Loved Worldwide
Butter biscuits hold a special place across cultures. In Europe, they are often enjoyed with coffee or tea. In the U.S., they are a breakfast staple paired with gravy or jams. In Asia, they’re served as delicate tea-time snacks. This global love story of butter biscuits is proof of their universal appeal.
They are also beginner-friendly, making them a great entry point into baking for those who may feel intimidated by complicated recipes. Their buttery aroma fills the kitchen, creating a homely, inviting atmosphere. Who can resist that smell wafting from the oven?
Perfect Occasions for Butter Biscuits
From casual family breakfasts to holiday gatherings, butter biscuits fit every occasion. They’re great for:
- Festive celebrations like Christmas, Easter, and Thanksgiving.
- Everyday snacking, either plain or with spreads.
- Kids’ lunchboxes, as they’re both filling and fun.
- Special brunches, paired with tea, coffee, or gravy.
In short, whenever you want to add a touch of homemade warmth to your table, butter biscuits are the perfect go-to option.
Ingredients You’ll Need for Butter Biscuits
The magic of butter biscuits is that you don’t need anything fancy. A few basic ingredients, when combined in the right way, create something truly delightful.
Core Ingredients
Here’s a simple list of the must-have ingredients for traditional butter biscuits:
- All-purpose flour – the base structure.
- Butter – unsalted, cold, and cubed for that rich flavor.
- Baking powder – to give the biscuits their rise.
- Milk or buttermilk – adds moisture and softness.
- Salt – enhances flavor.
- Sugar – optional, for a hint of sweetness.
Each of these plays a role in shaping the final texture and flavor.
Optional Flavor Enhancers
Want to give your biscuits a unique twist? Try adding:
- Vanilla extract – for a warm aroma.
- Lemon zest – adds freshness.
- Honey or maple syrup – for natural sweetness.
- Cinnamon or nutmeg – for a cozy spice kick.
Ingredient Substitutes
If you’re missing something, don’t worry:
- Flour substitute – whole wheat flour can be used, though it gives a denser biscuit.
- Dairy-free butter – coconut oil or vegan butter works well.
- Milk substitute – almond milk, soy milk, or oat milk.
- Gluten-free option – gluten-free flour blend works with slight texture differences.
The beauty of butter biscuits is their adaptability—you can tweak them to your taste or dietary needs.
Kitchen Tools and Equipment Required
Before you begin, make sure you have the right tools ready. Baking is all about precision and preparation.
Must-Have Baking Tools
- Mixing bowls (large and medium)
- Measuring cups and spoons
- Rolling pin (optional, for shaping)
- Biscuit cutter or round cookie cutter
- Baking sheet
- Parchment paper or silicone baking mat
- Oven
Helpful Add-ons for Perfect Biscuits
- Pastry brush (for brushing butter or milk on top)
- Cooling rack (to prevent sogginess after baking)
- Food processor (helps mix butter and flour quickly)
- Dough scraper (useful for handling sticky dough)
While not all tools are essential, having them makes the baking process smoother and results more professional.
Step-by-Step Guide to Making Butter Biscuits
Step 1 – Preparing the Ingredients
Start by gathering all your ingredients and preheating the oven to 425°F (220°C). Cold ingredients, especially butter, are key here. Cut the butter into small cubes and keep it chilled until it’s time to mix. This ensures flaky layers in your biscuits.
Measure your dry ingredients—flour, baking powder, salt, and sugar—accurately. Precision in measurement is critical for consistent results. Sift the flour for a lighter texture, which will help create fluffier biscuits.
Step 2 – Mixing the Dough
Combine the flour mixture with cold butter using a pastry cutter or your fingertips. The goal is to create a crumbly, sand-like texture with pea-sized butter pieces distributed throughout. These butter pockets will melt during baking, creating that irresistible flakiness.
Next, add milk (or buttermilk) gradually, mixing until the dough just comes together. Avoid overmixing, as it can make the biscuits tough instead of tender. The dough should be slightly sticky but manageable.
Step 3 – Shaping the Biscuits
Once your dough has come together, transfer it onto a lightly floured surface. This is where the fun begins! Gently pat or roll out the dough until it’s about ½ to ¾ inch thick. Keep in mind, the thickness of the dough will determine how tall and fluffy your biscuits turn out.
Now, grab your biscuit cutter or a round cookie cutter. Dip it lightly in flour to prevent sticking, then press straight down into the dough. Avoid twisting the cutter—it seals the edges and prevents the biscuits from rising properly. Place each cut-out biscuit onto a lined baking sheet, leaving a little space between each one so they have room to expand.
If you don’t have a cutter, no worries! You can simply shape the dough into a rectangle and cut square biscuits with a knife. They might look rustic, but they’ll taste just as delicious. Leftover dough scraps can be re-rolled once or twice, but avoid handling it too much—this keeps the biscuits tender instead of dense.
Pro Tip:
For extra flavor and a golden crust, brush the tops of the biscuits with a little milk, cream, or melted butter before baking.
Step 4 – Baking to Perfection
Preheat your oven to 425°F (220°C) if you haven’t already. Slide the baking sheet into the hot oven and bake the biscuits for 12–15 minutes, or until they are golden brown on top. The aroma of butter will start to fill your kitchen, signaling that perfection is near.
Keep an eye on them after the 10-minute mark, as oven temperatures can vary. You want a light golden color with a crisp edge, not an overly browned top.
When done, remove the biscuits from the oven and let them rest on the baking sheet for 2–3 minutes before transferring to a cooling rack. This helps set their structure without making the bottoms soggy.
Step 5 – Cooling and Serving
Although it’s tempting to eat them straight out of the oven, give your biscuits a few minutes to cool. This allows the inside to set properly. Serve them warm with butter, honey, jam, or even savory options like gravy or cheese.
Butter biscuits are incredibly versatile—you can enjoy them plain as a snack, or pair them with meals for added comfort. Their light, flaky layers make every bite satisfying, and they taste just as good reheated the next day.
Whether you’re enjoying them for breakfast, brunch, or tea-time, these golden treats are guaranteed to impress your family and guests.
Expert Tips for the Best Butter Biscuits
How to Achieve the Perfect Fluffiness
- Use cold butter and milk. Cold ingredients help create steam during baking, which results in fluffy layers.
- Don’t overwork the dough. The less you knead, the lighter your biscuits will be.
- Layer the dough. Folding the dough a few times before cutting creates buttery, flaky layers, similar to puff pastry.
Avoiding Common Baking Mistakes
- Too much flour? Your biscuits will be dry and crumbly. Always measure carefully.
- Overbaking? This will lead to hard, crunchy biscuits instead of soft ones. Watch your oven closely.
- Cutting with a twisting motion? That seals the edges and prevents rise. Always press straight down with your cutter.
- Crowding the pan? Give biscuits space so they bake evenly and rise beautifully.
If you follow these golden rules, you’ll achieve biscuits that are light, buttery, and irresistibly fluffy every time.
Creative Variations of Butter Biscuits
Sweet Additions (Chocolate Chips, Nuts)
If you’ve got a sweet tooth, you can easily turn your butter biscuits into dessert-style treats:
- Chocolate chip biscuits – fold in chocolate chips before shaping the dough.
- Nutty crunch – add chopped pecans, almonds, or walnuts.
- Fruit-filled biscuits – mix in dried cranberries, raisins, or blueberries for bursts of flavor.
- Glazed topping – drizzle with a simple sugar glaze after baking for extra sweetness.
Savory Twists (Herbs, Cheese, Garlic)
Prefer something more savory? Try these flavor-packed options:
- Cheddar biscuits – add shredded cheddar cheese into the dough.
- Garlic butter biscuits – brush the tops with garlic-infused butter before baking.
- Herb biscuits – mix in rosemary, thyme, or chives for an aromatic touch.
- Spicy kick – sprinkle in paprika or chili flakes for heat.
The best part? You can experiment endlessly. Sweet or savory, butter biscuits can be customized to match your taste or the occasion.
Storing and Preserving Butter Biscuits
One of the best things about butter biscuits is that they store beautifully, making them perfect for meal prep or quick snacks. However, to maintain their softness and flavor, you’ll need to store them correctly.
Best Storage Practices
After baking, allow your biscuits to cool completely. Once cooled, place them in an airtight container or zip-lock bag. At room temperature, they will stay fresh for about 2–3 days. If your kitchen is humid, it’s best to refrigerate them to avoid sogginess.
For short-term storage, wrapping each biscuit in plastic wrap and then placing them in a container helps keep them soft and moist. To reheat, simply pop them in the microwave for 10–15 seconds or warm them in the oven for a few minutes.
Freezing and Reheating Methods
Butter biscuits freeze exceptionally well. You can freeze them before baking (unbaked dough rounds) or after baking (fully cooked biscuits).
- Freezing unbaked dough: Place shaped biscuits on a tray and freeze until solid. Then transfer to a freezer-safe bag. When ready, bake straight from frozen—just add 3–5 extra minutes to the baking time.
- Freezing baked biscuits: Let them cool, wrap tightly in foil or plastic wrap, and freeze. When needed, thaw at room temperature or reheat directly in the oven until warm.
This way, you’ll always have a batch of fresh, homemade butter biscuits ready at your fingertips.
Serving Ideas and Pairings
Butter biscuits are incredibly versatile, and pairing them with the right foods elevates the experience.
Breakfast Pairings
Start your day with warm biscuits alongside:
- Scrambled eggs and bacon
- Sausage gravy (a Southern classic)
- Butter and honey for a simple, sweet touch
- Fresh fruit and yogurt for a lighter option
Dessert Pairings
Turn your biscuits into a dessert masterpiece:
- Strawberries and whipped cream (like strawberry shortcake)
- Chocolate sauce drizzle
- Ice cream sandwich using butter biscuits as the “cookies”
- Jam or preserves for a fruity punch
Tea-Time Snacks
For a cozy afternoon, biscuits pair beautifully with tea or coffee. Try them with:
- Herbal tea and honey biscuits
- Coffee and cinnamon-spiced biscuits
- Green tea with lemon zest biscuits
No matter the occasion, there’s always a perfect pairing for butter biscuits.
Nutritional Value of Butter Biscuits
Butter biscuits may taste indulgent, but it’s always good to know what’s inside them.
Calorie Breakdown
On average, one medium-sized butter biscuit (about 50g) contains:
- Calories: 150–200
- Carbohydrates: 20–25g
- Fat: 7–10g
- Protein: 2–4g
- Fiber: 1–2g
Of course, the exact values depend on the recipe and portion size.
Healthier Alternatives
If you want to enjoy butter biscuits more often without guilt, try these swaps:
- Whole wheat flour for added fiber
- Greek yogurt in place of some butter for reduced fat
- Plant-based milk for a dairy-free version
- Natural sweeteners like honey instead of refined sugar
This way, you can enjoy the comfort of butter biscuits while keeping them a bit more waistline-friendly.
FAQs about Butter Biscuit Recipe
Q1: Can I make butter biscuits without baking powder?
Yes, but they won’t rise as much. You can substitute with self-rising flour or a mix of baking soda and cream of tartar.
Q2: Why are my biscuits dense instead of fluffy?
You may have overmixed the dough or used warm butter. Keeping ingredients cold and handling the dough lightly ensures fluffiness.
Q3: Can I make biscuits ahead of time?
Absolutely. You can prepare the dough in advance and refrigerate it for up to 24 hours before baking.
Q4: What’s the difference between cookies and butter biscuits?
Cookies are generally sweeter and softer, while butter biscuits are lighter, flakier, and often less sweet.
Q5: How do I keep biscuits soft after baking?
Store them in an airtight container with a slice of bread inside—the bread helps maintain moisture.
Conclusion
Butter biscuits are a timeless comfort food that never fails to bring joy. With just a few simple ingredients, you can whip up fluffy, golden, buttery biscuits that are perfect for any occasion. Whether served plain, paired with savory meals, or transformed into sweet treats, these biscuits are versatile, delicious, and deeply satisfying.
By following the step-by-step guide, experimenting with variations, and using the storage tips, you’ll always have a batch of warm, homemade biscuits to share with family and friends. So, the next time you’re craving a cozy baked good, skip the store-bought and try making butter biscuits from scratch—you’ll taste the difference in every bite.


