Ricotta Cheese Recipe: Ricotta cheese is one of the most versatile and delicious cheeses you can make at home. It’s creamy, soft, and has a mild flavor that works well in both sweet and savory dishes. While store-bought ricotta is convenient, nothing beats the fresh, warm, and velvety texture of homemade ricotta. It only requires a handful of ingredients and very little effort, making it an ideal recipe even for beginners.
Why Make Ricotta Cheese at Home?
You may be wondering why you should bother making ricotta cheese when you can easily buy it from a grocery store. The answer lies in freshness, cost, and quality. Homemade ricotta doesn’t contain preservatives, stabilizers, or unnecessary additives. It is pure, rich, and far more flavorful than store-bought options. Additionally, making it at home is surprisingly budget-friendly. With just milk, an acid (like lemon juice or vinegar), and a pinch of salt, you can create a batch of ricotta in less than an hour.
Another reason is flexibility—you control the texture and flavor. Do you like it creamier for desserts like cheesecakes? Or do you prefer a firmer ricotta for lasagna? With homemade ricotta, you decide. This customization is something store-bought ricotta can’t offer.
The Taste Difference Between Store-Bought and Homemade Ricotta
Store-bought ricotta tends to be slightly grainy and sometimes watery due to packaging and transportation. Homemade ricotta, on the other hand, has a delicate creaminess with a fresh, milky taste that melts in your mouth. You can literally taste the difference because it hasn’t been sitting in a container for days. Many home cooks who try making ricotta once never go back to the packaged variety.
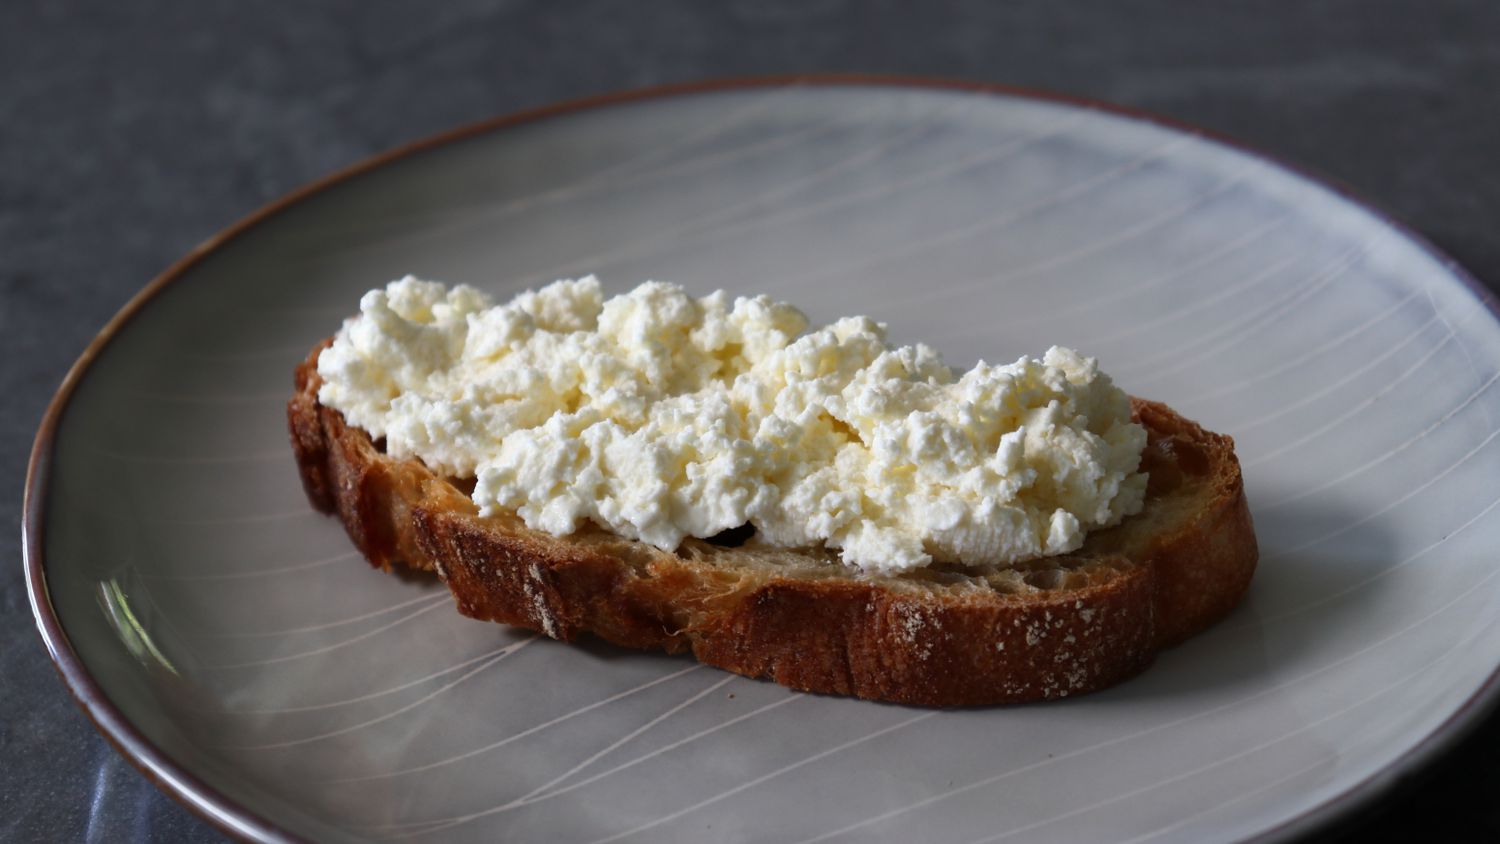
Imagine spreading fresh ricotta on warm toasted bread with a drizzle of honey or stuffing it inside pasta shells with spinach—it’s heavenly. And the best part? You’ll know exactly what’s in your cheese—just simple, wholesome ingredients.
Ingredients You’ll Need
The magic of ricotta cheese lies in its simplicity. You don’t need exotic ingredients or fancy equipment. Most of the essentials are already in your kitchen.
Essential Ingredients for Ricotta Cheese
To make classic ricotta cheese, you’ll need:
- Whole Milk (1 gallon) – Fresh, high-quality milk works best. Avoid ultra-pasteurized milk, as it won’t form curds properly.
- Heavy Cream (1 cup, optional) – Adds richness and creaminess, but you can skip if you prefer a lighter ricotta.
- Acid (1/3 cup lemon juice, vinegar, or citric acid) – This helps curdle the milk to separate curds from whey.
- Salt (½ teaspoon) – Enhances the flavor of your cheese.
That’s it! Four ingredients to create something that tastes like a gourmet delicacy.
Alternative Ingredients and Substitutes
- Milk Options: You can experiment with goat’s milk or sheep’s milk for a different flavor profile. Each type adds its own character to the cheese.
- Acid Options: If you don’t have lemon juice, vinegar works just as well. Some people prefer citric acid because it gives more consistent results.
- Dairy-Free Option: While true ricotta is dairy-based, there are plant-based alternatives using almond milk or soy milk, but the method differs slightly.
Tools and Equipment Required
Besides ingredients, here’s what you’ll need:
- A large heavy-bottomed pot (to prevent scorching milk)
- A thermometer (helps monitor milk temperature accurately)
- A fine-mesh strainer or cheesecloth (to separate curds from whey)
- A large spoon or ladle (to stir gently)
- A bowl (to catch the whey during straining)
These simple tools ensure your ricotta turns out perfect every time.
Step-by-Step Guide to Making Ricotta Cheese
Making ricotta cheese may sound intimidating, but trust me—it’s easier than baking a cake. The process involves heating milk, adding acid, and letting the curds separate from the whey. Let’s break it down step by step.
Step 1 – Preparing Your Ingredients
Before you begin, gather all your ingredients and tools. This makes the process smooth and stress-free. Pour your milk and cream into the pot, measure out your acid (lemon juice, vinegar, or citric acid solution), and have salt ready. Also, line a strainer with cheesecloth over a bowl so it’s prepared when the curds are ready.
Preparation is key here. Once the milk starts heating, you’ll need to act quickly. Having everything within arm’s reach ensures you won’t scramble at the last moment.
Step 2 – Heating the Milk Mixture
Now it’s time to bring your milk to life. Place the pot over medium heat and slowly warm the milk and cream. Stir occasionally to prevent scorching at the bottom. Use a thermometer to monitor the temperature. You’re aiming for about 190°F (88°C)—just below boiling.
As the milk heats up, you’ll notice steam rising and small bubbles forming around the edges. Be patient here; don’t rush by cranking the heat up high. Gentle heating ensures a smooth, creamy ricotta.
Step 3 – Adding the Acid and Allowing Curd Formation
Once your milk reaches around 190°F (88°C), it’s time for the magic to happen. Slowly pour in your acid—whether it’s lemon juice, vinegar, or a citric acid solution—while gently stirring. Within seconds, you’ll notice the milk beginning to curdle. White curds will start forming and separating from the yellowish liquid (whey).
This is the most satisfying step of the whole process. You’ll actually see the transformation happening right before your eyes. After adding the acid, stop stirring and let the mixture sit undisturbed for about 10 minutes. This resting period allows the curds to fully develop and clump together.
A common mistake beginners make is over-stirring. Resist the temptation! Over-mixing breaks up the curds, leading to a grainy or mushy texture instead of soft and fluffy ricotta. Just let nature do its work.
If your milk doesn’t seem to curdle right away, don’t panic. Sometimes, depending on the milk or acid strength, it may take a few extra minutes. Just give it time and keep an eye on it. Soon, you’ll have a beautiful pot of soft curds floating in whey.
Step 4 – Draining the Curds and Removing Whey
Now comes the step that turns curdled milk into ricotta cheese—draining. Using a ladle, carefully transfer the curds into your prepared strainer lined with cheesecloth. Allow the whey to drain naturally into the bowl below.
Here’s where you control the texture of your ricotta:
- For Creamy Ricotta – Drain for just 5–10 minutes, leaving more moisture in the curds. Perfect for desserts like cheesecakes or spreads.
- For Firmer Ricotta – Drain for 20–30 minutes until most of the whey is gone. Great for lasagna, stuffed pasta, or baking.
If you want an even creamier texture, you can gently fold in a spoonful of cream after draining. On the other hand, for a lighter ricotta, skip the cream altogether.
Don’t throw away the leftover whey! It’s full of nutrients and can be used in bread dough, soups, smoothies, or even as plant fertilizer. Many traditional recipes use whey as a cooking liquid, so it’s a bonus product of your ricotta-making process.
Step 5 – Storing and Using Homemade Ricotta
Once your ricotta has drained to your desired consistency, transfer it to an airtight container. Add a sprinkle of salt for extra flavor and store it in the refrigerator. Fresh ricotta tastes best when eaten right away, but it can last 3–4 days in the fridge if stored properly.
Homemade ricotta is incredibly versatile. You can spread it on toast with honey and fresh fruit, mix it into pasta sauces, or stuff it into ravioli. It also works beautifully in desserts—think cannoli, pancakes, or even as a creamy layer in cakes.
If you want to extend its shelf life a bit longer, you can freeze ricotta, but note that freezing changes the texture slightly. It may become crumbly after thawing, making it better suited for cooked dishes rather than fresh spreads.
The beauty of making ricotta at home is that it’s fresh, wholesome, and made exactly how you like it. Once you’ve tasted it, you’ll never look at store-bought ricotta the same way again.
Tips for Perfect Ricotta Cheese
Homemade ricotta is simple, but small mistakes can affect the final product. Let’s go over a few expert tips so your ricotta turns out perfect every time.
Common Mistakes to Avoid
- Using Ultra-Pasteurized Milk – This type of milk doesn’t curdle well, leaving you with a watery mess instead of fluffy cheese. Always use regular pasteurized or raw milk.
- Overheating the Milk – Heating milk beyond boiling can scorch it and ruin the flavor. Stick to 190°F for best results.
- Adding Too Much Acid – Using more acid than needed can make ricotta rubbery and overly sour. Stick to the recipe measurements.
- Over-Stirring After Adding Acid – Stirring too much breaks curds apart. Once the curds form, let them sit peacefully.
- Draining Too Long – If you leave ricotta draining for hours, it’ll dry out and lose its soft, creamy charm.
How to Adjust Texture and Flavor
- For a Softer Cheese – Add a splash of cream before serving.
- For a Firmer Cheese – Drain longer and press gently with a spoon.
- For a Richer Flavor – Add herbs like basil, thyme, or rosemary, or stir in roasted garlic for a savory twist.
- For a Sweet Ricotta – Mix in honey, vanilla, or cinnamon for a dessert-ready spread.
Homemade ricotta isn’t just cheese—it’s a blank canvas. Whether you want something light and fluffy or rich and indulgent, you can adjust it to suit your taste.
Creative Ways to Use Ricotta Cheese
Now that you’ve mastered making ricotta, the fun part begins—eating it! Ricotta is one of the most versatile ingredients in the kitchen. It works in savory dishes, desserts, and even simple snacks.
Savory Recipes with Ricotta
- Lasagna – Layer creamy ricotta between pasta sheets, meat sauce, and mozzarella for a classic Italian comfort food.
- Stuffed Shells or Cannelloni – Fill pasta shells with ricotta, spinach, and herbs, then bake with marinara sauce.
- Ricotta Toast – Spread on toasted sourdough and top with roasted tomatoes, avocado, or smoked salmon.
- Pizza Topping – Dollop fresh ricotta on pizza for a creamy finish.
- Ricotta Gnocchi – Replace potatoes with ricotta for light, pillowy gnocchi.
Sweet Recipes with Ricotta
- Cheesecake – Use ricotta instead of cream cheese for a lighter, airy cheesecake.
- Pancakes or Waffles – Add ricotta to the batter for extra fluffiness.
- Cannoli Filling – Sweeten ricotta with sugar and vanilla, then pipe into cannoli shells.
- Fruit Parfaits – Layer ricotta with berries, nuts, and honey for a healthy dessert.
- Ricotta Lemon Cake – Moist, tangy, and packed with flavor.
The possibilities are endless—ricotta is like a culinary chameleon that adapts to whatever recipe you dream up.
Storing and Shelf Life of Homemade Ricotta
Homemade ricotta is fresh, creamy, and delicate, which means it doesn’t have the long shelf life of store-bought versions loaded with preservatives. Proper storage is key to keeping your ricotta safe to eat and maintaining its wonderful texture and flavor.
How Long Does Fresh Ricotta Last?
Typically, freshly made ricotta lasts about 3 to 4 days in the refrigerator. After this point, it begins to sour and lose its freshness. Unlike hard cheeses that can age gracefully, ricotta is a fresh cheese and should be enjoyed as soon as possible for the best experience.
The smell and texture are clear indicators of freshness. If your ricotta starts to develop a sour odor, turns slimy, or looks watery with yellowish liquid, it’s time to discard it. Always trust your senses—fresh ricotta should smell mild and clean, with a soft, moist texture.
Best Storage Practices
- Use an Airtight Container – Transfer your ricotta to a clean, sealed container to prevent it from absorbing odors from other foods in the fridge.
- Keep it Cold – Store ricotta in the coldest part of your refrigerator, ideally at 34–38°F (1–3°C).
- Add a Layer of Whey – If you plan to store ricotta for a few days, keep a little whey covering the surface. This helps maintain moisture and slows drying.
- Freezing Option – While not ideal for texture, ricotta can be frozen for up to 2 months. After thawing, it may become crumbly and watery, but it works fine in baked dishes like lasagna or stuffed pasta. To freeze, portion it into airtight freezer-safe bags or containers, removing as much air as possible.
By storing it correctly, you’ll get the most out of your homemade batch without waste. Just remember—ricotta is best when enjoyed fresh, so make small batches you can finish within a few days.
Health Benefits of Ricotta Cheese
Ricotta cheese isn’t just delicious—it’s also surprisingly nutritious. Made from milk, it carries essential nutrients that can support a balanced diet. Let’s take a closer look at why ricotta can be a healthy choice.
Nutritional Profile of Ricotta
A half-cup serving of ricotta (about 120 grams) typically provides:
- Calories: Around 170–200
- Protein: 7–10 grams
- Fat: 10–12 grams (varies if made with whole or part-skim milk)
- Carbohydrates: 6–8 grams
- Calcium: About 20% of the daily requirement
- Vitamin A & B12: Important for vision, skin, and energy metabolism
Ricotta is high in protein, making it a great choice for people looking to build or maintain muscle. Its calcium content also supports strong bones and teeth. Since it’s lower in sodium compared to many cheeses, it’s a lighter option for those watching their salt intake.
Why Ricotta Can Be a Healthy Choice
- Good Source of Protein – Helps keep you full longer and supports muscle recovery.
- Rich in Calcium – Essential for bone health, especially important for children, athletes, and older adults.
- Digestive-Friendly – Ricotta contains less lactose than milk, making it easier to digest for some people with mild lactose intolerance.
- Versatile in Healthy Meals – Use ricotta in place of heavy creams or high-fat cheeses to lighten up recipes without sacrificing flavor.
- Supports Weight Management – Thanks to its protein and fat balance, ricotta can help with satiety and prevent overeating.
Of course, moderation is key. If made with whole milk and cream, ricotta can be calorie-dense. But when used wisely, it’s a nutrient-rich food that fits beautifully into a balanced diet.
FAQs about Ricotta Cheese Recipe
Q1: Can I make ricotta cheese without cream?
Yes! Cream is optional. Using only whole milk will still give you delicious ricotta, though it will be slightly lighter and less rich.
Q2: Why didn’t my milk curdle properly?
This usually happens if you used ultra-pasteurized milk or didn’t heat the milk enough. Stick to regular pasteurized milk and heat to around 190°F for best results.
Q3: Can I reuse the whey left over from making ricotta?
Absolutely! Whey is nutritious and can be used in baking bread, making smoothies, or even as a cooking liquid for soups and grains.
Q4: How do I make ricotta firmer for lasagna?
Drain the curds longer—20 to 30 minutes—until most of the whey has drained. You can also gently press the curds with a spoon for extra firmness.
Q5: Can homemade ricotta be frozen?
Yes, but expect a change in texture. Frozen ricotta becomes crumbly when thawed, making it better for baked dishes than for spreading or desserts.
Conclusion
Making ricotta cheese at home is easier than most people imagine. With just a few simple ingredients—milk, cream, an acid, and salt—you can whip up a fresh, creamy batch in under an hour. Not only does homemade ricotta taste richer and fresher than store-bought, but it also gives you control over texture and flavor.
From lasagna and stuffed pasta to cheesecakes and pancakes, ricotta is a versatile ingredient that elevates countless dishes. Plus, it’s packed with protein, calcium, and essential vitamins, making it as nutritious as it is delicious.
So, the next time you’re in the mood for something special, skip the supermarket tub and make your own ricotta cheese. It’s a simple kitchen project that delivers gourmet results.


