Wedding Cookies Recipe: There’s something magical about wedding cookies. Maybe it’s the snowy dusting of powdered sugar, the buttery richness that melts in your mouth, or the sweet tradition they represent. Known by many names—Russian tea cakes, Mexican wedding cookies, snowballs—these bite-sized delights have graced dessert tables at weddings, holidays, and special gatherings for generations.
These cookies are typically nutty, buttery, and rolled in layers of powdered sugar. They’re simple to make, but their flavor is rich and elegant. The beauty of wedding cookies lies in their versatility—you can shape them, flavor them, and even package them to suit any celebration style. Whether you’re a baking novice or a seasoned home chef, this guide walks you through creating the perfect wedding cookies step by step.
The Tradition Behind Wedding Cookies
Wedding cookies are deeply rooted in celebration. In many cultures, these cookies symbolize prosperity and sweet beginnings. In the U.S., they often appear at Christmas parties and weddings. In Mexico, they’re a staple of wedding receptions, known as “Polvorones.” In Russia, a similar version called “tea cakes” are served during festive teas and weddings.
They’re more than just a sweet treat—they’re edible nostalgia, a bite of memory shared across generations. Every wedding cookie tells a story: of family, heritage, and the sweet moments that matter most.
What Makes Them Unique?
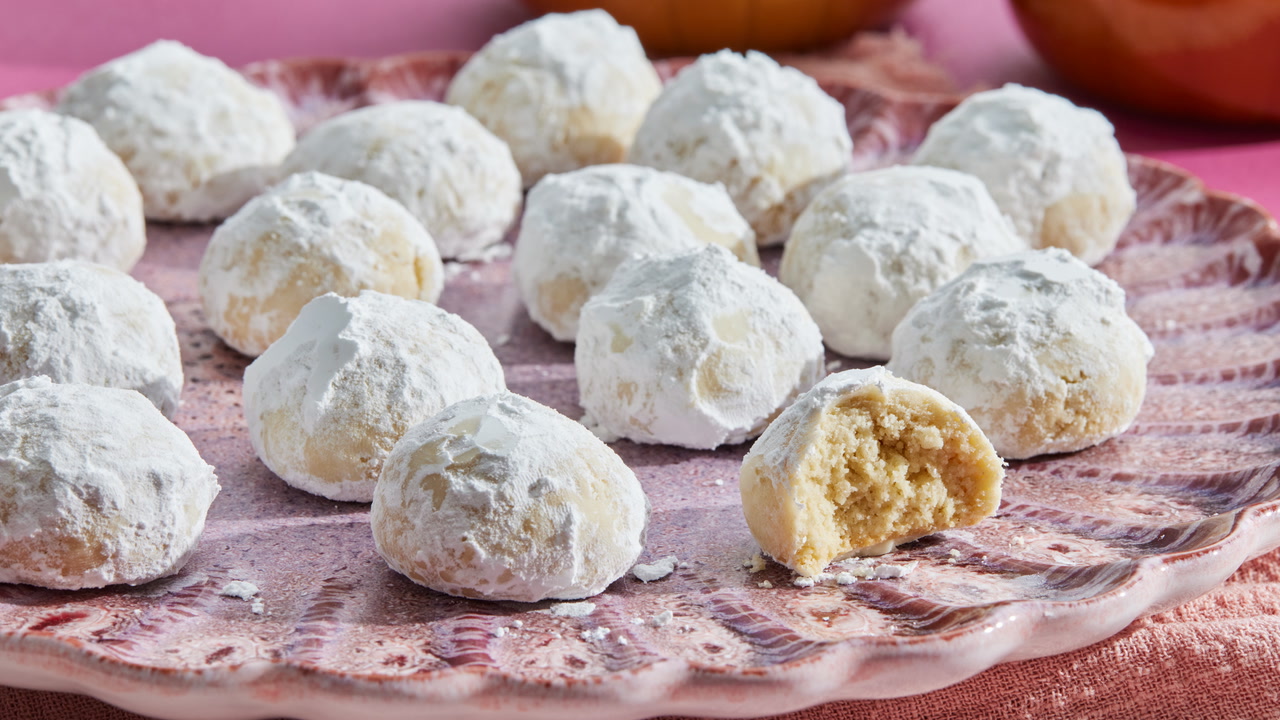
Unlike many cookies that rely on chocolate chips or frosting for flavor, wedding cookies get their character from a few humble ingredients—butter, powdered sugar, flour, and finely chopped nuts. The magic lies in the texture. After baking, they’re double-rolled in powdered sugar, creating a delicate snowy coating that feels like a soft kiss of sweetness with every bite.
The nuts—traditionally pecans, walnuts, or almonds—add a pleasant crunch and earthy depth. They’re rich without being too sweet, crumbly yet firm, and always melt-in-your-mouth tender.
These cookies don’t need flashy ingredients or decorations. Their simplicity is their charm.
Essential Ingredients for Wedding Cookies
Let’s talk ingredients. To make wedding cookies, you don’t need a huge grocery list. In fact, you probably already have most of what you need in your kitchen.
Basic Pantry Ingredients
Here’s what you’ll absolutely need:
- Butter (unsalted) – 1 cup (2 sticks), softened
- Powdered sugar – ½ cup (for dough), plus 1 to 1½ cups (for rolling)
- All-purpose flour – 2 ¼ cups
- Chopped nuts – ¾ cup (pecans or walnuts work best)
- Vanilla extract – 1 teaspoon
- Salt – a pinch (optional, if using unsalted butter)
Butter is the star here. It gives the cookies their signature richness and soft, crumbly texture. Powdered sugar provides both the internal sweetness and that iconic outer dusting. The flour forms the structure, while nuts offer crunch and flavor.
Optional Add-ins and Variations
Want to customize your cookies? Try these ideas:
- Almond extract for a different twist in flavor.
- Cocoa powder (2 tablespoons) for chocolate wedding cookies.
- Mini chocolate chips (¼ cup) for a fun variation.
- Orange or lemon zest to add brightness.
Don’t be afraid to experiment once you’ve mastered the base recipe.
Tools You’ll Need
Now that your ingredients are ready, let’s talk tools. Good news: You don’t need fancy kitchen gadgets to make wedding cookies.
Kitchen Equipment Checklist
Here’s your go-to gear:
- Mixing bowl (medium or large)
- Electric hand mixer or stand mixer
- Rubber spatula
- Measuring cups and spoons
- Baking sheet(s)
- Parchment paper or silicone baking mats
- Cooling rack
- Sifter or fine mesh strainer (for powdered sugar)
If you’re shaping by hand, you won’t even need a cookie scoop, though it can make portioning quicker.
Tips for Prep and Clean-up
- Soften the butter ahead of time for smoother mixing.
- Use parchment paper to prevent sticking and ease clean-up.
- Chop nuts finely so they blend evenly into the dough.
- Let cookies cool slightly before rolling them in powdered sugar to avoid a melted mess.
Baking is part science, part love—and with these tools, you’re all set for success.
Step-by-Step Instructions for Wedding Cookies
This is where the magic happens. Follow these steps closely, and you’ll have bakery-quality wedding cookies at home in no time.
1. Prepare the Cookie Dough
In a large mixing bowl, cream softened butter and powdered sugar until light and smooth. Add vanilla extract for flavor, then gradually mix in all-purpose flour and a pinch of salt. Stir until the dough comes together. For extra richness, fold in finely chopped pecans, walnuts, or almonds.
2. Chill the Dough
Cover the dough with plastic wrap and refrigerate it for about 30 minutes. Chilling helps the dough firm up, making it easier to shape. It also prevents the cookies from spreading too much while baking.
3. Shape the Cookies
Preheat the oven to 350°F / 175°C. Scoop small portions of dough and roll them into smooth balls, about one inch wide. Arrange them on a baking sheet lined with parchment paper, leaving a little space between each cookie.
4. Bake Until Lightly Golden
Bake the wedding cookies for 12 to 15 minutes, or until the bottoms are lightly golden. The tops should remain pale, not brown. Remove them from the oven and allow them to cool slightly on the baking sheet.
5. Coat with Powdered Sugar
While the cookies are still warm, gently roll them in powdered sugar until fully coated. Let them cool completely, then roll them in powdered sugar a second time for the classic snowy finish. Serve with tea, coffee, or as a sweet treat for weddings and celebrations.
Storing and Serving
Best Ways to Store Wedding Cookies
Once you’ve put the finishing touches on your cookies with that luscious powdered sugar coating, proper storage becomes key to maintaining their freshness and flavor. Thankfully, these cookies are sturdy and last quite well—making them a perfect make-ahead option for weddings, parties, and holiday gatherings.
- Airtight Container: Store the cookies in an airtight container to prevent them from drying out or becoming stale. They can be layered between sheets of parchment paper to avoid sticking.
- Room Temperature: Kept at room temperature, they stay fresh for up to 7–10 days. Just ensure the container is sealed properly.
- Freezing for Longer Storage: Yes, wedding cookies freeze like a dream! You can freeze the unbaked dough or baked cookies. To freeze baked cookies, place them in a single layer on a baking sheet until solid, then transfer to a freezer-safe container or zip-top bag.
- Defrosting: Let frozen cookies thaw at room temperature and give them another light roll in powdered sugar to freshen them up before serving.
Tip: Always add a fresh dusting of powdered sugar just before serving if they’ve been stored for several days—it gives them that fresh-from-the-oven look and taste.
Presentation Tips for Parties or Gifts
Wedding cookies aren’t just delicious—they’re also visually stunning, especially when presented with a bit of flair. Whether you’re serving them at a reception or giving them as favors, here are a few ideas to elevate your cookie game:
- Display on Tiered Trays: They look elegant arranged on a multi-level dessert stand, especially when paired with other dainty desserts like macarons or petit fours.
- Gift Box Treats: Place 4–6 cookies in a small box lined with tissue paper or a doily. Tie it with a ribbon and attach a custom label or tag with the couple’s name and wedding date.
- Cookie Jars or Mason Jars: For a rustic vibe, fill mason jars with cookies and seal them with a twine bow. Add a “Thank You” label for wedding guests.
- Favor Bags: Use clear cellophane bags and add a scoop of cookies. Seal with a gold twist tie and a personalized sticker.
The white sugar coating gives them a pristine, elegant appearance perfect for any romantic celebration. Plus, who doesn’t love edible party favors?
FAQs about Wedding Cookies Recipe
1. Can I make wedding cookies without nuts?
Absolutely! If you’re allergic or just not a fan, you can omit the nuts and still enjoy delicious cookies. Consider using mini chocolate chips or shredded coconut as an alternative.
2. Why did my cookies crumble too much?
Wedding cookies are naturally delicate, but if they’re too crumbly, you may have used too much flour or not enough butter. Be sure to measure correctly and mix the dough until it just comes together.
3. Can I add food coloring to make them match a wedding theme?
You can, but it’s not recommended to add color to the dough itself. Instead, consider dusting the cookies with colored edible glitter or wrapping them in theme-colored packaging.
4. How far in advance can I make wedding cookies for an event?
You can bake and freeze the cookies up to 1 month ahead. Just thaw and re-roll in powdered sugar before serving to refresh their look and taste.
5. What’s the best nut to use in wedding cookies?
Pecans are the most traditional choice for their buttery, mellow flavor, but walnuts and almonds are also popular and delicious.
Conclusion
Wedding cookies are the kind of sweet treat that brings comfort and joy with every bite. Their rich, buttery texture combined with the melt-in-your-mouth powdered sugar coating makes them a timeless classic for weddings and beyond. They’re more than just cookies—they’re a gesture of love, tradition, and celebration.
Whether you’re making them for a bridal shower, packaging them as favors, or simply indulging in some weekend baking, this step-by-step guide ensures your cookies turn out perfectly every time. Don’t be afraid to get creative with flavors and presentation. Once you master the basics, the possibilities are endless.
So grab your apron, roll up your sleeves, and start baking! You’re about to win hearts—one cookie at a time.


