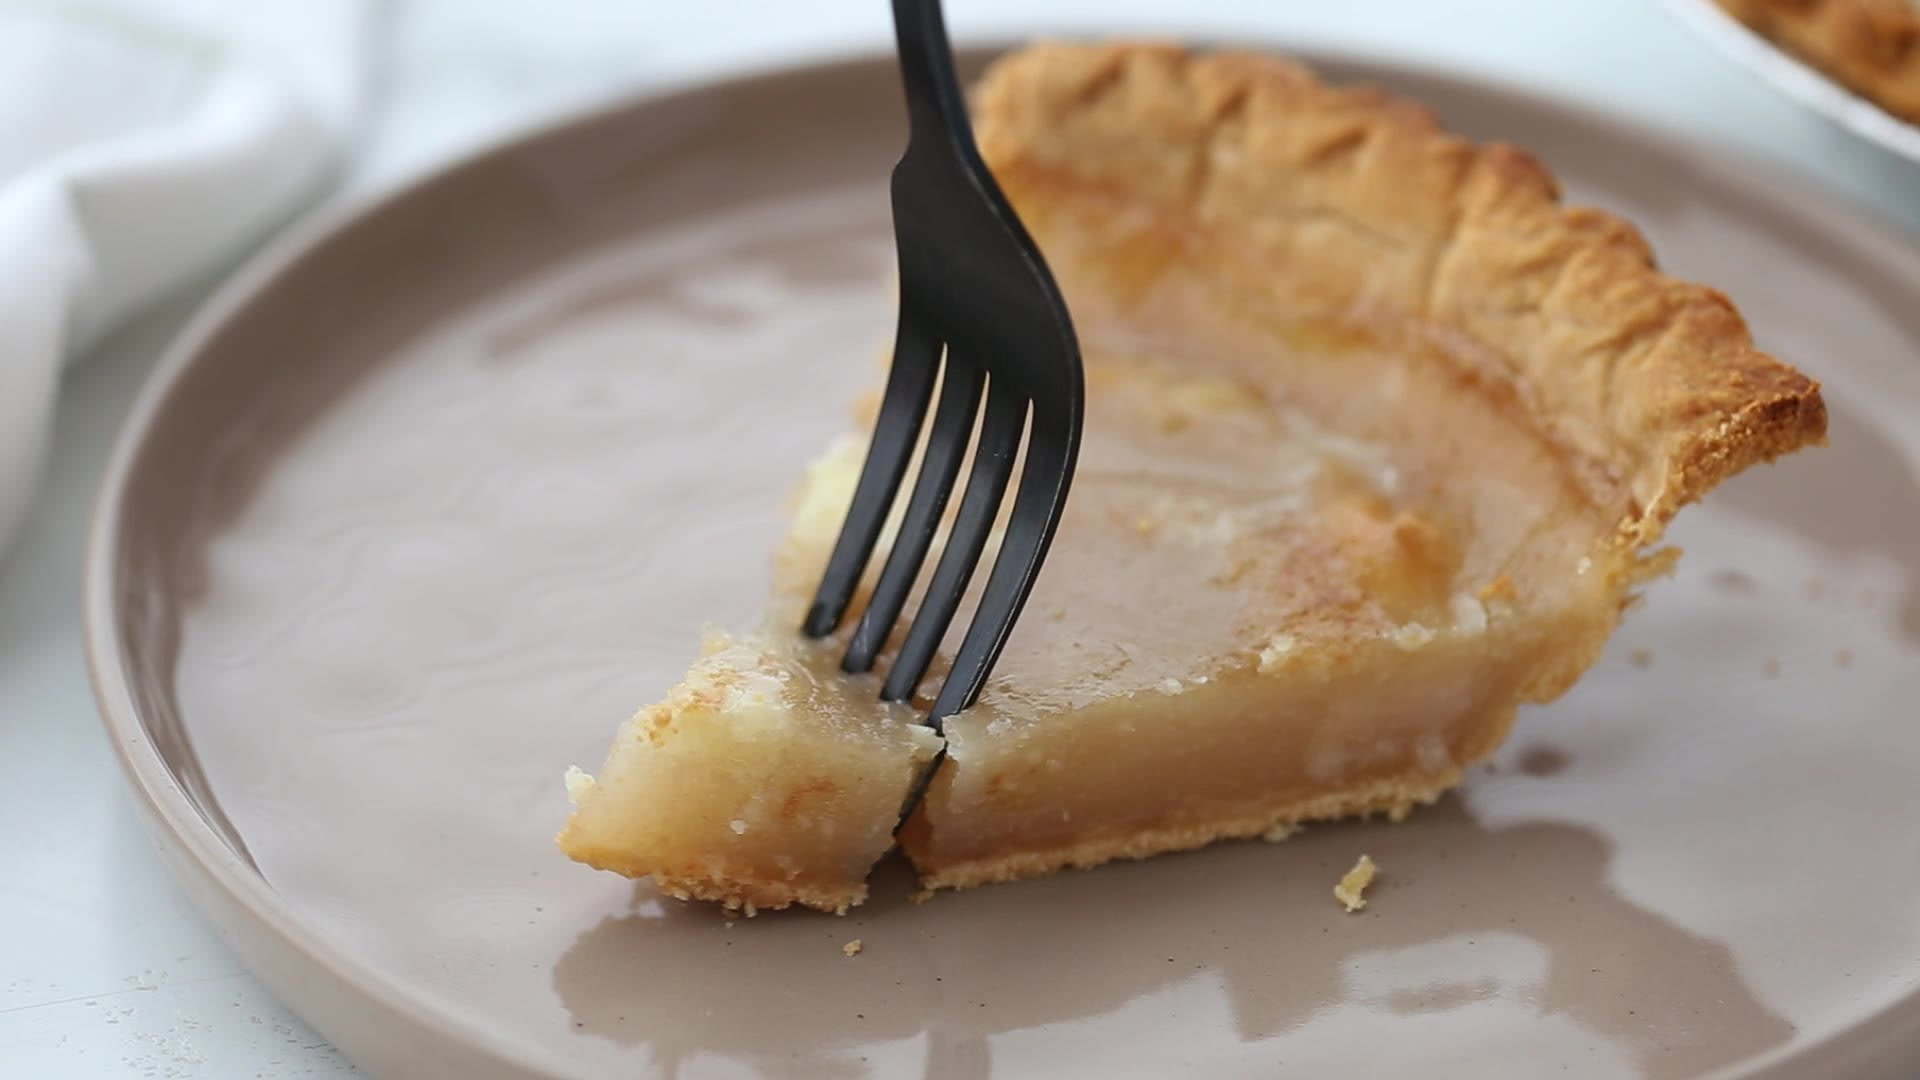
Water Pie Recipe: Water pie might sound like an oddity in today’s world of decadent desserts, but it’s a simple and surprisingly delicious treat that originated during hard times. At its core, water pie is a minimalist dessert made with basic ingredients—primarily water, sugar, butter, and flour—all baked inside a traditional pie crust. What’s magical about it is how these humble ingredients transform into a silky, custard-like filling that feels way more luxurious than its name suggests.
This pie is a testament to the ingenuity of cooks during the Great Depression, when resourcefulness was a survival skill. Imagine having limited access to milk, eggs, or even fruit, yet still managing to create a dessert. That’s where water pie comes in. It might not win awards for the fanciest dessert, but it certainly deserves recognition for creativity and comfort.
History and Origin of Water Pie
Water pie has its roots in the Great Depression era, a time marked by economic hardship and food scarcity. People had to make do with whatever was in their pantry. Desserts like water pie, vinegar pie, and mock apple pie (made with Ritz crackers) were born out of necessity. Women, often in charge of feeding large families on little to no money, turned to simple, affordable ingredients that could still satisfy a sweet tooth.
Water pie first became popular in the 1930s in rural America, especially in southern states where making something from nothing was a way of life. Over time, it fell out of mainstream culinary use—until recently. With the rise of nostalgia cooking and interest in vintage recipes, water pie is having a quiet comeback. Food bloggers and home bakers alike are discovering just how comforting and delicious this throwback dessert can be.
Ingredients Needed for Water Pie
Common Pantry Ingredients
One of the most appealing aspects of water pie is that it doesn’t require a trip to the store. Chances are, you already have everything you need. Here’s a list of the basic ingredients:
- 1 9-inch unbaked pie crust (store-bought or homemade)
- 1 ½ cups water
- 4 tablespoons all-purpose flour
- ¾ cup granulated sugar
- 5 tablespoons unsalted butter
- 1 teaspoon vanilla extract
- Pinch of salt
Each of these ingredients plays a key role. The water serves as the base, while the flour helps thicken the filling. Sugar provides sweetness, and the butter adds richness and a touch of creamy flavor. Vanilla rounds out the flavor profile, and salt enhances everything else.
Optional Additions and Variations
While the traditional water pie is very minimalist, you can definitely add your own twist if you want to elevate the flavor or presentation:
- Cinnamon or nutmeg: For a warm, spiced flavor.
- Brown sugar: To add a deeper, molasses-like sweetness.
- Lemon or almond extract: For a unique flavor profile.
- Fruit compote topping: Strawberries or blueberries can add color and tang.
- Whipped cream or ice cream: Perfect for serving on top.
These additions won’t take away from the essence of water pie—they just give you room to play and personalize it.
Equipment Required
Basic Kitchen Tools
One of the beauties of making a water pie is its simplicity—not just in ingredients, but also in equipment. Here’s what you’ll need:
- 9-inch pie dish
- Mixing bowl
- Measuring cups and spoons
- Whisk
- Aluminum foil (optional for crust shielding)
- Oven mitts
- Cooling rack
You don’t need a stand mixer, food processor, or any fancy baking gadgets. This is truly old-school baking at its best—just you, a few tools, and a little oven time.
Step-by-Step Water Pie Recipe
Step 1: Preparing the Pie Crust
Start by preheating your oven to 400°F (200°C). If you’re using a store-bought pie crust, make sure it’s thawed and ready to go. If you’re going homemade, roll out your dough and fit it into your 9-inch pie dish. Crimp or flute the edges if you like that classic pie look.
No blind baking is necessary here—the crust bakes right along with the filling. However, you can brush the edges with an egg wash (1 egg beaten with a tablespoon of water) for a golden brown finish. This is optional but makes the pie look extra inviting.
Step 2: Mixing the Filling
Once your crust is prepped, it’s time to mix the heart of the pie—the filling. This part is straightforward and takes only a few minutes. In a medium-sized mixing bowl, combine the following:
- 4 tablespoons of all-purpose flour
- ¾ cup granulated sugar
- A pinch of salt
Whisk these dry ingredients together until well combined. This helps evenly distribute the flour, which is key for a smooth, custard-like texture. Next, slowly pour in 1½ cups of water while whisking continuously. This helps avoid lumps of flour in your filling.
Once everything is mixed smoothly, stir in 1 teaspoon of vanilla extract. The vanilla gives your pie that warm, comforting flavor that really brings it all together. If you want to get creative, this is the point where you could add a dash of cinnamon or a splash of lemon extract for a twist.
The filling will look quite watery—and that’s totally normal. Don’t worry. The magic happens in the oven.
Step 3: Assembling the Pie
Pour your mixed filling carefully into the prepared pie crust. The liquid might come up quite close to the edge of the crust, so take your time and pour slowly to avoid spills. This is not a thick batter like most pies; it’s very loose—remember, it’s mostly water!
Now comes the butter. Cut 5 tablespoons of unsalted butter into small pieces and gently dot them across the top of the pie. As the butter melts in the oven, it will create little pockets of richness throughout the filling and help form a slightly golden top crust.
If you’re worried about your crust edges browning too quickly, this is a good time to loosely cover them with foil or use a crust shield. It’s not required, but it’s a good baking tip if you want an evenly baked pie.
Step 4: Baking to Perfection
Place the pie in the center of your preheated oven at 400°F (200°C). Let it bake at this high heat for the first 30 minutes. This initial high temp helps the pie set and begin to thicken.
After 30 minutes, reduce the oven temperature to 375°F (190°C) and bake for an additional 30 minutes. During this second half, the filling will begin to firm up and the crust will turn golden brown. Your kitchen will start to smell amazing—like sweet, buttery vanilla with a touch of nostalgia.
It’s crucial not to overbake water pie. When it’s done, the center will still have a slight jiggle, similar to a custard. It will continue to set as it cools, so don’t panic if it doesn’t seem completely firm in the oven.
Step 5: Cooling and Serving
Once the pie is done baking, carefully remove it from the oven and place it on a wire rack. Let it cool at room temperature for at least 2–3 hours. This waiting period is critical—it’s when the pie sets up completely and develops its unique texture.
Some people like to chill the pie in the fridge for a couple of hours after cooling. This firms up the filling even more and makes for easier slicing. Whether served at room temperature or chilled, water pie pairs beautifully with a dollop of whipped cream or a scoop of vanilla ice cream.
Cut into slices using a sharp knife, and serve on your favorite dessert plates. Don’t be surprised when people ask, “What’s in this?”—and then go back for seconds.
Tips for the Perfect Water Pie
Water pie may be simple, but there are still a few insider tips to get it just right:
- Use cold butter: When you dot the top of the filling with butter, make sure it’s cold. This helps prevent it from melting too quickly and allows for even distribution while baking.
- Watch your crust: If your crust edges brown too fast, tent them with foil about halfway through baking.
- Be patient with cooling: This dessert needs time to set. Cutting into it too soon can result in a runny texture.
- Experiment with flavor: While traditional water pie is delicious on its own, don’t be afraid to experiment. A pinch of nutmeg, a splash of almond extract, or a little citrus zest can elevate the pie.
- Serve creatively: Want to impress your guests? Top slices with caramel drizzle, crushed pecans, or fresh berries for a more modern presentation.
These small touches can make a big difference in the final result, especially if you’re serving this to friends or at a family gathering.
Nutritional Value
While it might be simple, water pie is still a dessert and should be enjoyed in moderation. Here’s a rough breakdown of the nutrition per slice (based on 8 slices per pie):
| Nutrient | Amount per Slice |
|---|---|
| Calories | ~280 |
| Total Fat | ~14g |
| Saturated Fat | ~8g |
| Carbohydrates | ~37g |
| Sugar | ~22g |
| Protein | ~2g |
| Fiber | ~1g |
| Sodium | ~120mg |
These numbers can vary depending on your crust, butter, and sugar choice. If you’re looking to lighten the recipe, consider using a reduced-fat crust or cutting back slightly on sugar. There are also plant-based butter alternatives that can reduce saturated fat content.
Water pie isn’t exactly a health food—but it’s a nostalgic treat worth savoring from time to time.
Storage and Shelf Life
Water pie is one of those desserts that tastes just as good—or even better—the next day. If you’ve got leftovers (which might be rare!), storing them properly will help maintain the pie’s texture and flavor.
Refrigerator: The best place to store your water pie is in the fridge. Cover the pie tightly with plastic wrap or aluminum foil to prevent it from drying out or absorbing fridge odors. It will keep well for up to 4–5 days.
Freezer: If you want to store it longer, water pie also freezes fairly well. Wrap it securely in plastic wrap and then in foil or place it in an airtight container. When you’re ready to enjoy, let it thaw overnight in the refrigerator. You can eat it cold or warm it slightly in the oven or microwave.
Reheating Tips: To reheat a slice, pop it in the microwave for about 15–20 seconds for a warm, custardy treat. Avoid over-microwaving, as it can cause the filling to weep or become rubbery.
One bonus of this pie’s simple ingredient list is that it doesn’t spoil quickly. Just make sure it’s stored properly, and you’re good to go.
Common Mistakes to Avoid
While water pie is beginner-friendly, there are still a few common missteps that can affect the outcome. Here’s how to avoid them:
1. Using too much water: Stick to the measured 1½ cups of water. Adding more might seem like a good idea, but it can throw off the balance and result in a watery mess instead of a smooth custard.
2. Not mixing the flour and sugar properly: Failing to combine your dry ingredients thoroughly before adding water can lead to clumps. Always whisk the flour and sugar together well to avoid a gritty texture.
3. Overbaking: If you leave the pie in the oven too long, the custard can become rubbery or cracked. Remember, it should still have a slight jiggle when you take it out of the oven. It firms up as it cools.
4. Cutting before it’s fully set: Patience is everything. Cutting into the pie too soon will result in a runny filling. Let it cool at room temperature and ideally chill it in the fridge before slicing.
5. Skipping the butter dots on top: The butter creates a rich, almost caramelized top layer. It might seem minor, but it makes a big difference in flavor and texture.
Avoiding these pitfalls ensures that even first-time bakers can whip up a water pie that’s smooth, sweet, and satisfying.
Why Try This Depression-Era Dessert?
You might be wondering: with so many extravagant desserts out there, why bother with something as simple as water pie? The answer lies in its history, flavor, and charm.
1. It’s budget-friendly: In a world where grocery prices are skyrocketing, water pie is a refreshing reminder that you don’t need expensive ingredients to enjoy a delicious dessert.
2. It’s nostalgic and comforting: Whether you’re reliving memories of a grandparent who made it or just drawn to vintage recipes, water pie connects us to a different era. It’s a slice of history—literally.
3. It’s surprisingly delicious: Despite the bare-bones ingredient list, water pie is creamy, buttery, and subtly sweet. It’s the kind of dish that makes people raise an eyebrow—until they take a bite.
4. It sparks conversation: Serving water pie is a guaranteed conversation starter. Most guests have never heard of it, let alone tasted it. It’s quirky, fun, and impressive in its simplicity.
5. It’s customizable: Add spices, extracts, citrus zest, or serve it with toppings—the base recipe is a blank canvas for creativity.
Trying water pie isn’t just about dessert. It’s about appreciating simplicity, celebrating resilience, and enjoying the sweet things in life—no matter how humble they may be.
FAQs about Water Pie Recipe
Can I add flavor to water pie?
Absolutely! Water pie is very adaptable. You can add cinnamon, nutmeg, lemon zest, almond extract, or even a tablespoon of cocoa powder for a different twist. The base is so neutral that it plays well with a variety of flavors.
Is water pie really made with just water?
Yes—and no. Water is the main liquid ingredient, but it’s combined with flour, sugar, butter, and vanilla to create a custard-like filling. The name “water pie” comes from its simplicity, but the end result is rich and creamy.
How long does it take to bake?
Water pie bakes for about 1 hour total—30 minutes at 400°F, then another 30 minutes at 375°F. Make sure to cool it completely before serving for the best texture.
Can I make it vegan?
Yes! Use a plant-based butter and a vegan-friendly pie crust. The pie doesn’t contain milk or eggs, so those swaps are all you need to make it vegan-friendly.
Does it taste good?
Don’t let the name fool you—water pie is surprisingly tasty. It has a smooth texture, a buttery vanilla flavor, and just the right amount of sweetness. It’s a comforting, simple treat that’s far better than you’d expect.
Conclusion
Water pie may not have the flash of a chocolate lava cake or the layers of a tiramisu, but it has something far more powerful—soul. It reminds us that even in the toughest times, people found a way to create comfort and joy from what little they had. Its creamy filling, buttery notes, and old-fashioned vibe make it more than just a dessert—it’s a story on a plate.
So next time you’re in the mood for something sweet, skip the fancy recipes and give water pie a shot. It’s easy, cheap, and delightfully satisfying. Plus, it’s one of those desserts that proves you really can make something out of almost nothing.


