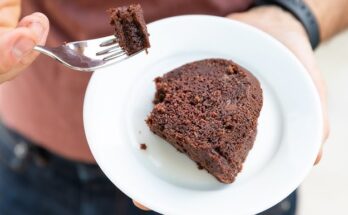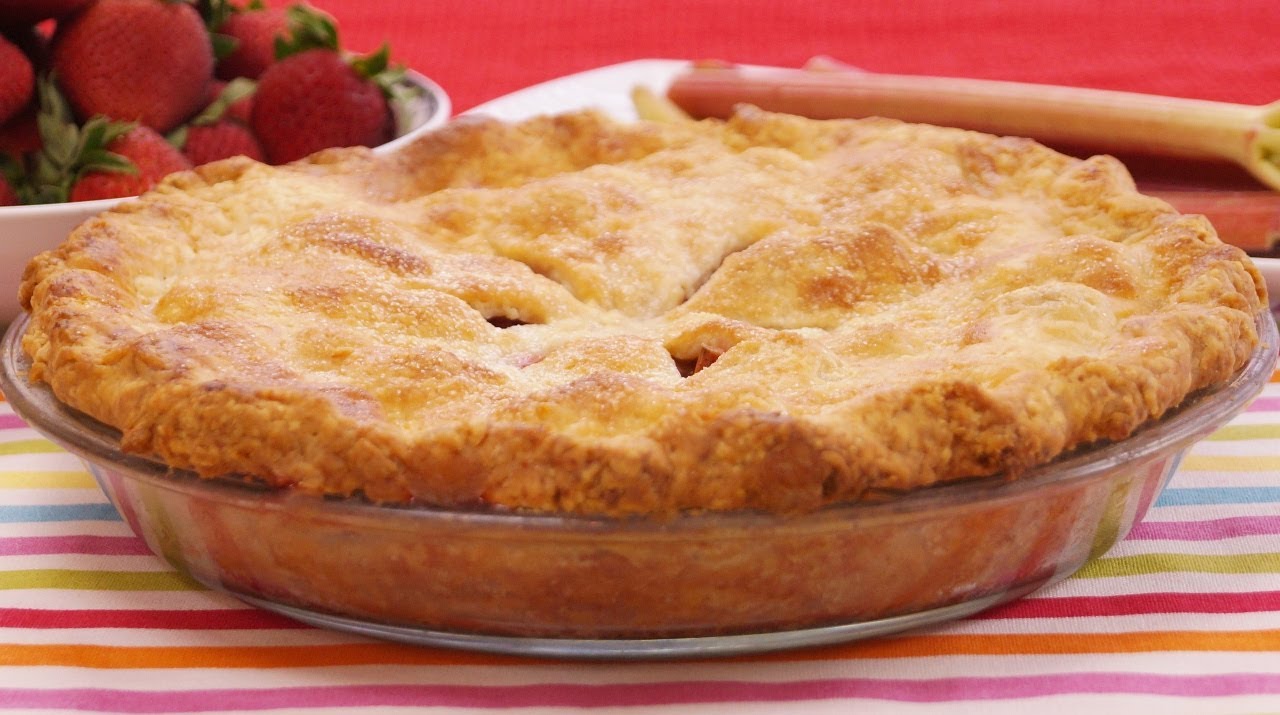
Simple Pie Crust Recipe: Ah, pie crusts—the buttery, flaky base that can make or break your dessert. Whether you’re crafting a classic apple pie, a silky pumpkin pie, or even a savory quiche, the crust plays a pivotal role in the final flavor and texture. And let’s face it—nothing beats a homemade crust. It’s got that golden crispness, tender bite, and rich flavor that store-bought versions just can’t match.
But for many home bakers, making pie crust feels intimidating. All that fussing with butter, flour, and rolling pins? Don’t worry—I’ve got your back. This step-by-step guide breaks it all down into a super simple process, even if you’re a beginner in the kitchen. With just a few ingredients and tools, you’ll be whipping up crusts that would make Grandma proud.
Why Homemade Pie Crust is Better Than Store-Bought
Sure, those pre-made pie crusts at the grocery store are convenient. But let’s be real—they often fall short on flavor, texture, and freshness. Homemade pie crust, on the other hand, gives you full control over every ingredient. No preservatives, no weird aftertaste—just pure, buttery goodness.
Making your crust from scratch also means you can customize it to fit your pie. Want a touch of sugar for a sweet dessert crust? Go for it. Prefer an all-butter crust for maximum flakiness? Done. You can even tweak the thickness, seasoning, and baking time to suit your recipe. Plus, there’s a special kind of satisfaction in saying, “I made this whole pie, crust and all.”
Essential Ingredients for a Perfect Pie Crust
Let’s talk about what goes into the perfect crust. The magic lies in the simplicity—just a few ingredients combine to create that irresistible texture.
All-Purpose Flour
The backbone of your crust. All-purpose flour strikes the right balance between structure and tenderness. It provides the necessary gluten to hold everything together without making the dough too tough.
Cold Butter or Shortening
Cold is the keyword here. Whether you choose butter for flavor or shortening for tenderness—or a mix of both—make sure it’s straight from the fridge. This keeps the fat from melting too quickly and ensures those little pockets of fat that create flakiness.
- Butter: Adds rich flavor and great texture.
- Shortening: Helps with flakiness and tenderness.
- Combination: Best of both worlds.
Ice-Cold Water
Water binds the dough together, but it must be icy cold to keep the fat solid while mixing. If the butter melts too soon, you’ll lose those all-important flaky layers.
Optional Ingredients for Extra Flavor
- A pinch of salt enhances flavor.
- A spoonful of sugar adds a touch of sweetness (especially good for dessert pies).
- A splash of vinegar or vodka (yes, really!) can help prevent gluten overdevelopment, keeping your crust tender.
Tools You’ll Need
Don’t worry—you don’t need a fancy kitchen setup. Just a few simple tools will do the trick.
Mixing Bowl
A medium-sized mixing bowl is perfect for combining your dry ingredients and fats.
Pastry Cutter or Food Processor
A pastry cutter is great for manually cutting butter into flour, but a food processor speeds things up. Just pulse gently—overprocessing can ruin the texture.
Rolling Pin
Essential for rolling your dough to the right thickness. Light, even pressure is the key.
Pie Dish
Choose a standard 9-inch pie dish—glass or ceramic works well for even heat distribution and helps you see when the bottom crust is golden.
Step-by-Step Instructions for Making a Simple Pie Crust
Let’s get down to business. Follow these steps for a foolproof, flaky crust every time.
Step 1: Measure Your Ingredients Precisely
Precision is key. Use measuring cups or a kitchen scale to ensure accuracy. For a single crust, you’ll typically need:
- 1 ¼ cups all-purpose flour
- ½ cup (1 stick) cold butter, cubed
- ¼ teaspoon salt
- 3–5 tablespoons ice water
Step 2: Cut the Butter into the Flour
Add your flour and salt to the mixing bowl. Toss in the cold butter cubes. Using a pastry cutter or your fingertips, blend the butter into the flour until the mixture looks like coarse crumbs. Some pea-sized pieces of butter should remain—these will melt during baking and create flaky layers.
Step 3: Add Water Gradually
Start with 3 tablespoons of ice water. Gently mix with a fork. If the dough is too dry, add more water one tablespoon at a time. You want the dough to hold together when you pinch it, but not be wet or sticky.
Step 4: Chill the Dough
Once the dough comes together, form it into a ball and flatten it into a disk. Wrap it tightly in plastic wrap and refrigerate for at least 30 minutes—up to 2 days. This rest time allows the gluten to relax, making the dough easier to roll out and preventing shrinkage during baking.
Chilling also keeps the butter solid. Remember, solid chunks of butter are what give you those delightful, flaky layers. If you’re in a rush, 30 minutes will do, but the longer chill time enhances the flavor and texture.
Step 5: Roll Out the Dough
Dust your work surface and rolling pin lightly with flour. Take the dough out of the fridge and let it sit for 5–10 minutes to soften slightly—this helps prevent cracking. Roll it from the center outward in all directions, rotating occasionally to maintain an even thickness and a circular shape.
You’re aiming for a circle about 12 inches in diameter for a 9-inch pie plate. Keep the dough moving to prevent sticking, and add a bit more flour as needed—but not too much, or the crust could get tough.
Step 6: Fit into Pie Dish and Trim Edges
Carefully transfer the rolled-out dough to your pie dish. An easy way is to gently fold the dough in half, then in half again to make a quarter. Place the point of the dough quarter in the center of the dish, then unfold it.
Press the dough gently into the dish, especially the corners. Trim the excess dough, leaving about ½ inch hanging over the edge. Fold the edge under itself and crimp it with your fingers or a fork to create a decorative finish.
Step 7: Blind Bake or Fill
If your recipe calls for a pre-baked (blind-baked) crust—like for cream pies—prick the bottom with a fork and line it with parchment paper. Fill it with pie weights, dried beans, or rice and bake at 375°F (190°C) for 15–20 minutes. Remove the weights and bake another 5–10 minutes until golden.
If you’re making a filled pie like apple or cherry, pour in the filling and proceed with your recipe’s baking instructions.
Pro Tips for Flaky and Delicious Pie Crust
Want to level up your crust game? Try these expert tricks:
- Keep everything cold – including your hands if needed.
- Don’t overwork the dough – less handling equals more flakiness.
- Use a light touch when rolling – pressing too hard can toughen the dough.
- Chill the dough again after shaping if you have time. Ten extra minutes in the fridge helps prevent shrinking and sagging.
- Egg wash the top for shine and golden color—beat one egg with a splash of water and brush it on just before baking.
These small habits add up to a professional-quality crust every time.
Common Mistakes and How to Avoid Them
Even seasoned bakers slip up. Here’s how to dodge the most common pitfalls:
- Using warm ingredients – leads to greasy, dense crusts.
- Adding too much water – makes dough sticky and hard to roll.
- Skipping the chill step – results in tough, crumbly crust.
- Overmixing the dough – develops too much gluten, making it chewy.
- Stretching the dough to fit the dish – causes it to shrink back during baking.
Avoid these, and you’re golden—literally.
Variations You Can Try
One of the great things about a basic pie crust is how adaptable it is. Once you’ve nailed the classic recipe, it’s easy to experiment with variations to match different flavors or dietary needs.
1. Sweet Pie Crust
Want something sweeter for fruit pies or dessert tarts? Just add 1–2 tablespoons of granulated sugar to the dry ingredients. This gives your crust a hint of sweetness without overpowering the filling.
2. Whole Wheat Crust
For a nuttier flavor and a touch of healthiness, substitute half the all-purpose flour with whole wheat flour. It gives a denser texture but adds rich flavor. Use a bit more water if needed, as whole wheat absorbs more liquid.
3. Herb or Savory Crust
Perfect for quiches or meat pies. Mix in a teaspoon of dried herbs (like thyme, rosemary, or oregano) or even grated cheese like Parmesan. You can also replace the sugar with a pinch of pepper or garlic powder.
4. Gluten-Free Crust
If you’re gluten-sensitive, use a gluten-free flour blend. These are widely available and often formulated to act just like regular flour. You may need to add a bit more fat or a binding agent like xanthan gum to help the dough hold together.
5. Vegan Pie Crust
Swap out butter for vegan butter or vegetable shortening. Coconut oil also works well, but make sure it’s solid and cold. These alternatives can produce an equally flaky crust with great taste.
Playing with these variations lets you create a signature crust that complements any recipe you’re making.
Storing and Freezing Pie Crust
One of the best time-savers in baking is prepping pie crusts ahead of time. And good news—they store beautifully!
In the Fridge:
Wrap the dough disk tightly in plastic wrap and store in the refrigerator for up to 3 days. When you’re ready to use it, let it sit at room temperature for 10–15 minutes so it softens enough to roll out without cracking.
In the Freezer:
Pie dough freezes like a dream. Wrap it tightly in plastic wrap, then place it in a zip-top bag. Label it with the date, and you’re good to go for up to 3 months. When you’re ready to use it, thaw it in the fridge overnight before rolling.
You can also freeze fully rolled-out crusts. Line your pie dish with the dough, wrap it in foil or plastic wrap, and freeze. Great for prepping holiday meals or busy weeknights.
Freezing and storing dough doesn’t compromise the flavor or texture if done right. It’s a brilliant way to make your baking life easier.
FAQs about Simple Pie Crust Recipe
Q1: Can I use a food processor to make pie crust?
Yes! A food processor can cut butter into flour quickly and evenly. Just be careful not to overprocess—it should still look like coarse crumbs with visible bits of butter.
Q2: Why is my pie crust tough instead of flaky?
Most likely, it was overworked or too much water was added. Try mixing just until the dough comes together and avoid kneading it too much.
Q3: What if I don’t have a rolling pin?
You can use a clean wine bottle, drinking glass, or even press the dough into the dish with your fingers. It won’t be as even, but it will still work in a pinch.
Q4: How can I keep my crust from shrinking during baking?
Chill the dough before baking, avoid stretching it when placing it in the dish, and use pie weights when blind baking.
Q5: Should I always blind bake my crust?
Not always. Blind baking is best for custard or cream pies. For fruit pies or recipes with long baking times, it’s usually not necessary.
Final Thoughts
Making pie crust from scratch might seem intimidating at first, but once you try it, you’ll never want to go back to store-bought. With just a few simple ingredients, some basic tools, and a little practice, you’ll be turning out buttery, flaky crusts that are perfect every single time.
Remember, the secret to success is in keeping everything cold, handling the dough gently, and not rushing the process. Whether you’re baking a cozy apple pie in the fall or a bright lemon tart in the summer, the perfect crust starts with a solid foundation—and now, you’ve got one.
So, roll up your sleeves, preheat that oven, and get ready to impress everyone at the table. Your homemade pie crust game is about to go from “meh” to magnificent.