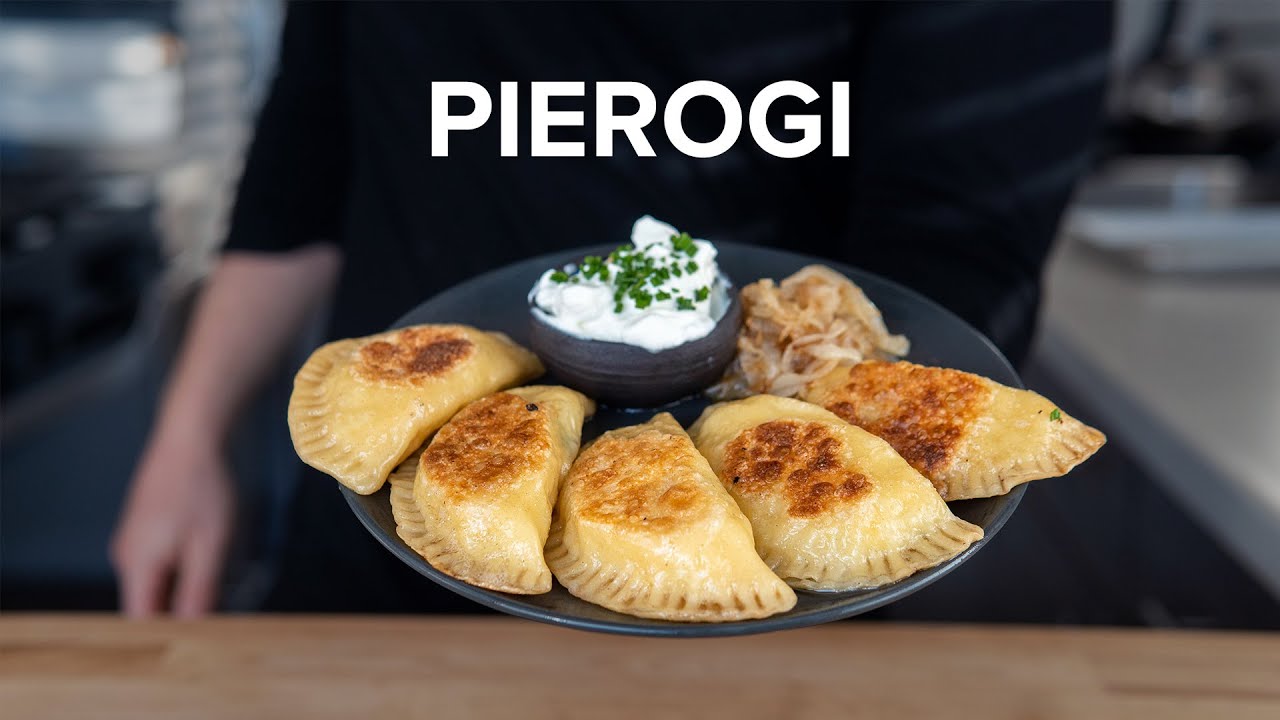
Pierogies Recipe: If you’re looking for a comforting, delicious, and incredibly satisfying dish, pierogies are where it’s at. These little pockets of joy are traditional Eastern European dumplings made from unleavened dough and filled with a variety of ingredients—most commonly mashed potatoes and cheese. Think of them as Europe’s answer to ravioli or potstickers but stuffed with hearty goodness and often served with caramelized onions or sour cream. They can be boiled, pan-fried, or even baked, offering plenty of versatility depending on your preferences.
Pierogies are a staple in Polish, Ukrainian, Slovak, and Russian cuisines, but they’ve also gained popularity in the U.S. and Canada. The beauty of pierogies lies in their adaptability: once you master the basic dough and technique, you can fill them with just about anything, from sauerkraut to blueberries. Whether you’re planning a cozy dinner, a festive feast, or meal prep for the week, pierogies are a homemade treat worth learning.
History and Cultural Significance
Pierogies go way back—think 13th century! Originating from Central and Eastern Europe, they’ve been a part of family tables and cultural celebrations for centuries. In Poland, pierogies are more than just food; they’re tradition. They’re commonly served during Christmas Eve dinner (Wigilia), weddings, and other significant gatherings.
Historically, pierogies were made in large batches, often by the whole family. Making pierogies wasn’t just about the food—it was about community, stories, and passing down traditions from one generation to the next. Over time, each family would have its own special twist on the filling or dough, creating regional and personal variations that still exist today.
Today, pierogies are a beloved dish in many parts of the world. They’re so popular in places like Pittsburgh, Pennsylvania, that there’s even a pierogi race at baseball games! The dish symbolizes comfort, home, and heritage, and once you try them, you’ll see why they’ve stood the test of time.
Ingredients for Traditional Pierogies
Dough Ingredients
To make pierogies from scratch, you’ll first need to prepare the dough. The ingredients are simple, but quality and balance are key. Here’s what you need for the dough:
- 2 ½ cups all-purpose flour
- 1 large egg
- ½ cup sour cream
- ¼ cup butter (softened)
- A pinch of salt
This dough is meant to be soft but sturdy—pliable enough to roll out thin, yet strong enough to hold your delicious filling without tearing. The addition of sour cream makes it slightly tangy and incredibly tender, unlike many pasta doughs that rely solely on eggs and flour.
Make sure your ingredients are at room temperature. Cold butter or eggs can cause the dough to be lumpy or tough. If you’re feeling adventurous, some recipes swap in Greek yogurt for sour cream or add a splash of milk to get the texture just right.
Classic Potato and Cheese Filling Ingredients
Now, let’s get into the heart of the pierogi—the filling. The most traditional and arguably most beloved pierogi filling combines mashed potatoes with cheese. Here’s what you’ll need:
- 2 cups mashed potatoes (russets work best)
- 1 cup shredded cheddar cheese (sharp for a bold flavor)
- Salt and pepper to taste
- Optional: sautéed onions or chives for added flavor
The mashed potatoes should be smooth, not runny. It’s best to make them a bit on the dry side to prevent soggy pierogies. Mixing in sharp cheddar gives you that gooey, savory richness that balances perfectly with the tender dough. If you’re going full traditional, you might want to include a bit of farmer’s cheese or quark instead of cheddar.
Season your filling well. Taste it before you start stuffing—it should be flavorful on its own. The better the filling, the more amazing your pierogies will be. Want to level it up? Add garlic, bacon bits, or caramelized onions to your mix for an extra flavor punch.
Tools and Equipment Needed
Kitchen Tools Checklist
You don’t need a fancy kitchen to make pierogies, but having the right tools makes the job easier and more enjoyable. Here’s a basic checklist:
- Large mixing bowl (for dough)
- Rolling pin
- Circular cutter (3–4 inches in diameter or a large glass)
- Fork (for sealing)
- Large pot (for boiling)
- Slotted spoon (to remove pierogies after boiling)
- Non-stick skillet (for frying)
Most of these are probably already in your kitchen. The circular cutter can be a biscuit cutter or even a mason jar lid. What matters is uniformity so that your pierogies cook evenly.
Having a clean, spacious surface to roll out your dough is important. You’ll be rolling it thin and cutting out circles, so make sure you’ve got some counter space to work with. Dust it with flour to prevent sticking.
Optional but Helpful Gadgets
If you plan to make pierogies often (and trust us, you will), a few extra tools can speed things up:
- Dough press or pierogi maker (great for uniform shapes)
- Pasta machine (for even dough rolling)
- Potato ricer (for smoother mashed potatoes)
- Silicone baking mat (makes cleanup easier)
These aren’t necessary, but they’re total game-changers for frequent pierogi enthusiasts. A pierogi mold can help you knock out a dozen dumplings at once, and a pasta roller ensures that your dough is the perfect thickness every time.
Step-by-Step Instructions for Making Pierogies
Step 1 – Preparing the Dough
Let’s start with the dough—the foundation of every perfect pierogi. Once your ingredients are ready, follow these steps:
- In a large mixing bowl, combine the flour and salt.
- Add in the softened butter, sour cream, and egg.
- Mix using a wooden spoon or your hands until the dough starts to come together.
- Transfer to a floured surface and knead for 8–10 minutes until smooth and elastic.
- Wrap the dough in plastic wrap and let it rest at room temperature for at least 30 minutes.
Resting the dough is crucial—it helps the gluten relax, making it easier to roll out and less likely to shrink or tear. If the dough feels too sticky, sprinkle in a little extra flour. If it’s dry, add a splash of water. It should be soft, not crumbly, and easy to handle.
This dough can be made a day in advance and stored in the fridge. Just make sure to bring it back to room temperature before rolling. You’ll find the dough becomes more pliable and easier to shape.
Step 2 – Making the Filling
While your dough is resting, you can get busy making that mouthwatering filling.
- Peel and boil 3–4 medium potatoes in salted water until fork-tender.
- Drain and mash them until smooth—avoid adding milk or butter.
- Stir in the shredded cheddar cheese while the potatoes are still hot, so it melts evenly.
- Add salt, pepper, and any optional ingredients like caramelized onions or fresh herbs.
- Let the mixture cool completely before using.
Hot filling can cause your dough to become gummy or tear. A good trick is to refrigerate the filling for 20 minutes—this firms it up and makes scooping much easier.
If you want to try a twist, use sautéed mushrooms, spinach, or even sauerkraut. Just make sure any filling is moisture-free; watery fillings lead to soggy pierogies.
Step 3 – Assembling the Pierogies
Now for the fun part—assembling your little dumplings!
- Divide the dough into two halves. Roll one half out on a floured surface to about 1/8 inch thick.
- Using a round cutter or glass, cut circles in the dough.
- Place about 1 tablespoon of filling in the center of each circle.
- Fold the dough over to create a half-moon shape.
- Press the edges together firmly, then seal with a fork for a traditional look.
Make sure there’s no filling touching the edges—it can prevent a proper seal. If needed, dip your finger in water and run it along the edges before sealing to help them stick better.
Don’t overfill them! It’s tempting, but too much filling will make them burst during cooking. Set the finished pierogies on a floured baking sheet and cover with a towel while you work through the rest of the dough.
Step 4 – Cooking the Pierogies
Pierogies can be boiled, fried, or even baked—but the classic method combines boiling and pan-frying for golden, crispy perfection.
Boiling:
- Bring a large pot of salted water to a boil.
- Drop in 4–6 pierogies at a time—don’t overcrowd!
- When they float to the surface (about 3–5 minutes), let them cook another 1–2 minutes.
- Remove with a slotted spoon and let drain.
Pan-Frying:
- Heat butter or oil in a non-stick skillet over medium heat.
- Fry the boiled pierogies until golden brown and crispy on both sides.
- Serve immediately with sour cream, sautéed onions, or bacon.
Boiling alone is fine, especially if you plan to freeze them later. But pan-frying after boiling adds that irresistible crispy edge and buttery flavor. If you’re serving a crowd, keep cooked pierogies warm in a low oven until ready to serve.
Tips for Perfect Pierogies Every Time
Dough Texture Tips
A perfect pierogi dough should be soft, pliable, and easy to work with—not dry, sticky, or tough. Here’s how to get it just right:
- Don’t skip the sour cream—it adds moisture and tenderness.
- Knead until smooth but don’t overwork it.
- Resting is essential—it relaxes the gluten and prevents shrinkage.
- Roll evenly for consistent cooking.
You’re aiming for a dough that rolls out without cracking or tearing. If you’re struggling, add a touch of water or flour a little at a time. Always cover unused dough to prevent it from drying out while you work.
Filling Flavor Boosters
Let’s be real—basic potato and cheese is delicious, but there’s so much more you can do with pierogi filling. Want to add more punch to your classic filling? Try these:
- Use sharp cheddar for more flavor.
- Mix in sautéed onions or garlic.
- Add fresh herbs like dill or parsley.
- Spice it up with paprika or cayenne.
- Blend in a little cream cheese for extra richness.
Make sure your filling is seasoned well. A bland filling won’t be saved by great dough. Taste it before assembling to adjust the salt or add extras. You can even get creative with leftovers—think pulled pork, roasted veggies, or ground meat.
Variations of Pierogi Fillings
Sweet vs. Savory Fillings
Pierogies are incredibly versatile, which means you’re not limited to just potatoes and cheese. One of the best things about pierogies is that they can swing sweet or savory. Want something indulgent for dinner? Go savory. Craving dessert? Go sweet. Here are some classic examples of each:
Savory Pierogi Fillings:
- Sauerkraut and Mushroom: Tangy, earthy, and perfect for winter.
- Meat: Ground beef or pork, seasoned and browned.
- Spinach and Cheese: Light, green, and nutrient-packed.
- Cabbage and Onion: A traditional Polish favorite with a mild sweetness.
Sweet Pierogi Fillings:
- Blueberry: Simple and fruity, served with sugar or cream.
- Cherry: Tart and bold—great for a unique dessert.
- Sweetened Cottage Cheese: Mixed with sugar and vanilla.
- Apple and Cinnamon: Think mini apple pies.
Sweet pierogies are usually boiled and served with sweetened cream or melted butter and sugar. Whether you’re prepping for dinner or dessert, there’s a pierogi variation to match the vibe.
Popular International Variations
Different regions have put their own cultural spin on pierogies, creating unique versions that are just as delicious as the original. Some international variations you might want to try include:
- Russian Pelmeni: Thinner dough and usually filled with seasoned meat. They’re boiled and served with sour cream or vinegar.
- Ukrainian Varenyky: Essentially the same as pierogies, but often with fillings like cherries, poppy seeds, or mashed beans.
- Slovak Pirohy: Typically filled with bryndza (a soft sheep cheese) and served with sour cream and fried bacon bits.
- American Twist: In the U.S., you’ll find deep-fried pierogies, pierogi casseroles, and even pizza pierogies.
Each region adds its own touch—different doughs, fillings, cooking methods, and toppings—so don’t be afraid to get creative and make them your own!
How to Store and Freeze Pierogies
Best Practices for Storing
So you’ve made a big batch of pierogies—what now? If you’re not eating them all at once, you’ll want to store them properly to maintain their texture and flavor.
In the fridge (for short-term storage):
- Place cooked or uncooked pierogies on a baking sheet in a single layer.
- Cover them lightly with plastic wrap and chill for up to 3 days.
- Once chilled, transfer to an airtight container if needed.
Avoid stacking warm pierogies—they’ll stick together and tear. Keeping them chilled separately at first helps maintain their integrity.
How to Reheat Without Ruining Texture
Reheating pierogies isn’t hard, but there’s a right way and a wrong way. Done right, they’ll taste just as good as freshly made. Done wrong, and you’ll have gummy, soggy dumplings.
For boiled pierogies:
- Drop into boiling water for 1–2 minutes to refresh them.
- Or microwave with a damp paper towel to avoid drying out.
For pan-fried pierogies:
- Reheat in a skillet with a bit of butter until crisp again.
- Avoid the microwave—it will ruin that crispy texture.
Freezing Tips:
- Place uncooked pierogies on a parchment-lined tray in a single layer.
- Freeze until solid, then transfer to freezer bags.
- Label with date and filling.
- Use within 3 months for best flavor.
To cook from frozen, simply boil directly without thawing—just add a minute or two to the cooking time.
Serving Suggestions and Pairings
Toppings and Sauces
Your pierogies are ready—now it’s time to dress them up! The right toppings can take a good pierogi and make it unforgettable. Here are some classic and creative ideas:
- Sour Cream: A timeless go-to. Cool, tangy, and perfect for balancing rich fillings.
- Caramelized Onions: Adds a sweet-savory punch that pairs beautifully with savory pierogies.
- Bacon Bits and Butter: Decadent and delicious—especially with potato-based pierogies.
- Chives or Dill: Fresh herbs for a flavor pop.
- Gravy: Works well with meat-filled pierogies.
- Applesauce or Whipped Cream: Perfect for sweet versions.
Mix and match depending on your filling. Pierogies are like a canvas—you can top them with just about anything.
What to Serve Alongside
Pierogies are hearty enough to stand alone, but they also pair wonderfully with other dishes. If you’re planning a meal, consider serving them with:
- Cabbage Rolls: Another Eastern European classic.
- Borscht: A warm beet soup for a full traditional experience.
- Grilled Sausages: Add protein and smoky flavor.
- Roasted Vegetables: Balance out the carbs with something light and healthy.
- Simple Salad: A crisp green salad with vinaigrette cuts the richness.
These pairings bring out the best in pierogies and make for a balanced, satisfying meal that feels like a warm hug on a plate.
Nutritional Information
Caloric Breakdown
Pierogies are undoubtedly comfort food, and while they may not be low-calorie, they can be part of a balanced diet when enjoyed in moderation. Here’s a general nutritional breakdown for one traditional potato and cheese pierogi (boiled, not fried):
| Nutrient | Amount per Pierogi |
|---|---|
| Calories | 180–220 kcal |
| Carbohydrates | 25–30 g |
| Protein | 5–7 g |
| Fat | 6–10 g |
| Saturated Fat | 2–4 g |
| Sodium | 250–300 mg |
| Fiber | 1–2 g |
| Sugars | 1–2 g |
Frying them in butter or oil will add additional calories and fat, so if you’re watching your intake, opt for boiled or baked versions. Sweet pierogies with fruit or cheese fillings might be slightly lower in fat but could have more sugar, especially with toppings like whipped cream or syrup.
It’s all about portion control. Two to three pierogies paired with a salad or veggie side can be a hearty and satisfying meal without going overboard.
Healthier Ingredient Swaps
Want to enjoy pierogies without the guilt? No problem. With a few smart swaps, you can lighten up the dish while keeping it tasty and satisfying:
- Use whole wheat flour for added fiber and nutrients.
- Replace sour cream in the dough with low-fat Greek yogurt.
- Opt for part-skim cheese to reduce fat in the filling.
- Add veggies to the filling—spinach, mushrooms, or kale work well.
- Bake instead of fry for a lower-calorie option.
You can even make vegan pierogies by using plant-based butter, dairy-free cheese, and skipping the egg in the dough. With these alternatives, pierogies can be customized to fit nearly any dietary preference or lifestyle.
FAQs about Pierogies Recipe
Can I make pierogies gluten-free?
Yes! Simply swap out the all-purpose flour for a 1-to-1 gluten-free flour blend that includes xanthan gum. Keep in mind the dough might be more delicate, so handle it gently and consider chilling it slightly before rolling.
How long can I freeze pierogies?
Pierogies freeze beautifully for up to 3 months. Place them on a baking sheet to freeze individually before transferring them to a freezer-safe bag or container. Cook from frozen—no need to thaw.
Can I bake instead of boil/fry pierogies?
Absolutely. Brush uncooked pierogies with a little oil or melted butter and bake at 400°F (200°C) for 15–20 minutes, flipping halfway through. They won’t be as crispy as pan-fried, but they’ll still be delicious.
What’s the best cheese for pierogi filling?
Sharp cheddar is a classic choice, but you can use farmer’s cheese, cream cheese, or even mozzarella for a stretchier texture. Mix and match to suit your flavor preferences.
How do I stop pierogies from sticking?
Don’t stack hot pierogies—let them cool separately. Toss boiled pierogies lightly in oil or melted butter after cooking to prevent sticking. If freezing, make sure they’re spaced apart until frozen solid.
Conclusion
Making pierogies from scratch is more than just a recipe—it’s an experience. These little pockets of comfort combine rich cultural history, simple ingredients, and endless possibilities. From preparing soft dough and flavorful fillings to the final sizzle in the pan, every step is a labor of love that pays off in a big way.
Whether you stick to the classic potato and cheese version or venture into sweet or international variations, pierogies offer something for everyone. They’re freezer-friendly, meal-prep ready, and customizable for any taste or diet. Plus, there’s nothing quite like the joy of sharing homemade pierogies with family and friends around the dinner table.
So roll up your sleeves, flour that countertop, and dive into the world of pierogies. With this step-by-step guide, you’re well on your way to mastering one of the coziest, most satisfying dishes out there.


