Peach Cake Recipe: There’s something magical about the taste of peaches in summer. Juicy, fragrant, and naturally sweet—peaches are the golden gems of warm-weather desserts. Among all the peach-based recipes out there, peach cake stands out as a timeless classic. It’s not just a cake—it’s sunshine on a plate. This delightful dessert has the perfect balance of fruity freshness and buttery richness, making it a go-to for family gatherings, picnics, or even just a solo treat with your afternoon tea.
Peach cake is loved for its soft texture, the natural sweetness of ripe peaches, and the way it melts in your mouth with every bite. And the best part? You don’t need to be a professional baker to pull it off. It’s one of those forgiving recipes that welcomes beginners with open arms. Whether you’re making it from scratch or using a box mix base, the result is always delicious.
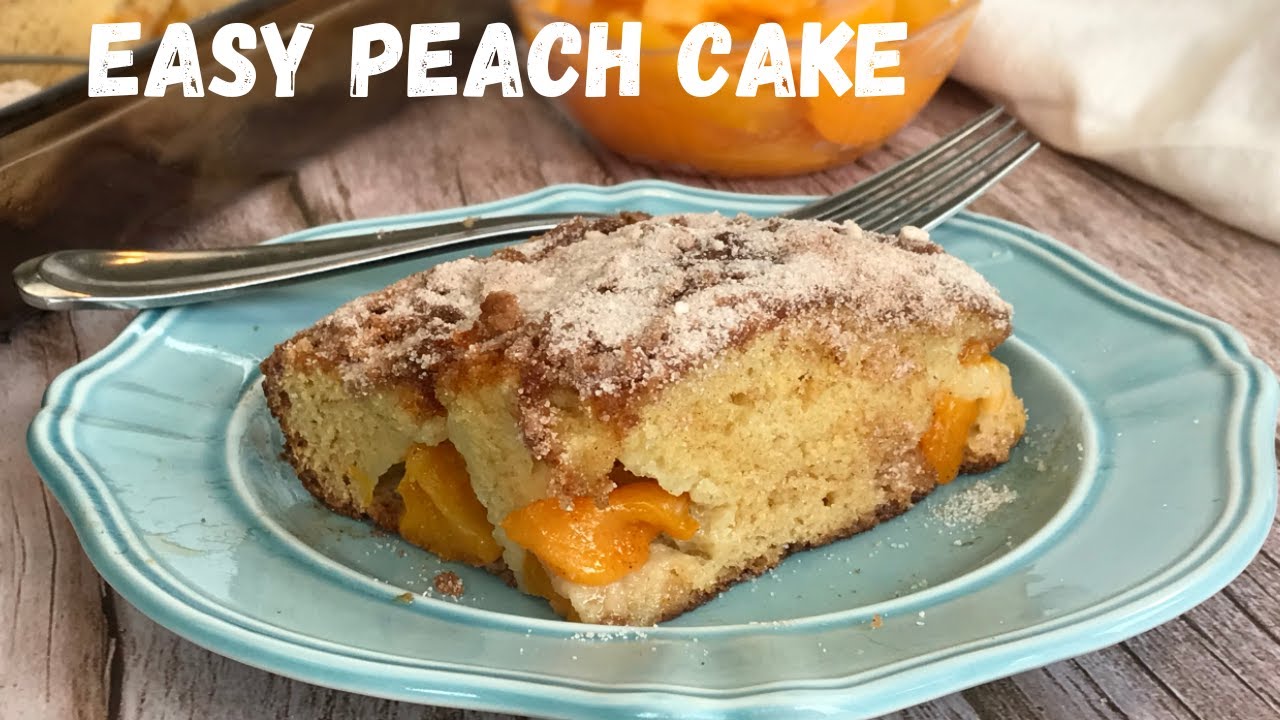
When you cut into a fresh peach cake, you’ll see golden peach slices peeking through soft, golden crumbs. It’s not just a dessert—it’s an experience that brings memories of summer days, laughter, and the comforting aroma of something delicious baking in the oven.
Fresh vs. Canned Peaches: Which One Works Best?
Let’s address the age-old debate in the baking world: fresh peaches or canned peaches? When it comes to making the perfect peach cake, both have their place—depending on what you’re aiming for and what you have on hand.
Fresh peaches are the undisputed stars when they’re in season. Their aroma, juiciness, and vibrant flavor make them ideal for a natural-tasting cake. If you’re lucky enough to get perfectly ripe peaches, nothing beats the flavor punch they deliver. However, fresh peaches come with a little more work—peeling, pitting, slicing—and you need to time it right so they’re not too firm or overripe.
Canned peaches, on the other hand, are incredibly convenient. They’re available year-round, pre-sliced, and packed in syrup or juice, which can add an extra layer of sweetness and moisture to your cake. If you’re short on time or baking when peaches are out of season, canned peaches are a great alternative. Just make sure to drain them well before using, or your cake could turn soggy.
In short, use fresh peaches when they’re in season and you have the time. Go for canned when you want simplicity and speed. Either way, the peach cake will be amazing—so pick what works best for your kitchen and your schedule.
Ingredients You’ll Need
Essential Ingredients for the Cake
Every delicious peach cake starts with a solid foundation: the ingredients. Here’s what you’ll need to whip up a classic, from-scratch peach cake that’s rich, moist, and full of flavor.
Base Cake Ingredients:
- All-purpose flour (2 cups): The structure of your cake starts here.
- Granulated sugar (1 ½ cups): Adds sweetness and balances the acidity of the peaches.
- Unsalted butter (1 cup, softened): Brings in moisture and richness.
- Eggs (3 large): For binding and fluffiness.
- Baking powder (2 tsp): Helps the cake rise beautifully.
- Salt (½ tsp): Enhances all the other flavors.
- Milk or buttermilk (¾ cup): Makes the batter smooth and tender.
- Vanilla extract (2 tsp): Adds a warm, aromatic base note.
- Fresh or canned peaches (about 2 cups, sliced): The star of the show.
These ingredients are kitchen staples for many, which means you probably already have most of them on hand. And the great thing? You can always adjust depending on what you have—substitute whole milk with almond milk, or use brown sugar for a deeper caramel note.
Optional Add-Ons to Customize Your Cake
Want to take your peach cake to the next level? Here are a few optional add-ins and toppings to personalize your masterpiece:
- Cinnamon or nutmeg (½ tsp each): Adds warmth and spice.
- Lemon zest (1 tsp): Brightens the flavor and enhances the peachiness.
- Chopped nuts (½ cup walnuts or pecans): Adds crunch and depth.
- Brown sugar (¼ cup): Sprinkled on top for a caramelized crust.
- Whipped cream or vanilla ice cream (for serving): Because why not?
These little extras can transform a simple peach cake into a gourmet dessert. Just make sure not to overdo it—you still want the peaches to shine.
Kitchen Tools and Equipment
Basic Tools Needed
Before you start baking, make sure you’ve got all the tools you need. Here’s a list of must-haves to make your peach cake prep as smooth as possible:
- Mixing bowls: At least two—one for dry ingredients, one for wet.
- Measuring cups and spoons: Accuracy is key!
- Electric hand mixer or stand mixer: Saves your arms and ensures a smooth batter.
- Spatula or wooden spoon: For folding in ingredients.
- 8×8 or 9×13-inch baking pan: Depending on how thick you want the cake.
- Cooling rack: So your cake cools evenly without getting soggy.
You don’t need fancy tools—just the basics. But using good-quality utensils can make a big difference in your final result.
Special Equipment That Makes It Easier
While not essential, some bonus tools can take your cake game up a notch:
- Springform pan: Great for layered or fancier peach cakes.
- Pastry brush: For glazing the top with syrup or butter.
- Mandoline slicer or fruit peeler: Speeds up prep time if you’re using fresh peaches.
- Cake tester or toothpick: To check doneness without guessing.
If you’re planning to bake regularly, investing in a few of these tools can make your life a lot easier—and your cakes even better.
Preparing the Peaches
How to Peel and Slice Fresh Peaches
If you’re using fresh peaches for your cake (and you should if they’re in season), prepping them properly is key to getting that juicy, tender texture in every bite. The process may seem intimidating at first, but once you do it a couple of times, it becomes second nature.
Here’s how to easily peel and slice fresh peaches:
- Blanching the peaches: Start by bringing a large pot of water to a gentle boil. Score a small “X” at the bottom of each peach using a sharp knife—this makes the skin easier to remove. Gently place the peaches into the boiling water for about 30–60 seconds, just until the skin starts to loosen.
- Ice bath: Quickly transfer the blanched peaches into a bowl of ice water. This shocks the fruit and stops it from cooking further. Let them cool for about a minute.
- Peeling: Once cooled, the skins should slide right off with your fingers or a paring knife. No need to struggle with a peeler!
- Pitting and slicing: Cut the peaches in half, twist gently to separate, then remove the pit with a spoon or knife. Slice them evenly—about ¼ inch thick is perfect for layering in your cake.
Peeling and slicing peaches yourself gives you control over their size, texture, and quality. Plus, it’s super satisfying to work with fresh fruit—it smells incredible and the flavor is unbeatable.
How to Use Canned Peaches in the Recipe
Canned peaches are a fantastic option when you want convenience without sacrificing too much flavor. They’re already peeled, pitted, and sliced—talk about a time saver! But to get the best results, you need to prep them correctly before adding them to your cake.
Tips for using canned peaches in baking:
- Drain well: Canned peaches are usually packed in syrup or juice. Be sure to drain them thoroughly to avoid a soggy cake. You can even pat them dry with a paper towel.
- Chop or slice as needed: Some canned peach slices are a bit large. Feel free to cut them down into bite-sized pieces so they distribute evenly throughout the batter.
- Check for sweetness: If the peaches were in heavy syrup, they’ll be very sweet. You might want to reduce the sugar in your cake batter slightly to balance the flavor.
- Reserve a bit of syrup (optional): If you’re using canned peaches in juice, you can reserve a few tablespoons and brush it on the cake after baking for extra moisture and shine.
Canned peaches allow you to enjoy peach cake any time of year—and if used properly, the difference from fresh peaches is minimal.
Step-by-Step Instructions to Make Peach Cake
Step 1: Preparing the Batter
This is where the magic begins. The batter is the base of your cake and needs to be mixed just right—light, fluffy, and ready to cradle those juicy peaches. Here’s a simple method to get perfect batter every time.
Instructions:
- Preheat your oven: Set it to 350°F (175°C). Grease and flour your baking pan or line it with parchment paper for easy cleanup.
- Cream the butter and sugar: In a large mixing bowl, beat the softened butter and granulated sugar together until light and fluffy (about 3–5 minutes). This incorporates air and makes the cake tender.
- Add eggs one at a time: Crack in the eggs, mixing well after each addition. This helps the batter emulsify and stay smooth.
- Add vanilla extract: Pour in the vanilla and mix it in. Now it’s starting to smell amazing!
- Mix dry ingredients: In a separate bowl, whisk together the flour, baking powder, and salt.
- Combine wet and dry: Gradually add the dry ingredients to the butter mixture, alternating with the milk. Start and end with the dry mix. Mix just until combined—don’t overbeat.
- Optional extras: If you’re adding cinnamon, lemon zest, or nuts, gently fold them into the batter at this stage.
Your batter should be smooth, thick, and ready for peaches. Try not to taste too much of it, or you’ll end up with less cake!
Step 2: Layering the Peaches
Now comes the fun part—layering those gorgeous peach slices into the cake batter. This step makes all the difference in flavor and texture. The juices from the peaches seep into the batter while it bakes, creating a melt-in-your-mouth experience.
Here’s how to do it:
- Pour half the batter into the prepared baking pan: Use a spatula to spread it evenly across the bottom.
- Add a layer of peach slices: Arrange them evenly across the batter. It doesn’t have to be perfect—just make sure every bite will get some peach.
- Pour the rest of the batter on top: Carefully spread it over the peaches. Use a spatula to smooth out the top.
- Top with more peaches (optional): If you want a stunning finish, lay some peach slices on top in a pattern or spiral. It’ll look beautiful and caramelize slightly while baking.
- Sprinkle with brown sugar and cinnamon (optional): For an extra sweet and slightly crunchy topping.
Layering gives your cake those beautiful golden swirls of fruit throughout, and it makes every slice Instagram-worthy.
Step 3: Baking the Cake
The stage is set, your batter is ready, peaches are perfectly layered, and now it’s time to let the oven do its magic. Baking is more than just timing—it’s about creating that perfect environment for your peach cake to rise, brown, and infuse your kitchen with mouthwatering aroma.
Here’s what to do:
- Place the pan in the center of your oven: This ensures even heat distribution.
- Bake at 350°F (175°C) for 45–55 minutes: The exact time will vary depending on your oven and the size of your baking pan. Start checking around the 40-minute mark.
- Check for doneness: Insert a toothpick or cake tester in the center of the cake. If it comes out clean or with a few moist crumbs (not wet batter), it’s ready.
- Watch the top: If the top starts to brown too quickly, tent it with aluminum foil for the last 10–15 minutes.
- Let it cool in the pan for 10–15 minutes: This helps the structure set and makes it easier to remove from the pan.
Baking your peach cake correctly ensures a moist, fluffy interior and a slightly crisp top. Don’t rush this part—patience pays off with a cake that’s perfectly cooked all the way through.
Step 4: Cooling and Serving Suggestions
Once your peach cake is out of the oven, the real test of your patience begins—letting it cool! It’s tempting to dig in right away, but allowing it to cool enhances both the flavor and texture.
Cool your cake like a pro:
- Cool in the pan: Leave it for 10–15 minutes to set.
- Transfer to a wire rack: Let it cool completely (about 30–45 minutes) so the bottom doesn’t get soggy.
Serving suggestions:
- Warm with vanilla ice cream: A classic combo that melts in your mouth.
- With whipped cream and mint leaves: Light, fresh, and perfect for brunch.
- Dust with powdered sugar: Elegant and simple, especially if you’re serving it at a party.
- Drizzle with caramel or peach syrup: For a decadent twist.
This cake can be served warm or at room temperature and is delicious on its own or jazzed up with toppings. It also stores well and tastes even better the next day as the flavors meld together.
Storing and Reheating Tips
Leftovers? Lucky you! Peach cake stores beautifully, and a quick reheat brings it right back to its just-baked glory.
Storing:
- Room temperature: Keep the cake covered with foil or plastic wrap for up to 2 days.
- Refrigerator: Store in an airtight container for up to 5 days. It’ll keep its moisture and flavor.
- Freezing: Yes, you can freeze peach cake! Wrap slices individually in plastic wrap and foil, then place in a freezer-safe bag. It’ll last up to 3 months.
Reheating:
- Microwave: Heat individual slices for 20–30 seconds.
- Oven: Warm in a 300°F (150°C) oven for 10 minutes to crisp up the edges.
- Serve cold: It’s just as tasty straight from the fridge, especially during hot weather.
Proper storage means you can enjoy peach cake any time, even days after baking—and honestly, it gets better with age.
Peach Cake Variations to Try
Feeling adventurous? There are endless ways to tweak this recipe and make it your own. Here are a few popular variations that put a fresh spin on the classic peach cake:
- Peach Upside-Down Cake: Caramelize peaches in brown sugar and butter, place them at the bottom of the pan, pour batter on top, and flip after baking.
- Peach and Blueberry Cake: Add a cup of fresh or frozen blueberries for a burst of color and tartness.
- Peach Crumb Cake: Add a streusel topping made of butter, flour, sugar, and cinnamon for a crunchy texture.
- Gluten-Free Peach Cake: Use almond flour or a gluten-free baking mix. It’ll still be moist and delicious.
- Peach Cream Cheese Cake: Swirl a sweetened cream cheese layer into the batter for extra richness.
These twists can suit different diets, tastes, and moods. Once you master the basic peach cake, you’ll want to experiment again and again.
FAQs about Peach Cake Recipe
1. Can I make peach cake ahead of time?
Absolutely! You can bake it a day in advance. Just store it in an airtight container at room temperature or in the fridge, depending on how long before serving.
2. What type of peaches are best for baking?
Freestone peaches are best—they’re easier to pit and slice. Yellow peaches are more traditional, but white peaches also work well.
3. Can I add other fruits to this recipe?
Yes! Berries, especially blueberries or raspberries, pair beautifully with peaches. Just be sure to adjust moisture levels accordingly.
4. How do I keep my cake from becoming soggy with canned peaches?
Drain the peaches well and pat them dry before using. Avoid using the syrup in the batter unless the recipe specifically calls for it.
5. Can I make this peach cake vegan?
Yes! Substitute eggs with flax eggs, use a plant-based butter, and opt for almond or oat milk. The texture may be slightly different, but the flavor is still amazing.
Conclusion
Peach cake isn’t just a dessert—it’s a slice of summer you can enjoy all year long. Whether you’re using fresh peaches straight from the farmer’s market or canned peaches from your pantry, the result is always comforting, fragrant, and delicious. With simple ingredients, easy steps, and a bit of creativity, you can whip up a cake that looks as good as it tastes.
This peach cake recipe is more than just a treat—it’s a sweet memory in the making. From peeling peaches to smelling that first whiff of cake out of the oven, every step brings joy. So grab your apron, turn up the music, and let this peach cake be the highlight of your day.


