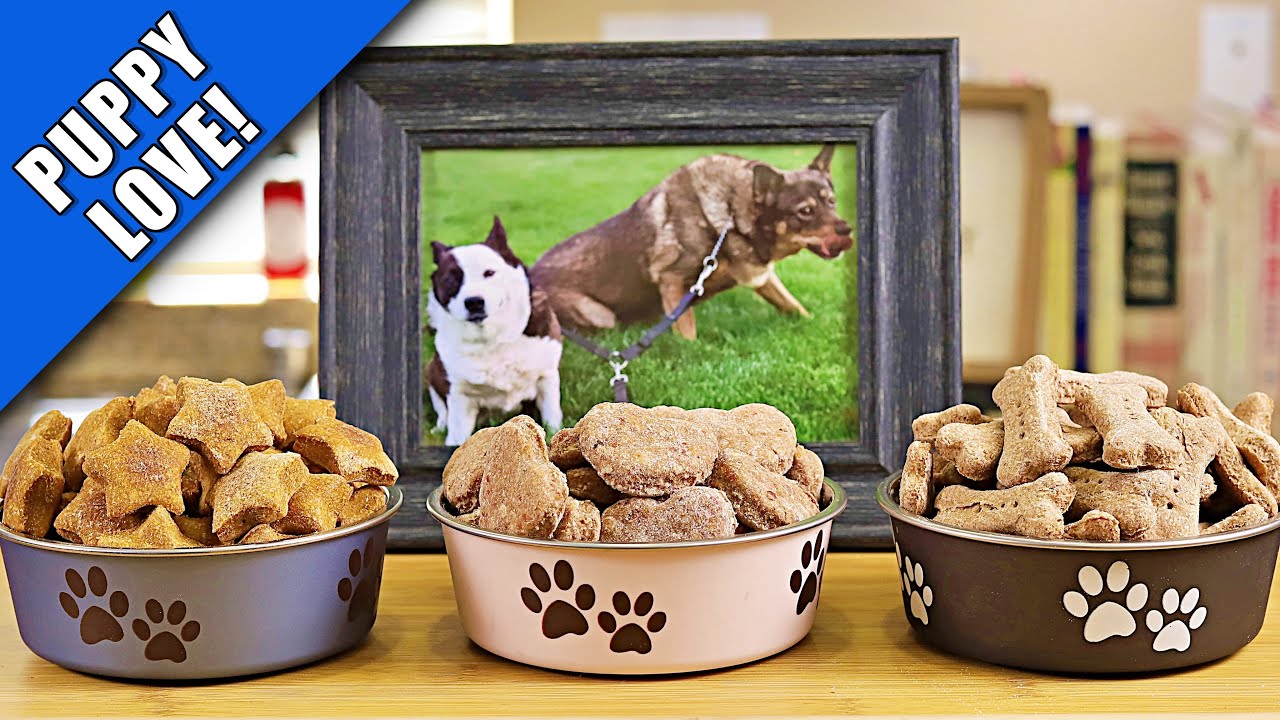
Homemade Dog Treats Recipe: Have you ever looked at the back of a bag of dog treats and felt completely lost reading the list of unpronounceable ingredients? You’re not alone. More and more pet owners are choosing to whip up treats in their own kitchens, not just to save money but to know exactly what their furry friends are munching on. Homemade dog treats give you full control over the ingredients, flavors, and textures, which means you can tailor them perfectly to your pup’s taste and dietary needs.
Let’s be honest—our dogs are family. They deserve tasty, healthy snacks that are made with love. In this guide, we’ll walk you through everything you need to create delicious, tail-wagging homemade dog treats from scratch.
Why Make Homemade Dog Treats?
Before diving into the recipe, let’s talk about why homemade dog treats are the real MVP in your dog’s diet. First and foremost, health benefits take the cake. Most commercial treats are packed with preservatives, artificial flavors, and sometimes even fillers that offer zero nutritional value. Making treats at home gives you the freedom to use only wholesome, natural ingredients.
Another big win? Ingredient control. Is your dog allergic to wheat, chicken, or corn? You can easily avoid allergens and opt for alternatives like oat flour, fish, or sweet potatoes. You’re in the driver’s seat when it comes to your dog’s diet.
And let’s not forget the cost efficiency. Those fancy organic treats at pet stores can be ridiculously expensive. With homemade recipes, you can make a big batch for a fraction of the price using pantry staples like oats, peanut butter, and pumpkin puree.
There’s also something so fulfilling about baking treats yourself. You know they’re fresh, safe, and made with love. And your pup? They’ll know it too.
Essential Ingredients for Homemade Dog Treats
The base of any great dog treat recipe starts with dog-safe ingredients. Here’s a quick list of commonly used and safe options:
- Whole wheat flour or oat flour
- Pumpkin puree (not the pie filling)
- Peanut butter (xylitol-free)
- Eggs
- Bananas
- Carrots or sweet potatoes
- Rolled oats
- Applesauce (unsweetened)
Now, while the ingredient list for dog treats is pretty flexible, there are a few you should never use, as they can be harmful or even toxic to dogs:
- Xylitol (found in some peanut butters and sugar-free products)
- Chocolate
- Grapes and raisins
- Onions and garlic
- Macadamia nuts
- Nutmeg
Always double-check your ingredients and keep it simple. When in doubt, stick with whole, unprocessed foods.
Tools and Equipment You’ll Need
You don’t need a gourmet kitchen to make dog treats, but a few basic tools will make the process smoother. Here’s your essential toolkit:
- Mixing bowls
- Measuring cups and spoons
- Wooden spoon or rubber spatula
- Rolling pin
- Cookie cutters (bone-shaped ones are fun!)
- Baking sheet
- Parchment paper or silicone baking mat
Optional but nice-to-have items:
- Stand mixer or hand mixer (makes mixing easier)
- Food processor (great for pureeing ingredients)
- Airtight containers or treat jars (for storage)
With these tools and your ingredients ready, it’s time to bake!
Step-by-Step Recipe for Peanut Butter & Pumpkin Dog Treats
One of the most popular and vet-approved combos for homemade treats is peanut butter and pumpkin. Not only do most dogs love the taste, but both ingredients are also packed with nutritional value.
Step 1: Gather Your Ingredients
You’ll need:
- 2 ½ cups of whole wheat flour
- ½ cup of canned pumpkin (100% pure)
- ½ cup of xylitol-free peanut butter
- 2 eggs
- Optional: a splash of water or broth if the dough is too dry
These ingredients are probably already in your kitchen, which makes this recipe convenient and quick.
Step 2: Mix the Dough
In a large mixing bowl, whisk together the pumpkin, peanut butter, and eggs until smooth. Slowly add in the flour, one cup at a time, mixing as you go. If the dough feels too dry or crumbly, add a little water (a tablespoon at a time) until it reaches a playdough-like consistency.
This is the fun part where your kitchen starts to smell like a warm, nutty bakery!
Step 3: Roll and Cut the Treats
Sprinkle some flour on your countertop and roll out the dough to about ¼-inch thickness. Use cookie cutters to create fun shapes—bones, paws, hearts, you name it. If you don’t have cutters, a knife or small glass will do the trick.
Place the cutouts on a baking sheet lined with parchment paper or a silicone mat, spacing them out slightly.
Step 4: Bake to Perfection
Preheat your oven to 350°F (175°C). Bake the treats for about 20 to 25 minutes, or until they’re golden brown and firm to the touch. For crunchier treats, you can leave them in the oven (turned off) for an extra hour.
The smell will have your dog pacing in front of the oven in anticipation!
Step 5: Cool and Store Properly
Once baked, let the treats cool completely on a wire rack. This helps them firm up even more and prevents sogginess. Store them in an airtight container at room temperature for up to a week, or refrigerate for longer shelf life (up to 3 weeks). You can also freeze them for up to 3 months.
Creative Variations on the Basic Recipe
Once you’ve nailed the basic peanut butter and pumpkin combo, it’s time to get creative! The best part about homemade dog treats is how customizable they are. You can tweak the ingredients to cater to your dog’s specific likes or dietary needs.
Here are some fun and healthy variations to try:
- Banana Oat Bites – Mash a ripe banana and mix with rolled oats and a spoonful of peanut butter. Bake as usual. Great for sensitive stomachs.
- Apple Cinnamon Delights – Add grated apple (peeled and cored) and a pinch of cinnamon to the dough. Avoid too much cinnamon—just a hint will do!
- Sweet Potato Stars – Use cooked, mashed sweet potatoes in place of pumpkin. It’s high in fiber and vitamins, and most dogs love it.
- Cheesy Bites – Add a small handful of shredded cheddar cheese for a savory twist. Be sure to reduce the amount of other salty ingredients.
With just a few swaps, you can create an entire menu of treats that keeps your pup’s tail wagging with excitement.
Nutritional Benefits of Homemade Dog Treats
When you bake at home, you’re not just making your dog happy—you’re boosting their health too. Most homemade treats include ingredients that are nutrient-rich and dog-safe. Let’s break down some common components and their benefits:
- Pumpkin: A natural source of fiber that aids digestion and keeps bowel movements regular.
- Peanut Butter: Loaded with healthy fats and protein. Just ensure it’s xylitol-free!
- Eggs: Provide essential amino acids, promoting healthy skin and coat.
- Whole Wheat or Oat Flour: A great source of energy and fiber.
- Sweet Potatoes: Packed with Vitamin A, which supports vision and immune function.
Unlike store-bought treats filled with artificial flavors and empty calories, these homemade goodies deliver real nutritional value. Plus, if your dog is on a specific diet, you can easily adapt the recipe to suit their health needs, whether it’s low-fat, grain-free, or high-protein.
How to Store Homemade Dog Treats
Storage is key if you want your hard work to last. The good news is, with the right approach, your homemade treats can stay fresh and crunchy for weeks.
Here are some simple storage tips:
- Cool Completely First: Never store warm treats—they’ll trap moisture and turn soggy.
- Airtight Containers: Glass jars with rubber seals or zip-lock bags work great. Keep them out of direct sunlight.
- Refrigeration: If your treats contain fresh fruits or dairy, store them in the fridge. They’ll last up to 3 weeks.
- Freezing: Want to make a big batch? Freeze them! Homemade treats can last up to 3 months in the freezer. Just thaw a few at a time as needed.
Bonus tip: label the container with the date you baked them. That way, you’ll always know how fresh they are.
Common Mistakes to Avoid
Making treats at home is simple, but there are a few common mistakes to avoid to ensure they’re safe and delicious for your pup.
Here’s what to watch out for:
- Using Toxic Ingredients: Always double-check your ingredients. Even small amounts of xylitol, onions, or grapes can be harmful.
- Overbaking or Undercooking: Overbaking can make treats too hard, especially for older dogs. Undercooked treats may spoil faster.
- Ignoring Portion Size: Homemade doesn’t mean your dog can have unlimited treats. Keep portions small and monitor calorie intake.
- Skipping Ingredient Checks: Even seemingly harmless foods can cause allergies. Test new recipes with a small batch first to see how your dog reacts.
Learning as you go is part of the fun, but these pointers can help you avoid the most common pitfalls.
Tips for Dogs with Special Diets
Every dog is unique, and some require a little extra care when it comes to their diet. Whether it’s allergies, diabetes, or a sensitive tummy, homemade treats are perfect for tailoring your dog’s snacks to meet their needs.
Here’s how to customize your treats:
- Grain-Free: Use coconut flour or almond flour instead of wheat flour. These are great for dogs with grain sensitivities.
- Low-Fat: Substitute full-fat ingredients with mashed fruits or veggies. Applesauce and pumpkin work well.
- High-Protein: Add a little lean meat (like chicken or turkey) or use eggs and peanut butter for protein-rich snacks.
- Hypoallergenic: Stick with single-ingredient treats like dehydrated sweet potatoes or baked apples.
Before making dietary changes or introducing new ingredients, always consult your vet—especially if your dog has a diagnosed condition. Homemade treats can be both delicious and safe with the right guidance.
How Often Should You Give Treats to Your Dog?
While it’s tempting to reward your dog with treats every time they flash those puppy eyes, moderation is key. Too many treats—even healthy homemade ones—can lead to weight gain, digestive issues, or an imbalanced diet.
General rule of thumb? Treats should make up no more than 10% of your dog’s daily caloric intake.
Here’s how to manage treat time smartly:
- Training Rewards: Use tiny pieces. Dogs don’t need a full-sized treat to feel rewarded.
- Size Matters: Adjust the portion based on your dog’s breed and weight. A Great Dane can handle more than a Chihuahua.
- Age & Activity Level: Puppies and active dogs may need more calories, while older or sedentary dogs need fewer.
- Track Calories: If you’re giving more treats one day, reduce the amount of food slightly to compensate.
You can also make mini-treats or break bigger ones into smaller bites. It’s not about how big the treat is—it’s about the love behind it!
Signs Your Dog Loves (or Dislikes) a Homemade Treat
One of the joys of baking for your dog is watching their reaction. But dogs don’t always communicate with words—so what should you look for?
Signs your dog LOVES the treat:
- Tail wagging furiously
- Immediate sniff and gobble
- Sitting or performing tricks eagerly
- Following you around the kitchen
Signs your dog’s not a fan:
- Sniffing and walking away
- Spitting the treat out
- Hesitation or cautious licking
- Leaving treats uneaten after a few tries
If your pup isn’t into a particular recipe, don’t take it personally. Like humans, dogs have preferences! Try different ingredients, textures, or cooking styles until you find the perfect match. You might just discover your dog has a gourmet palate!
Fun Ways to Serve Homemade Treats
Why just toss a treat when you can make snack time fun and interactive? Here are some playful, enriching ways to serve up your homemade goodies:
- Hide and Seek: Hide treats around the house or yard and let your dog sniff them out.
- Treat Puzzles: Use puzzle toys or treat-dispensing balls to stimulate your dog mentally.
- Frozen Treat Pops: Mix small treat chunks with yogurt and freeze in molds for a summer snack.
- Training Rewards: Use homemade treats during obedience training or while teaching new tricks.
- Stuffed Toys: Insert soft treats into hollow rubber toys like Kongs for extended playtime.
Not only does this keep your dog entertained, but it also builds a positive association with learning, play, and mealtime.
Making Treats for Special Occasions
Want to go the extra mile? Homemade dog treats are perfect for celebrating special milestones. Whether it’s a birthday, gotcha day, or just a “treat yourself” kind of day, baking up something special shows your dog just how loved they are.
Occasion ideas:
- Birthday Bone Cake: Use a dog-friendly cake recipe with yogurt frosting and decorate with treat crumbles.
- Holiday Cookies: Make festive shapes for Christmas, Halloween, or Valentine’s Day using themed cookie cutters.
- Party Favors: Bag up treats in cute pouches for doggie guests at your pup’s party.
- Training Graduation: Celebrate your dog’s achievements with a fresh-baked reward.
Bonus idea: Add your dog’s name to the treats with letter-shaped cutters or use a custom bone stamp. Your pup won’t read it—but the photos will be adorable!
FAQs about Dog Treats Recipe
1. Can I give homemade dog treats every day?
Yes, but in moderation. Treats should not exceed 10% of your dog’s daily caloric intake to prevent weight gain and nutritional imbalance.
2. Are homemade dog treats healthier than store-bought ones?
Absolutely! Homemade treats typically use fresher, more natural ingredients without preservatives, fillers, or artificial flavors.
3. How long can I store homemade dog treats?
Most baked treats last about 1 week at room temperature, 2–3 weeks in the fridge, and up to 3 months in the freezer.
4. Can I use gluten-free flour in dog treats?
Yes! Alternatives like oat flour, coconut flour, or rice flour are great for dogs with gluten sensitivities.
5. What if my dog doesn’t like the treats?
No worries! Dogs have preferences just like people. Try different ingredients or recipes until you find the one your pup loves most.
Conclusion
Homemade dog treats are more than just snacks—they’re a heartfelt way to care for your furry best friend. By choosing natural ingredients, customizing for their needs, and baking with love, you’re giving your dog the best of both worlds: taste and health.
Whether you’re a seasoned baker or just starting out, these step-by-step recipes and tips will help you whip up goodies your pup will drool over. And the best part? You’ll have peace of mind knowing exactly what’s in every single bite.
So roll up your sleeves, preheat that oven, and let the tail-wagging begin. Your dog will thank you—with sloppy kisses and joyful jumps!


