Crisco Pie Crust Recipe: There’s something magical about a pie with a perfectly golden, flaky crust. And when it comes to achieving that melt-in-your-mouth texture, Crisco is a time-tested favorite. Whether you’re baking a classic apple pie or whipping up a savory quiche, this step-by-step Crisco pie crust recipe will walk you through everything you need to create a crust that’s tender, flaky, and utterly irresistible.
Why Choose Crisco for Your Pie Crust?
Crisco, a brand of vegetable shortening, has been trusted in American kitchens for over a century. Unlike butter, which adds flavor, Crisco is prized for its ability to make exceptionally flaky crusts. Here’s why many bakers reach for Crisco:
- Flakiness: Shortening doesn’t melt as quickly as butter, so it helps create layers that puff up during baking.
- Consistency: Crisco remains the same year-round, while butter quality can vary.
- No Water Content: Butter contains about 15% water, which can cause gluten development and lead to tougher dough. Crisco is pure fat, giving you more control over your crust.
For bakers who value texture and structure over flavor in their crusts, Crisco is the clear winner. You can always add flavor with a rich filling or a touch of butter in the dough.
Ingredients Needed for Crisco Pie Crust
Standard Ingredients
Here’s a basic ingredient list for a double pie crust (top and bottom):
- 2 cups all-purpose flour
- 1 teaspoon salt
- 3/4 cup Crisco shortening (chilled)
- 5 to 7 tablespoons ice-cold water
Each of these ingredients plays a crucial role. The flour is your base. Salt adds flavor. Crisco gives the crust its signature flakiness, and the cold water brings everything together without activating too much gluten.
Optional Add-ins
Want to customize your crust? Try these:
- 1 tablespoon sugar – for sweet pies
- 1 teaspoon vinegar or lemon juice – helps tenderize dough
- Butter (replace half of Crisco) – for added flavor
- Spices like cinnamon or nutmeg – to enhance sweet or spiced fillings
These extras can subtly elevate your crust, especially when pairing it with specific pie fillings.
Tools and Equipment You’ll Need
To make a great Crisco pie crust, gather these tools:
- Large mixing bowl
- Pastry cutter or fork (or food processor)
- Measuring cups and spoons
- Rolling pin
- Plastic wrap
- Pie dish (9-inch)
- Bench scraper or spatula
Having the right tools on hand will make the process smoother, particularly when handling delicate dough. If you’re new to pie-making, investing in a good rolling pin and pastry blender is a smart move.
Step-by-Step Instructions
Step 1: Measure Out Your Ingredients
Precision matters. Spoon the flour into your measuring cup rather than scooping directly from the bag, which can compact it and add too much to your recipe. Mix the flour and salt in a large bowl.
Step 2: Cut Crisco into the Flour
Add your chilled Crisco into the flour mixture. Using a pastry blender, two knives, or a food processor, cut the shortening in until the mixture resembles coarse crumbs. You want small pea-sized bits of Crisco throughout the flour. These pockets of fat will melt during baking, creating the flaky texture.
Step 3: Add Ice-Cold Water
Start with 5 tablespoons of ice-cold water and gently mix it in using a fork. Only add more water, one tablespoon at a time, until the dough just starts to come together. The key here is to use the least amount of water possible to avoid a tough crust.
Step 4: Form the Dough into a Ball
Gently press the dough together with your hands. Divide it into two equal portions if making a double crust, shape each into a disk, and wrap in plastic wrap. Chill in the fridge for at least 30 minutes. This rest period helps relax the gluten and firm up the fat for a better texture.
Step 5: Roll Out the Dough
Lightly flour your work surface and rolling pin. Roll the dough from the center out, turning it slightly each time to keep it circular. Aim for a diameter about 1-2 inches larger than your pie dish.
Step 6: Transfer to Pie Dish and Trim
Gently roll the dough around your rolling pin and unroll it over the pie dish. Press it in lightly, making sure it fits snugly without stretching. Trim excess dough with scissors or a knife, leaving about a 1-inch overhang. Tuck it under itself and crimp the edges as desired.
Tips for the Flakiest Crust
Achieving a pie crust that’s tender, crisp, and flaky isn’t just about following the recipe—it’s about technique and mindfulness. Here are some pro tips that will help you get that melt-in-your-mouth perfection every time:
- Keep Everything Cold: Cold ingredients are your best friend. Warm shortening can smear instead of cutting into the flour, ruining your flake factor. You can even chill your mixing bowl and utensils.
- Handle the Dough Gently: Overworking the dough develops gluten, which leads to toughness. Mix just until the ingredients come together, and never knead it like bread dough.
- Let the Dough Rest: Resting allows the gluten to relax and the fat to firm up again, making rolling easier and preventing shrinkage during baking.
- Use a Light Touch When Rolling: Apply even, gentle pressure and rotate the dough frequently to avoid sticking and tearing.
- Bake with a Hot Oven: Starting at 425°F helps set the crust before it has a chance to get soggy, especially if your filling is moist.
Following these steps will have your friends and family wondering if you’ve secretly gone to pastry school!
Common Mistakes to Avoid
Even seasoned bakers can slip up when making pie dough. Here are a few common mistakes to watch for, along with how to avoid them:
- Adding Too Much Water: It might seem like a splash more will help, but it can cause a sticky, hard-to-roll dough. Always start with the minimum amount and only add more if truly necessary.
- Overmixing: The more you work the dough, the tougher it gets. Once the dough holds together, stop mixing.
- Skipping the Chill Time: This step might feel optional, but it’s crucial. Without chilling, the fat melts prematurely and ruins the texture.
- Stretching the Dough into the Pan: If you stretch it to make it fit, it will shrink back when baking. Instead, gently ease it in.
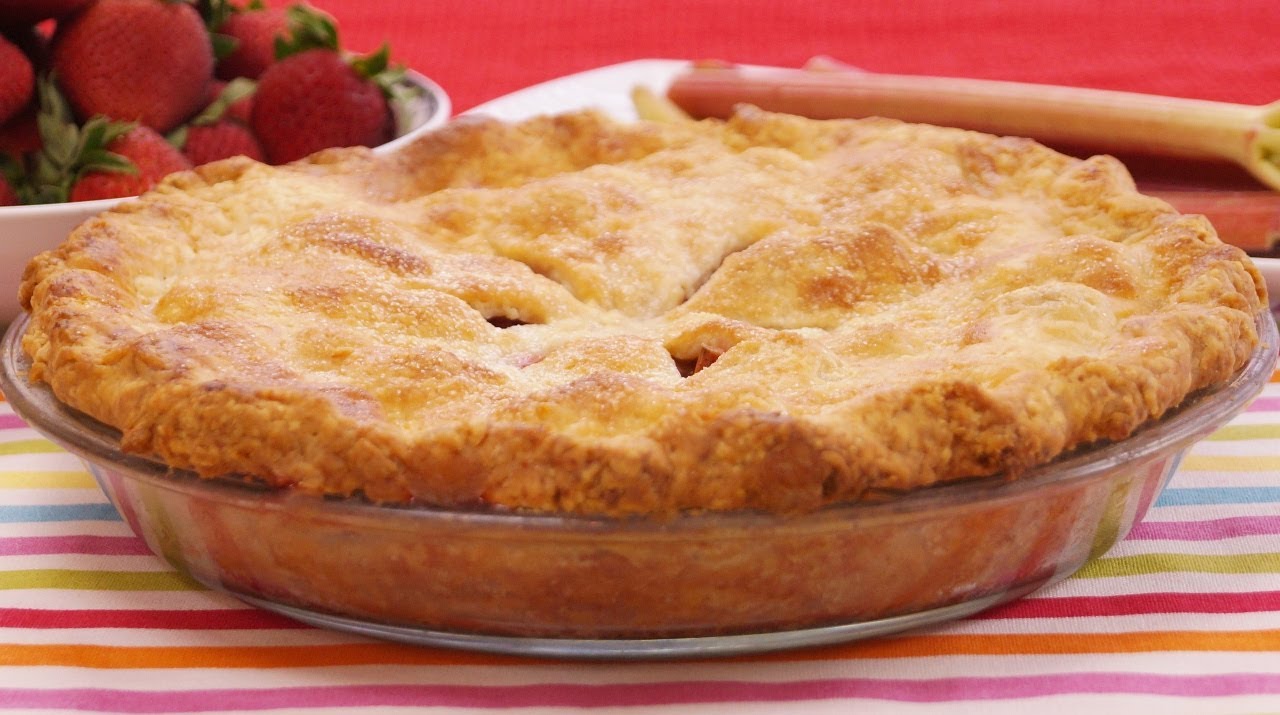
- Not Venting the Top Crust: For double-crust pies, slashing or venting is essential. It allows steam to escape and prevents a soggy crust.
Learning from these common slip-ups can make a massive difference in the final result.
How to Store and Freeze Crisco Pie Crust
One of the best things about Crisco pie crust is how well it stores. You can easily make it ahead and keep it ready for when the craving hits. Here’s how to store it properly:
Storing in the Fridge
- Wrapped Dough Disks: Once the dough is formed, wrap it tightly in plastic wrap and store it in the fridge for up to 3 days.
- Rolled Dough: You can roll it out and stack sheets of dough with wax paper in between. Wrap in plastic wrap or place in a resealable bag.
Freezing Pie Crust
- Raw Dough Disks: Freeze tightly wrapped dough for up to 3 months. Thaw overnight in the fridge before using.
- Unbaked Pie Shells: Place in pie pans, wrap tightly with plastic wrap and foil, and freeze. No need to thaw—just bake directly from the freezer (add 5-10 extra minutes).
This flexibility makes it easy to prepare pies ahead of time, especially during the busy holiday season.
Filling Ideas That Work Best with This Crust
Crisco pie crust is neutral in flavor, which makes it a great canvas for both sweet and savory fillings. Here are some ideas to get your creativity flowing:
Sweet Fillings:
- Classic Apple Pie: Spiced with cinnamon and nutmeg.
- Peach or Cherry Pie: Summer favorites with juicy, vibrant flavors.
- Pecan Pie: A Southern classic that contrasts beautifully with the flaky crust.
- Pumpkin Pie: Rich, creamy, and perfect for holidays.
Savory Fillings:
- Chicken Pot Pie: Creamy chicken and vegetables in a comforting, flaky shell.
- Quiche Lorraine: Eggs, bacon, and cheese nestled in the perfect crust.
- Meat Pies: Ground beef, onion, and seasonings make for a hearty meal.
Because this crust is so versatile, it’s a great base for experimenting. Add a bit of sugar to the dough for dessert pies or keep it plain for savory dishes.
FAQs about Crisco Pie Crust Recipe
1. Can I substitute butter for Crisco in this recipe?
Yes, you can substitute all or part of the Crisco with butter. Butter adds flavor, while Crisco improves texture. Many bakers use a 50/50 ratio for the best of both worlds.
2. Why is my pie crust tough instead of flaky?
This usually happens if you overmix the dough or add too much water. Use a gentle hand and keep the ingredients cold to avoid toughness.
3. How do I prevent the crust from getting soggy?
Blind baking (pre-baking the crust) for certain pies or brushing the inside with egg wash can help prevent sogginess, especially for wet fillings.
4. Can I freeze the pie dough for later use?
Absolutely! Wrap the dough tightly and store in the freezer for up to 3 months. Thaw in the fridge before using.
5. What’s the best way to crimp the edges of the pie crust?
Use your fingers to pinch the dough around the rim, or press with a fork for a simple design. Decorative crimping not only looks pretty but also seals in your filling.
Final Thoughts
Making pie crust from scratch can seem intimidating, but once you master this Crisco-based recipe, you’ll wonder why you ever bought pre-made dough. The key to success lies in the details: cold ingredients, minimal handling, and letting the dough rest. With practice, you’ll be crafting beautiful, flaky crusts that elevate your pies to a whole new level.
Whether you’re preparing for a special gathering, baking for fun, or simply craving a homemade pie, this Crisco pie crust is a foundational skill every baker should have in their back pocket.


