Choux Pastry Recipe: Looking to master the art of choux pastry? Whether you’re dreaming of crispy éclairs, airy cream puffs, or savory gougères, this step-by-step guide will take you from a pastry novice to a baking pro.
We’ll walk through every detail—from understanding what makes choux pastry unique, to mixing and baking like a pro.
Let’s roll up our sleeves and get baking!
Introduction to Choux Pastry
Choux pastry, also known as pâte à choux, is one of the foundational recipes in French patisserie. Unlike other doughs, it’s unique because it’s cooked twice—first on the stovetop and then in the oven. The result? A light, hollow shell that can be filled with everything from sweet whipped cream to savory cheese spreads.
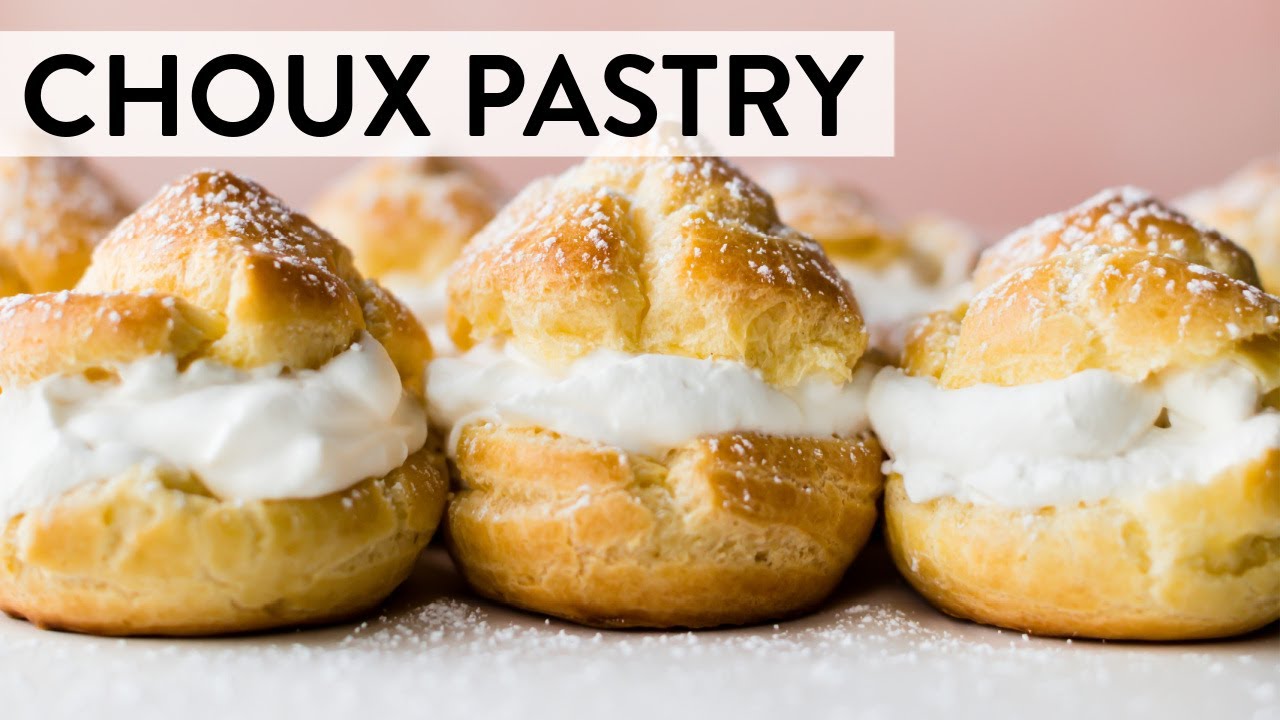
But what really sets choux pastry apart is its versatility. You’ve likely seen it in the form of cream puffs, éclairs, profiteroles, and even croquembouche. On the savory side, it’s used for gougères (cheese puffs) and even choux-based appetizers. The magic lies in the steam—the water in the dough turns into vapor in the oven, puffing up the pastry into a beautiful golden shell.
Choux pastry dates back to the 16th century, believed to have been invented by the chef of Catherine de Medici. Since then, it has evolved into a classic staple in French baking. But don’t let its fancy roots intimidate you. Once you understand the technique, choux pastry is surprisingly straightforward—and incredibly rewarding.
Ingredients Needed for Choux Pastry
Getting the ingredients right is crucial for achieving that perfect puff. Here’s what you’ll need for a basic batch:
Basic Ingredients List:
- 1 cup (240ml) water
- 1/2 cup (113g) unsalted butter
- 1/4 teaspoon salt
- 1 cup (120g) all-purpose flour
- 4 large eggs
Each ingredient plays a key role in the final outcome of your choux.
Importance of Each Ingredient:
- Water: Essential for creating steam, which makes the pastry puff in the oven.
- Butter: Adds flavor and richness. It also helps to create a smooth, emulsified dough.
- Salt: Enhances flavor. Even a pinch goes a long way.
- Flour: Provides structure. All-purpose flour is ideal for the right balance of protein and starch.
- Eggs: Act as a binder and provide moisture and structure. They also contribute to the golden color of the pastry.
Make sure to use fresh, high-quality ingredients for best results. Room temperature eggs and properly measured flour (by weight if possible) can make a significant difference in texture and rise.
Kitchen Tools You’ll Need
You don’t need a kitchen full of gadgets to make perfect choux, but a few key tools can really elevate your baking game.
Essential Equipment:
- Medium saucepan: For cooking the dough over the stove.
- Wooden spoon or silicone spatula: Helps mix the dough without damaging it.
- Mixing bowl: If you’re using a hand mixer, you’ll need a bowl for adding eggs.
- Electric mixer or strong arms: Incorporating the eggs requires elbow grease if you’re mixing by hand.
- Piping bag with round or star tip: For shaping the dough before baking.
- Baking sheet: Line it with parchment paper or a silicone baking mat.
- Oven thermometer: Choux pastry is sensitive to temperature—accuracy matters.
Optional but Helpful Tools:
- Stand mixer: Saves time and ensures even mixing of eggs.
- Pastry brush: Useful for applying egg wash or brushing off excess flour.
- Cooling rack: For allowing baked pastries to cool evenly and stay crisp.
Having your tools ready and ingredients pre-measured is the best way to ensure your baking process goes smoothly. Choux pastry moves quickly once you start, so it’s essential to be prepared before the heat hits the pan.
Step-by-Step Guide to Making Choux Pastry
Alright, this is where the magic happens. Let’s break down the process of making choux pastry into five simple, foolproof steps.
Step 1: Preparing the Dough (Panade)
Start by combining the water, butter, and salt in a medium saucepan over medium heat. Bring it to a gentle boil, stirring occasionally to melt the butter completely. As soon as it reaches a boil, reduce the heat to low and add the flour all at once.
Now, stir vigorously with a wooden spoon or spatula. You’ll notice the mixture coming together into a thick, sticky dough. Keep cooking and stirring for about 2–3 minutes. You want to dry out the dough slightly—it should pull away from the sides of the pan and form a smooth ball. This is your panade, the cooked dough base.
Why is this step so important? This pre-cooking helps the starches gelatinize, giving the choux pastry its ability to hold structure and puff beautifully in the oven.
Once your dough is smooth and slightly shiny, transfer it to a mixing bowl. Let it cool for about 5 minutes before adding the eggs—if the dough’s too hot, it’ll cook the eggs instead of mixing them in.
Step 2: Adding Eggs for Texture and Lift
Once your panade has cooled slightly, it’s time to incorporate the eggs—this is where the texture magic happens. The eggs give choux pastry its signature puff and golden sheen. But here’s the trick: don’t just dump all the eggs in at once.
Crack your eggs into a separate bowl and lightly beat them. Begin adding the eggs to the dough one at a time (or in small portions if using a mixer). Mix thoroughly after each addition. If you’re doing this by hand, it’ll take some elbow grease, but keep going—it’s worth it. With a stand or hand mixer, use the paddle attachment and mix on medium speed.
After each egg, the dough may look a bit slimy or separated. Don’t panic! Keep mixing. Eventually, it will come together into a smooth, glossy paste. The final dough should be thick enough to hold its shape but soft enough to pipe. To test, lift the spoon or spatula from the dough—if it forms a “V” shape that slowly folds over itself, it’s ready.
Be cautious not to over-add eggs. Depending on humidity and flour brand, you might not need the full amount. Add gradually and test the texture as you go.
Step 3: Piping the Dough
Now that your dough is ready, it’s time to shape it. Fit a piping bag with a large round or star tip. Fill the bag with the choux dough—an easy way to do this is to place the bag inside a tall glass and fold the edges over the rim for support.
Line a baking sheet with parchment paper or a silicone mat. For cream puffs, pipe small mounds about 1.5 inches wide. For éclairs, pipe long strips about 4 inches in length. Leave enough space between each to allow for expansion in the oven.
If you notice peaks from piping, gently smooth them with a damp fingertip. Peaks can burn before the pastry is done baking. Optional: brush with a lightly beaten egg (egg wash) for a shinier finish.
To ensure even puffing, you can sprinkle the tray with a few drops of water or spritz the tray lightly before baking. This adds extra steam to the oven, giving your pastry a little boost in rise.
Step 4: Baking to Perfection
Preheat your oven to 400°F (200°C). The initial high temperature helps generate steam and lift the dough. Bake for 15 minutes without opening the oven. Seriously—do not open the door, or they’ll deflate!
After 15 minutes, reduce the temperature to 350°F (175°C) and continue baking for another 15–20 minutes, depending on the size of your pastries. They should be golden brown, firm to the touch, and feel hollow when tapped.
Once done, remove from the oven and use a skewer or the tip of a knife to poke a small hole in each pastry. This releases steam and helps prevent sogginess inside. Place them back in the oven (turned off, door ajar) for 5–10 minutes to dry out further.
This step might seem small, but it makes a huge difference. Drying out the interior gives you a crisp shell that won’t go limp when filled.
Step 5: Cooling and Filling
Let your choux pastries cool completely on a wire rack before filling. If you fill them while warm, the filling can melt or cause sogginess. Once cool, you can slice them open or pipe the filling through the hole you poked earlier.
For sweet options, try whipped cream, pastry cream, chocolate mousse, or fruit preserves. For savory versions, fill with herbed cream cheese, smoked salmon mousse, or curried chicken salad. The possibilities are endless!
Once filled, dust with powdered sugar, dip in chocolate ganache, or simply enjoy as-is. Choux pastry is best enjoyed the same day it’s filled, but you can store unfilled shells in an airtight container for up to two days—or freeze them for longer.
Common Mistakes to Avoid
Even experienced bakers can trip up with choux pastry. Here are the most common pitfalls and how to avoid them:
Overmixing or Undermixing the Eggs
Adding too many eggs can make your dough too runny, and not enough can result in pastries that don’t puff. Always test the dough’s consistency—it should slowly fall from the spoon in a thick ribbon.
Skipping the Drying Step
Failing to dry the dough in the pan can result in soggy, heavy pastry. That stovetop cooking phase is crucial to evaporate excess moisture and create the structure needed for the pastry to rise.
Opening the Oven Too Early
We get it—you’re excited to check on your beautiful puffs. But resist the urge. Opening the oven early lets out steam and heat, causing your pastries to collapse.
Incorrect Oven Temperature
An oven that’s too cool won’t generate enough steam. Too hot, and the outside will brown too quickly, leaving the inside raw. Use an oven thermometer to ensure accurate temps.
Improper Cooling
Not poking a hole in the pastry after baking traps steam inside, leading to sogginess. Always let them cool completely on a wire rack before filling.
FAQs about Choux Pastry Recipe
1. Can I make choux pastry ahead of time?
Yes! You can prepare the dough up to 1 day in advance and store it in the refrigerator. Bring it back to room temperature before piping and baking. Alternatively, bake the shells, freeze them, and crisp them up in the oven just before filling.
2. Why did my choux buns collapse?
Most likely, the oven door was opened too early or the pastries were underbaked. Make sure to bake them until they’re deeply golden and firm. Also, poke a small hole to release steam and dry them out properly.
3. How do I store choux pastry?
Unfilled choux shells can be stored in an airtight container at room temperature for 1–2 days. Once filled, they’re best eaten the same day as the filling softens the pastry over time.
4. Can I freeze choux pastry?
Absolutely. Freeze unfilled shells in a single layer on a tray, then transfer to a ziplock bag once solid. Reheat at 350°F (175°C) for 5–10 minutes to restore crispiness before filling.
5. What’s the best filling for cream puffs?
Classic pastry cream is a favorite, but whipped cream, custard, mousse, or even ice cream work beautifully. You can flavor the cream with vanilla, chocolate, fruit, or even coffee for an extra punch.
Conclusion
Once you get comfortable with the basic recipe, the variations are endless. Want something sweet? Fill with pastry cream and top with chocolate glaze. Feeling savory? Stir in some grated cheese for gougères that’ll blow your mind. The structure of choux is the perfect canvas for your culinary creativity.
One last tip—practice really does make perfect with choux pastry. Don’t be discouraged if your first batch isn’t bakery-worthy. Take notes, tweak your technique, and try again. The reward? Light, crisp, golden puffs filled with whatever deliciousness your heart desires. Trust the process, and soon enough, choux will become one of your go-to showstoppers.