Cake Flour Recipe: Cake flour is the secret weapon behind those light, tender, and melt-in-your-mouth cakes we all adore. It’s a finely milled flour made from soft wheat, containing a lower protein content than all-purpose flour—typically around 7-9% compared to 10-12%. This lower protein level means less gluten forms when mixing the batter, leading to a finer, softer crumb in cakes, cupcakes, and other delicate baked goods.
Ever wondered why bakery cakes have that perfect, fluffy texture? That’s cake flour doing its magic. It’s especially ideal for recipes like sponge cakes, chiffon cakes, and angel food cakes where tenderness is crucial. While it’s a staple in many professional kitchens, not everyone keeps it stocked at home. The good news? You can make your own cake flour using simple pantry ingredients, and it works wonderfully.
Cake flour also absorbs more liquid and sugar than regular flour, giving cakes a higher rise and smoother texture. In short, it’s the baker’s best friend for anything soft and elegant.
Why Use Cake Flour Instead of All-Purpose Flour?
All-purpose flour is versatile and great for a wide range of baked goods, but when it comes to ultra-light cakes, it tends to fall short. Here’s why cake flour wins:
- Lower Protein Content: Less protein means less gluten, and less gluten means a more tender cake.
- Finer Texture: Cake flour is ground much finer than all-purpose, resulting in a smoother batter and finished product.
- Better Absorption: Cake flour holds onto moisture and sugar more effectively, giving your cake a rich but airy feel.
Swapping all-purpose flour for cake flour is not always straightforward. For example, if you use all-purpose flour in a recipe meant for cake flour, your cake might come out a bit denser and drier than intended. That’s why making or buying cake flour is worth it for those special baking days.
Ingredients and Tools You’ll Need
Basic Ingredients for Homemade Cake Flour
Creating cake flour at home is surprisingly easy. You only need two common ingredients:
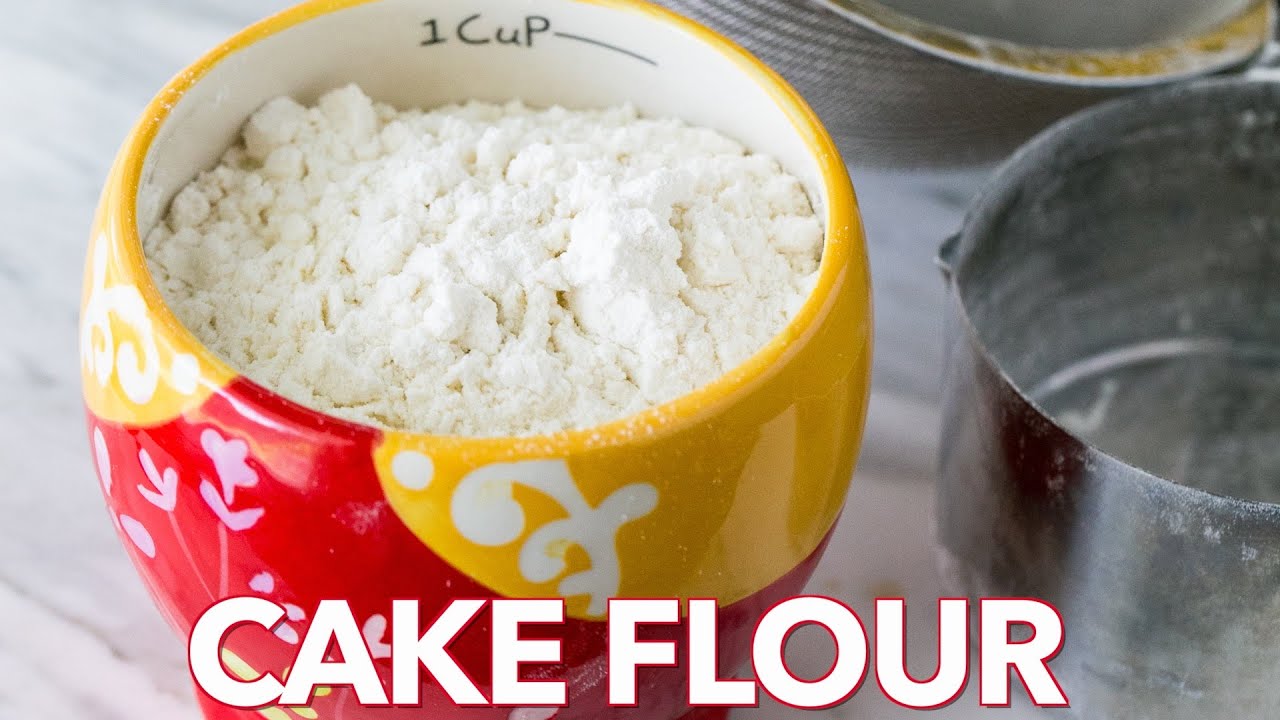
- All-Purpose Flour: 1 cup (120 grams)
- Cornstarch: 2 tablespoons (16 grams)
Cornstarch is the key player here—it helps dilute the protein content of the all-purpose flour and adds a bit of that silky texture cake flour is known for. It also tenderizes the gluten strands, helping your cake stay light and airy.
The general rule of thumb is simple: for every cup of all-purpose flour, remove 2 tablespoons and replace them with 2 tablespoons of cornstarch. Mix them well, and you’ve got cake flour in minutes.
Want to make a larger batch? Just scale the ratio. For example:
- 2 cups all-purpose flour → remove 4 tablespoons and replace with 4 tablespoons of cornstarch.
This way, you’ll always have a ready supply whenever inspiration strikes.
Tools Required for Preparation
You don’t need fancy equipment to whip up your own cake flour. Here’s what you’ll need:
- Measuring Cups and Spoons: Accuracy is key.
- Fine Mesh Sieve or Flour Sifter: For a uniform mixture.
- Mixing Bowl: Medium to large size.
- Spoon or Spatula: To combine the ingredients.
If you bake regularly, investing in a digital kitchen scale is highly recommended. Weighing ingredients instead of using volume measurements ensures precision, especially with baking where small differences can impact results.
The fine mesh sieve or sifter is particularly important. It not only mixes the flour and cornstarch evenly but also aerates the flour, making it even lighter—just like the commercial product.
Step-by-Step Cake Flour Recipe
Step 1: Measuring the All-Purpose Flour
Start by measuring out one level cup of all-purpose flour. Make sure not to scoop directly from the bag—this can lead to compacted flour and inaccurate measurements. Instead, spoon the flour into the measuring cup and level it off with the back of a knife.
Accuracy matters in baking more than in almost any other form of cooking. Even a tablespoon too much can alter the texture of your cake. So take the time to measure carefully.
If you’re using a kitchen scale (which is highly recommended), one cup of all-purpose flour weighs about 120 grams. This helps you stay precise and avoid any guesswork.
Step 2: Removing and Replacing with Cornstarch
Next, remove 2 tablespoons of the all-purpose flour from your measured cup. Discard it or save it for another use.
Now, add 2 tablespoons of cornstarch to the flour. This substitution reduces the overall protein content of the flour mixture, effectively mimicking the properties of true cake flour.
Here’s the science behind it: Cornstarch doesn’t contain gluten. By replacing a bit of high-protein all-purpose flour with cornstarch, you’re weakening the gluten network, which gives you a much softer crumb.
This little swap might seem trivial, but it makes a noticeable difference in your cakes. Try it once and you’ll be amazed at the results.
Step 3: Sifting the Mixture Properly
Now it’s time to sift. Pour your flour-cornstarch mixture through a fine mesh sieve or flour sifter into a clean bowl.
But don’t stop at one sift—repeat the process at least five times. Yes, it sounds excessive, but trust me, it’s worth it. Each sift evenly distributes the cornstarch and aerates the mixture, giving you that fluffy, soft texture cake flour is famous for.
The end result should be a light, powdery flour that feels almost silky to the touch. That’s when you know it’s ready to go.
After your final sift, transfer your homemade cake flour to an airtight container if you’re not using it right away. Label it, store it in a cool, dry place, and it’ll stay fresh for months.
Tips for Best Results
Storage and Shelf Life
Proper storage can make all the difference when it comes to keeping your homemade cake flour fresh and ready to use. While the ingredients are simple, how you store them impacts their effectiveness and longevity.
First, always use an airtight container. Exposure to air allows moisture and contaminants to creep in, which can lead to clumping or spoilage. Moisture is especially problematic because it can ruin the fine, powdery texture and even cause mold over time.
Next, consider your storage location. Cake flour should be kept in a cool, dark, and dry place—your pantry or a cupboard away from direct sunlight is ideal. Avoid areas near the oven or stove where temperature fluctuations can affect shelf life.
If you’re in a particularly humid climate, an extra tip is to add a small food-safe silica gel packet to the container. It helps keep the flour dry and extends its usability.
Homemade cake flour will typically last up to 6 months under the right conditions. But always give it a quick check before use—look out for odd smells, discoloration, or clumps. If anything seems off, it’s better to make a fresh batch.
Also, label your container with the preparation date. This small habit saves you from second-guessing later and ensures you’re using fresh ingredients every time you bake.
And here’s a bonus: if you plan on baking frequently, make a larger batch and store it in bulk. This saves time and ensures consistent results in your cakes.
When to Use Cake Flour in Baking
Not every recipe calls for cake flour, so knowing when to use it is crucial for perfect bakes. Cake flour shines brightest in recipes where tenderness, fine crumb, and softness are key. Think:
- Sponge cakes
- Chiffon cakes
- Angel food cakes
- Cupcakes
- Layer cakes
- Pound cakes (for a softer texture)
It’s especially useful for recipes that use the creaming method—where butter and sugar are beaten together before adding eggs and flour. In these cases, the low protein content of cake flour ensures the structure remains light without becoming tough.
Avoid using cake flour in recipes where a sturdier structure is needed, like:
- Bread
- Pizza dough
- Cookies (unless you want them super soft)
- Muffins with a lot of add-ins
You can also use cake flour to tone down the chewiness of certain cookie recipes, but it’s best for cakes and pastries where a delicate crumb is desired.
And if you’re substituting it into a recipe that originally calls for all-purpose flour, reduce the amount slightly—use 1 cup plus 2 tablespoons of cake flour for every 1 cup of all-purpose flour. This helps match the overall weight and protein content closer to the original recipe.
FAQs about Cake Flour Recipe
1. What makes cake flour different from other flours?
Cake flour is made from soft wheat and has a lower protein content (about 7-9%) compared to all-purpose flour (10-12%). This results in less gluten development, making baked goods lighter and more tender.
2. Can I use cornstarch alternatives?
Yes, arrowroot powder can be used as a substitute for cornstarch in a 1:1 ratio. However, cornstarch gives the best texture when mimicking cake flour.
3. How do I store cake flour properly?
Store in an airtight container in a cool, dry place. If stored correctly, homemade cake flour can last up to 6 months.
4. Is it okay to use homemade cake flour for any cake?
Homemade cake flour works best in recipes that specifically call for cake flour. It’s ideal for light and fluffy cakes but not for dense or structured cakes.
5. Can I buy pre-made cake flour instead?
Absolutely. Brands like Swans Down and King Arthur offer excellent cake flour. However, making it at home is a great backup or budget-friendly option.
Conclusion
Remember, the real secret to baking isn’t always in exotic ingredients or fancy equipment. Often, it’s about understanding how each element affects your final product. By swapping just two tablespoons of flour for cornstarch and giving it a good sift, you’re changing the very structure of your cake. Less gluten, more tenderness, and a crumb that’s to die for.
So the next time you’re whipping up a celebration cake, cupcakes for a birthday, or just craving something sweet and soft, reach for your homemade cake flour. It’s a small step that makes a big difference.
And if you’ve never tried making it yourself, now’s the time. With this guide, you’ve got all the tools you need to create bakery-worthy results right from your kitchen.