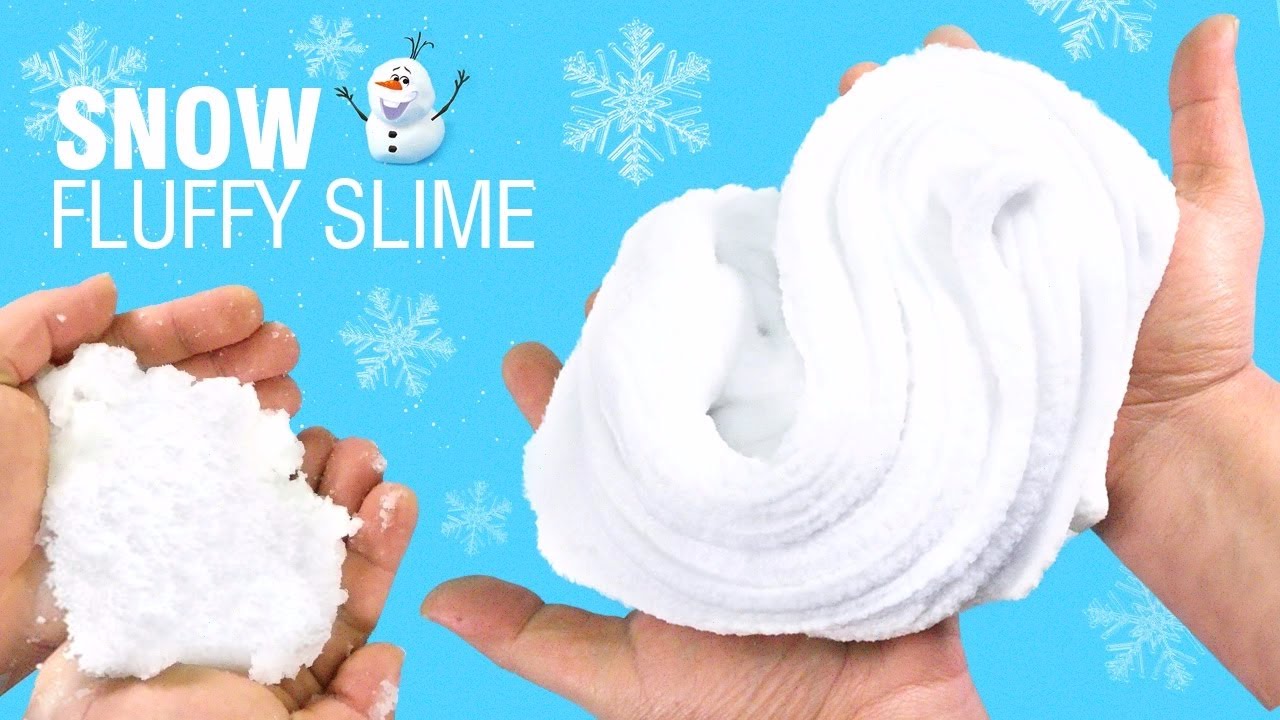
Butter Slime Recipe: Creating your own butter slime at home is one of the most satisfying and fun DIY crafts you can do, especially if you’re into sensory play. Butter slime isn’t just for kids—teens and adults find its soft, spreadable texture incredibly soothing. If you’re wondering how to make butter slime that’s soft, stretchy, and just plain fun to play with, this guide will walk you through every step with clear, simple instructions.
Introduction to Butter Slime
If you’ve ever seen slime videos online or scrolled through DIY Instagram reels, you’ve likely come across butter slime. It’s that silky, stretchy slime that spreads like softened butter and makes those deliciously satisfying squish sounds. Unlike traditional slime, butter slime has a doughy, almost clay-like consistency, which makes it super moldable and perfect for stress relief or sensory exploration.
Butter slime got its name from its buttery texture and smooth spreadability. While it’s not edible (so don’t try tasting it!), the consistency is reminiscent of soft, whipped butter, which is part of the appeal. The tactile experience is unlike any other slime—it’s firmer than regular slime but still stretchy and soft.
Why is it so popular? Well, butter slime offers a ton of sensory fun. It’s great for calming fidgety hands, perfect for ASMR videos, and a creative outlet for kids to mix colors, scents, and textures. Plus, it doesn’t leave behind as much residue as other slimes, making it a little easier to clean up.
Essential Ingredients for Butter Slime
Before diving into the slime-making process, you’ll need to gather your ingredients. Most of them are probably already lying around your house or are easily available at your local craft or dollar store.
Here’s a list of what you’ll need:
- White school glue (PVA glue) – This forms the base of your slime.
- Shaving cream – Adds fluffiness and volume.
- Cornstarch – Helps thicken the slime and adds that doughy texture.
- Baking soda – Works as a slime activator enhancer.
- Saline solution (contact lens solution) – Contains boric acid, which activates the slime.
- Soft clay (like Daiso clay or Model Magic) – The key to achieving the buttery texture.
- Food coloring (optional) – For vibrant or pastel hues.
- Scented oils or extracts (optional) – Make your slime smell amazing!
Where to Get Them?
- Craft stores like Michaels or Hobby Lobby
- Supermarkets and pharmacies for glue and contact solution
- Online marketplaces like Amazon
Safety Tips: Always choose non-toxic, kid-safe products, especially if children are making or playing with the slime. Check ingredient labels and avoid strong chemicals.
Tools You’ll Need to Make Butter Slime
While the ingredients are important, having the right tools can make the slime-making process easier and cleaner. Don’t worry, you probably have most of these in your kitchen already.
Basic Tools:
- Mixing bowls (preferably plastic)
- Measuring spoons and cups
- A sturdy spatula or spoon for stirring
- Airtight containers for storage
Optional But Helpful Tools:
- Rubber gloves (to keep hands clean, especially when adding color)
- Ziplock bags (for kneading the clay into slime)
- Silicone mat or tray (protects surfaces from mess)
Cleaning Tips:
Slime can be messy if not handled properly. To avoid glue or clay sticking to your surfaces, lay down some parchment paper or use a silicone craft mat. Keep a damp cloth nearby for quick cleanups, and always wash your hands before and after playing with slime.
Step-by-Step Instructions for Making Butter Slime
Now that you’ve gathered all the ingredients and tools, it’s time for the fun part: making the butter slime! This process is simple enough for beginners and safe enough for kids (with adult supervision, of course).
Step 1: Prepare Your Workspace
Choose a flat, clean surface like a kitchen table or countertop. Cover it with a mat or paper to keep things tidy. Lay out all your tools and ingredients so everything is within easy reach.
Step 2: Mix the Base Ingredients
- Pour about ½ cup of white school glue into your mixing bowl.
- Add 2-3 tablespoons of shaving cream for a fluffier texture.
- Mix in 1 teaspoon of baking soda and stir until combined.
- Add a few drops of food coloring if desired, and mix thoroughly until the color is uniform.
Step 3: Activate the Slime
- Slowly add your saline solution, starting with 1 tablespoon.
- Stir continuously until the slime begins to pull away from the sides of the bowl.
- Knead the slime with your hands. If it’s too sticky, add more saline solution a few drops at a time.
Step 4: Add the Clay
- Take a handful of soft modeling clay (about the size of a golf ball).
- Mix it into your slime either by folding it in with your hands or placing both in a ziplock bag and kneading from the outside.
- Continue kneading until the slime becomes soft, spreadable, and no longer sticky.
Step 5: Store It Properly
Once your butter slime is ready, store it in an airtight container to keep it from drying out. A reusable plastic container with a tight-fitting lid works best. If stored properly, it can last for several weeks.
Customizing Your Butter Slime
Want to make your butter slime extra special? There are endless ways to customize it:
Color It Your Way
You can go pastel with soft food coloring or bold with neon dyes. Just a few drops can transform the whole batch.
Add a Sweet Scent
Essential oils like lavender or citrus give your slime a pleasant aroma. Vanilla extract or bubblegum scents can make it smell like candy (but remember—it’s still not edible!).
Throw in Some Add-ins
- Glitter for sparkle
- Foam beads for a crunchy texture
- Small charms or confetti for themed slimes
You can even create seasonal or holiday-themed butter slimes—think pumpkin spice in fall or peppermint for winter.
Common Mistakes to Avoid When Making Butter Slime
Even though making butter slime is pretty straightforward, there are some common mistakes that can ruin your final product. Knowing what to avoid will save you a lot of time, frustration, and wasted ingredients.
Using the Wrong Type of Glue
One of the most frequent mistakes is using glue that isn’t suitable for slime. You need to use PVA glue—typically labeled as school glue or white craft glue. Some clear glues or off-brand glues won’t react properly with activators and can result in sticky, runny messes that never firm up.
Adding Too Much Activator
Another major issue is adding too much saline solution. It’s tempting to keep adding more when the slime feels sticky, but this can make the slime stiff, rubbery, or break apart easily. A better approach is to knead the slime thoroughly first. Often, stickiness reduces with kneading.
Not Kneading the Clay Properly
The clay needs to be worked into the slime gradually. Dumping a big lump of clay into the slime can cause uneven texture. Instead, mix it in little by little. You want a smooth and buttery consistency, not a lumpy or flaky one.
Overloading with Add-ins
Customizing is fun, but overdoing it with glitter, foam beads, or scents can disrupt the texture. Too much glitter or liquid scent can make the slime sticky or watery. Use add-ins sparingly, especially in your first few batches.
How to Store Butter Slime for Longevity
Once you’ve created the perfect batch of butter slime, you’ll want to keep it fresh and usable for as long as possible. Without proper storage, slime can dry out, get moldy, or lose its signature texture.
Use Airtight Containers
Always store your slime in an airtight container. Small Tupperware, empty food containers, or resealable plastic jars work perfectly. Air exposure is the biggest reason for drying out, so keeping that lid tight is essential.
Avoid Heat and Direct Sunlight
High temperatures can cause your slime to melt or become overly sticky. Keep it in a cool, dry place—ideally at room temperature. Avoid storing it near windows or heat vents.
Rehydrate If Needed
If your butter slime begins to dry out, there are ways to bring it back to life. Add a drop of lotion or a small dab of glue and knead it well. This can restore softness and stretch.
Signs It’s Time to Toss It
If your slime starts to smell bad, changes color, or grows mold (especially if it’s been exposed to moisture), it’s time to let it go and make a fresh batch.
Fun Activities to Do With Butter Slime
Butter slime isn’t just fun to make—it’s great for a variety of creative and educational activities. Whether you’re a parent looking to engage your child or just someone who enjoys sensory crafts, there are lots of ways to use your slime.
Sensory Play for Kids
Kids love the feel of butter slime. It helps develop motor skills, creativity, and can even be calming for children with sensory sensitivities. You can hide small toys or alphabet beads in the slime for a fun treasure hunt.
DIY Slime Challenges
Invite friends over for a slime-making challenge. See who can create the best texture, color combo, or most creative themed slime. It’s a great way to spend a rainy afternoon or host a fun party.
Slime Art Projects
Use your butter slime to “paint” on wax paper or silicone mats. Create swirls, flowers, or abstract designs. Once you’re done, you can just scoop it back up and reuse it.
Therapeutic Stress Relief
The soft, stretchy texture of butter slime makes it ideal for stress relief. Keep a small container on your desk and take slime breaks during work or study sessions.
Hosting a Butter Slime Party
Butter slime parties are a hit with kids and teens alike. They’re colorful, engaging, and let guests take home a fun, handmade souvenir. Planning a slime party may sound messy, but with a bit of preparation, it can be the highlight of your event.
Planning the Setup
Start by setting up slime stations. Each station should have:
- Pre-measured ingredients
- Disposable mixing bowls and spoons
- A selection of clay, food coloring, and add-ins
- Wet wipes or paper towels for quick clean-ups
Cover tables with plastic or disposable tablecloths. Set up trash bins nearby and offer aprons or old T-shirts to keep clothes clean.
Group Activity Ideas
Make it interactive by including:
- Slime-making contests
- Best color or texture challenge
- DIY slime container decorating
Give each participant a container to take home their creation. Add cute labels or stickers to personalize their jars.
Party Favors and Decorations
Use slime-themed decorations like balloons shaped like slime splats or table signs in gooey fonts. For favors, small tubs of pre-made slime or DIY kits make great take-home gifts.
Educational Benefits of Making Butter Slime
Believe it or not, slime isn’t just for play—it also offers surprising educational perks. Making and playing with butter slime can enhance a child’s development in fun and subtle ways.
STEM Learning at Its Best
Mixing ingredients and observing how they react teaches basic chemistry. Kids see firsthand how certain substances change when combined—like glue turning into a stretchy, solid mass.
Encourage kids to ask questions like:
- What makes slime stretchy?
- What happens if I add more clay?
- How does the activator work?
These small experiments nurture curiosity and problem-solving skills.
Improves Fine Motor Skills
Kneading and shaping slime improves hand strength and coordination. For younger children, it can help with grip and control, which are essential for writing and other everyday tasks.
Boosts Focus and Creativity
The repetitive, soothing motions of playing with butter slime can increase focus and reduce anxiety. Plus, customizing colors, textures, and scents encourages artistic expression and creativity.
Making Butter Slime Without Borax
Not everyone is comfortable using Borax or borate-based activators like saline solution, especially for young kids. Fortunately, there are borax-free alternatives that still produce excellent slime.
Cornstarch and Shampoo Method
One popular borax-free method combines:
- Cornstarch
- Thick shampoo
- A few drops of water
Mix these ingredients until a soft dough forms. While it won’t be quite as stretchy as regular butter slime, it still offers a smooth, moldable texture.
Dish Soap and Glue Method
Another method uses:
- White glue
- Dish soap
- Cornstarch
This mixture creates a soft, pliable slime that’s safe and easy to make. The key is to adjust the cornstarch amount slowly until the consistency is just right.
Using Natural Clay
You can also use a natural clay-based dough like Play-Doh mixed with a small amount of lotion or conditioner for a soft, buttery consistency that mimics slime.
Troubleshooting Your Butter Slime
Even seasoned slime makers run into issues. Don’t worry—most butter slime problems are fixable with a few tweaks.
Too Sticky
Add a tiny bit more saline solution or baking soda. Be sure to knead well before adding more.
Too Stiff or Rubbery
You’ve likely added too much activator. Try working in a small amount of warm water or white glue to soften it back up.
Not Stretchy Enough
Add a touch of lotion or baby oil. This can restore elasticity and smooth out any roughness caused by over-kneading.
Drying Out Quickly
Make sure your storage container is truly airtight. A small piece of damp paper towel placed inside the container (but not touching the slime) can help maintain moisture.
Why Butter Slime is Better Than Other Types
There are many types of slime—fluffy, crunchy, clear, and more—but butter slime stands out for several reasons. It’s often considered the best type for beginners and those who enjoy tactile sensory play.
Superior Texture
Butter slime’s smooth, spreadable texture is ideal for stress relief. It’s soft enough for squeezing but firm enough to hold shapes, making it perfect for modeling and crafting.
Less Mess
Unlike traditional slimes that can be sticky and messy, butter slime is relatively low-maintenance. It doesn’t drip or leave as much residue, making it ideal for kids or indoor play.
Longer Lasting
When made and stored correctly, butter slime tends to hold up longer than other varieties. It’s less prone to drying out and stays soft for weeks.
More Customization
From color mixing to scent blending, butter slime gives you more flexibility to personalize. The clay component lets you adjust the texture to your exact liking, which isn’t as easy with clear or fluffy slimes.
FAQs about Butter Slime Recipe
If you’re new to slime-making, you probably have a few questions. Here are answers to the most commonly asked ones:
1. Is Butter Slime Safe for Kids?
Yes, when made with non-toxic ingredients like PVA glue and kid-friendly clay, butter slime is generally safe for children. However, always supervise younger kids to ensure they don’t try to eat it or get it in their eyes.
2. Can I Use Lotion Instead of Clay?
Some people try to substitute clay with lotion to make the slime softer. While lotion can help with softness, it won’t give the same buttery texture that clay provides. For best results, stick with soft modeling clay.
3. Why Is My Slime Too Sticky?
Sticky slime usually means there’s not enough activator or the ingredients haven’t been mixed properly. Add a small amount of saline solution and knead thoroughly. Go slow—adding too much can ruin the texture.
4. How Long Does Butter Slime Last?
When stored properly in an airtight container, butter slime can last 1–3 weeks. Over time, it may dry out or lose its texture, but proper care can extend its life.
5. Can I Add Essential Oils to My Slime?
Yes! Essential oils like lavender, peppermint, or citrus can add a pleasant aroma. Just be sure to use skin-safe oils and add only a drop or two at a time.
Conclusion
Butter slime isn’t just a trend—it’s a creative, sensory-friendly activity that’s fun for all ages. Whether you’re a parent looking for a weekend project, a teacher incorporating hands-on science, or just a slime enthusiast, learning how to make butter slime will not only entertain but also educate and inspire. With the right ingredients, a bit of patience, and a splash of creativity, you can whip up batches of smooth, stretchy, and satisfying butter slime anytime.


