Easy Slime Recipe: Slime isn’t just a gooey mess—it’s a fun, sensory experience loved by both kids and adults. Whether you’re looking for a fun afternoon project or want to impress your little ones with a hands-on science experiment, making slime at home is a fantastic idea. It’s quick, budget-friendly, and doesn’t require anything fancy.
Why Slime is So Popular
You’ve seen it everywhere—on TikTok, YouTube, and probably in your kid’s backpack. Slime has taken the world by storm, and for good reason. It’s stretchy, squishy, and strangely satisfying to play with. For kids, it’s like modern-day Play-Doh. For adults, it’s oddly relaxing, like a stress ball you can mold. Plus, you can customize it endlessly—colors, textures, scents, glitter—the sky’s the limit!
Benefits of Making Slime at Home
Besides the fun factor, making slime at home is a great learning opportunity. It teaches kids about chemical reactions, measurements, and following instructions. It’s also a creative outlet. Want to make glow-in-the-dark slime? Go ahead. Want something that smells like strawberries and sparkles? You can make that too. Plus, homemade slime is often safer and cheaper than the store-bought kind.
Ingredients You’ll Need
Let’s talk supplies. The best part about slime is that you probably already have most of the ingredients at home. No need to break the bank.
Basic Slime Ingredients
Here’s what you’ll need to make classic slime:
- White school glue (PVA glue) – This is your slime’s base.
- Baking soda – Helps with thickening and texture.
- Contact lens solution (with boric acid) – This is the activator that makes the magic happen.
- Water – Helps mix things up and make your slime stretchier.
These four basic items are all you need to make a simple, satisfying batch of slime.
Optional Add-ins for Extra Fun
Want to spice up your slime game? Here are a few optional goodies:
- Food coloring – Add a few drops for vibrant colors.
- Glitter – Who doesn’t love a little sparkle?
- Foam beads – For crunchy slime.
- Scented oils – Make your slime smell like cupcakes or bubblegum.
- Shaving cream – For fluffy, cloud-like slime.
Customizing your slime makes it even more exciting, especially for kids who want something unique every time.
Step-by-Step Instructions to Make Slime
Now that you’ve got your ingredients, it’s time to dive into the fun part—making your slime. Here’s a foolproof guide that’ll walk you through every step.
Step 1 – Gather Your Supplies
Before you get started, make sure you’ve got everything laid out on a clean, flat surface. You’ll need:
- A mixing bowl
- A spoon or spatula
- Measuring cups and spoons
- All your ingredients within arm’s reach
It makes everything easier and keeps the mess to a minimum.
Step 2 – Mix the Glue and Water
Pour 4 ounces (1/2 cup) of white school glue into your bowl. Then, add 1/2 cup of water and stir until it’s fully mixed. This forms the base of your slime.
This step is crucial. If the glue and water aren’t well-mixed, your slime might come out lumpy or too sticky. Take your time to stir until it’s completely smooth.
Step 3 – Add Color and Extras
Now comes the fun part—customizing your slime. Add a few drops of food coloring and stir until you get the shade you want. If you’re adding glitter, foam beads, or scents, now’s the time.
This is where kids get to let their imaginations run wild. Want a unicorn-themed slime? Add pastel colors and iridescent glitter. Going for Halloween vibes? Use orange food dye and little plastic spiders. Go nuts!
Step 4 – Add the Activator
Time to bring your slime to life. Add 1/2 teaspoon of baking soda and mix well. Then, slowly add 1 tablespoon of contact lens solution, stirring continuously.
You’ll see the slime start to form almost instantly. It’ll pull away from the sides of the bowl and begin clumping together. If it’s still too sticky, add more contact lens solution a little at a time until it reaches the perfect texture.
Be careful not to overdo it—too much activator can make your slime stiff and rubbery.
Step 5 – Knead Until Perfect
Once the slime has formed, take it out of the bowl and start kneading it with your hands. This is where the texture really comes together.
At first, it might feel sticky or gooey, but keep kneading! Within a few minutes, you’ll have soft, stretchy, perfectly squishy slime.
Tips for the Perfect Slime
Getting your slime just right can take a little bit of tweaking. Here are some tried-and-true tips to make sure your slime always turns out amazing.
Fixing Sticky Slime
Uh-oh, is your slime sticking to your hands like bubblegum? Don’t worry—it’s an easy fix. Sticky slime usually means it needs a bit more activator. Add a few more drops of contact lens solution and knead it in until it firms up. But remember—less is more. If you add too much, your slime could turn into a rubbery mess.
Another common cause of sticky slime is not mixing the glue and water well enough at the start. Make sure that part of the process is super smooth before moving on to the next step.
If you’ve added a lot of extra stuff like glitter or foam beads, that can also throw off the balance. Just tweak the ingredients a little until it feels right in your hands—slime is forgiving like that.
How to Store Your Slime
Slime is fun, but no one wants to come back to a dry, crusty mess. Proper storage is key to keeping your slime fresh and stretchy for days (even weeks).
- Use an airtight container: A small Tupperware or even a ziplock bag will do the trick.
- Keep it cool: Don’t leave your slime in direct sunlight or near heat sources—it’ll dry out quickly.
- Add water if it starts drying out: Just a few drops and some kneading can revive semi-dried slime.
- Wash hands before and after playing: This keeps dirt and bacteria out of your slime, making it last longer.
Also, remember that homemade slime doesn’t have preservatives like the store-bought stuff. If it starts smelling weird or growing mold (gross, we know), it’s time to toss it and make a fresh batch.
FAQs about Easy Slime Recipe
Q1: What are the main ingredients for making slime at home?
A: The most common ingredients include white school glue, baking soda, and contact lens solution. Some variations use shaving cream, food coloring, or glitter for fun textures and colors.
Q2: Can I make slime without borax?
A: Yes! Many slime recipes use baking soda and contact lens solution instead of borax. These alternatives are gentler and safer, especially for kids.
Q3: How do I fix slime that’s too sticky?
A: Add a small amount of contact lens solution or a pinch of baking soda, then knead the slime until it becomes less sticky.
Q4: Is slime safe for children to play with?
A: Generally, yes. However, adult supervision is recommended, and it’s best to avoid ingestion or contact with eyes. Always check ingredient labels for allergens.
Q5: How long does homemade slime last?
A: When stored in an airtight container, slime can last up to a week or more. Discard if it becomes too sticky, dry, or develops an unpleasant odor.
Q6: Can I color my slime?
A: Absolutely! Add a few drops of food coloring or use glitter to customize your slime to any shade or sparkle you like.
Q7: Why is my slime hard and rubbery?
A: You may have added too much activator (like contact lens solution). Try kneading in a little warm water to soften it.
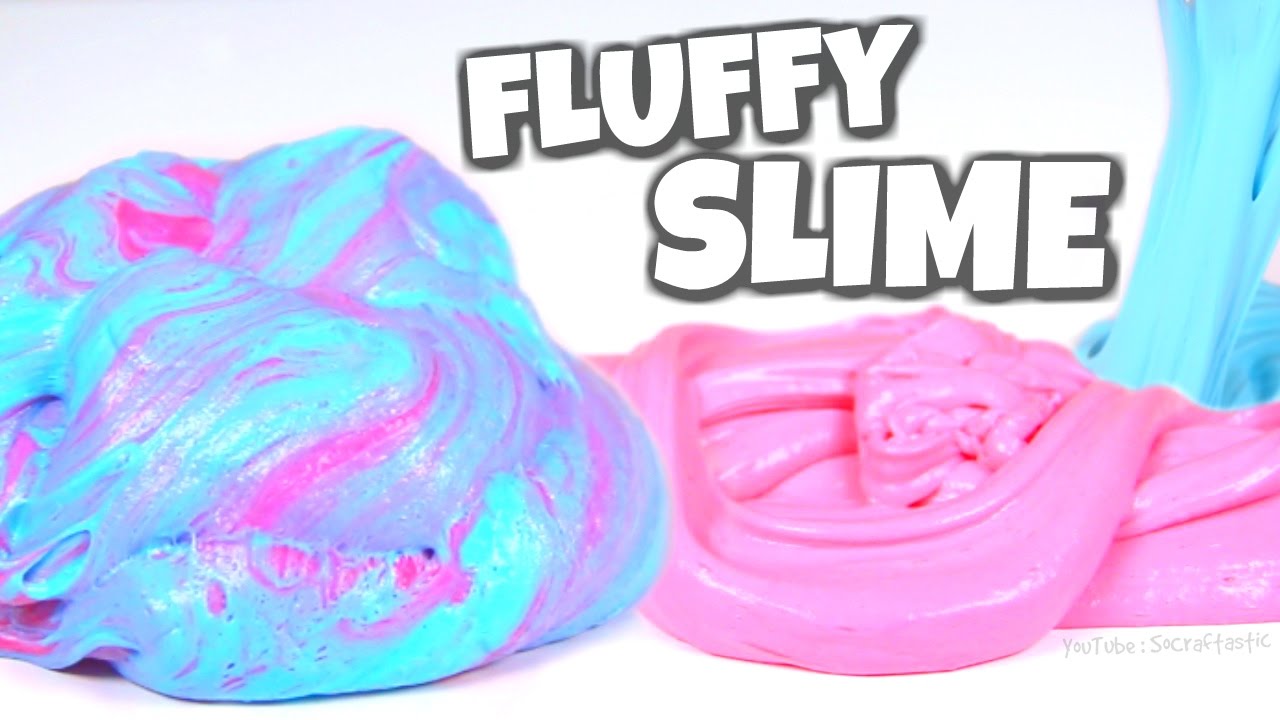
Q8: How can I make fluffy slime?
A: Mix in shaving cream before adding the activator. The more shaving cream you add, the fluffier the slime becomes.
Conclusion
And there you have it—the ultimate easy slime recipe with a step-by-step guide! Whether you’re doing it for a rainy-day activity, a birthday party, or just because it’s ridiculously fun, making slime at home is a win-win. It’s creative, educational, and seriously addicting.
Once you master the basics, the possibilities are endless. Try new textures, colors, and themes. Make it glow, make it crunchy, or even give it a galaxy swirl. Every batch can be something totally unique—and it never gets old.
So go ahead, roll up your sleeves and dive into the wonderfully gooey world of homemade slime. Happy sliming!


