Chocolate Milkshake Recipe: Let’s be honest—who doesn’t crave a creamy, chocolatey milkshake now and then? Chocolate milkshake has been a go-to dessert drink for generations, and for good reason. It’s rich, satisfying, and instantly brings a smile to your face. Whether you’re reminiscing about childhood memories or treating yourself after a long day, this classic drink never disappoints. It’s a perfect blend of milk, ice cream, and rich cocoa that creates a taste explosion in your mouth.
What makes it timeless is not just the flavor—it’s also the memories. Think soda fountains in the ’50s, ice cream parlors with friends, or late-night cravings that only a cold, frothy milkshake can fix. And let’s not forget how easy it is to customize. Want it thicker? Add more ice cream. Like it more chocolatey? Add extra syrup or cocoa powder. The simplicity and adaptability make it a staple in homes around the world.
Perfect Occasions to Enjoy a Chocolate Milkshake
You really don’t need an excuse to whip up a chocolate milkshake, but certain occasions just make it even better. Summer afternoons are a classic time when a chilled milkshake feels like heaven in a glass. Hosting a movie night? Serve milkshakes in mason jars with whipped cream and a cherry on top—your guests will love it. It’s also the perfect end to a romantic dinner, a birthday treat for kids, or a comforting hug in a cup when you’re feeling down.
Planning a barbecue? A milkshake works beautifully as a dessert drink to beat the heat. Celebrating a small win at work? Go ahead and blend yourself some joy. The truth is, there’s no bad time for a chocolate milkshake. It’s the kind of treat that suits every mood, season, and celebration.
Ingredients Needed for a Perfect Chocolate Milkshake
Core Ingredients
To keep it simple and classic, you’ll need just a handful of everyday items. Here’s your no-fail ingredients list:
- 2 cups vanilla or chocolate ice cream – This forms the creamy base.
- 1 cup whole milk – Whole milk gives the best richness, but you can use any milk you prefer.
- 3 tablespoons chocolate syrup – This adds that chocolatey punch.
- 1/2 teaspoon vanilla extract – Optional, but adds a lovely aroma.
Each ingredient serves a purpose: the ice cream provides creaminess and body, the milk thins it to a drinkable consistency, and the syrup brings the flavor bomb.
Optional Add-ons for Enhanced Flavor
Want to get a little fancy? These optional add-ins will take your milkshake game to the next level:
- A pinch of sea salt – Enhances the chocolate flavor.
- A handful of chocolate chips or chunks – For a delightful crunch.
- 1 tablespoon cocoa powder – For a deeper chocolate flavor.
- Whipped cream – Because what’s a milkshake without it?
- Sprinkles or chocolate shavings – Perfect for garnishing.
- Ice cubes – If you want a frosty texture.
- A scoop of Nutella or peanut butter – Adds richness and depth.
You can also switch things up by using plant-based ice cream and milk for a vegan-friendly version.
Tools and Equipment Required
Kitchen Tools You’ll Need
Before you dive in, make sure your kitchen is stocked with these essentials:
- Blender – The star of the show. You need this to combine everything smoothly.
- Measuring cups and spoons – To get the ratios just right.
- Tall glass or mason jar – For that Instagram-worthy presentation.
- Spoon or spatula – Helpful for scooping thick ice cream or scraping the blender.
Having everything ready saves time and makes the process smooth and fun.
Choosing the Right Blender
Not all blenders are created equal. For a milkshake, you want one that’s powerful enough to handle ice cream without getting stuck. If you’re blending add-ins like chocolate chunks or nuts, a high-speed blender is ideal. Look for one with a pulse setting and easy-to-clean parts. A good-quality blender not only makes your shake smoother but also lasts you for years.
Step-by-Step Chocolate Milkshake Recipe
Step 1 – Gathering All Ingredients
Start by assembling all your ingredients on the kitchen counter. You don’t want to be scrambling for chocolate syrup while your ice cream is melting. Double-check your list to make sure you’ve got everything. This includes your base ingredients and any add-ons you’re feeling adventurous enough to throw in.
Step 2 – Prepping Your Ice Cream and Milk
Scoop the ice cream into a bowl and let it sit for a minute or two. Slightly softened ice cream blends more easily and gives your shake that silky texture. Pour the milk into a measuring cup. Want it thicker? Use less milk. Want it thinner? Add a splash more. It’s all about personal preference here.
Step 3 – Blending to Perfection
Now the fun part. Add your ice cream, milk, chocolate syrup, and vanilla extract into the blender. Blend on medium to high speed for 30 to 45 seconds or until you see that smooth, creamy consistency. If the shake seems too thick, add a little more milk and blend again. If you like it chunky, throw in some chocolate chips at the end and pulse a couple of times.
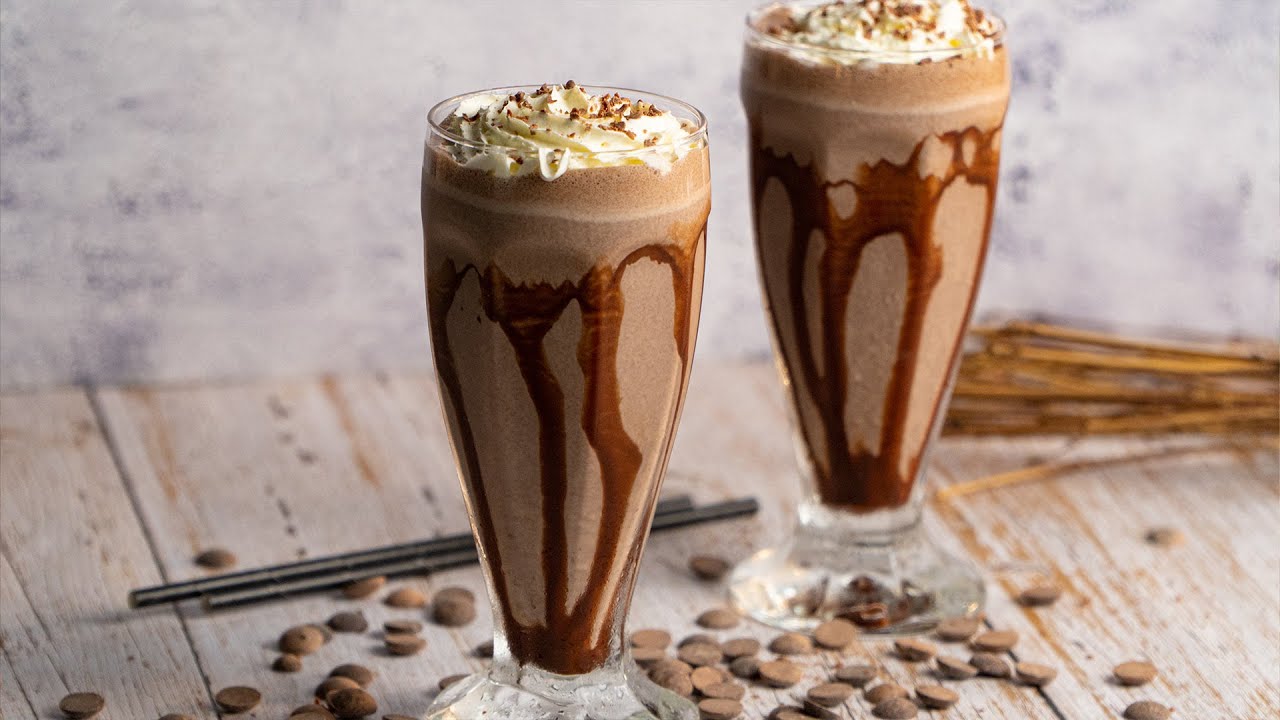
Step 4 – Serving and Garnishing Like a Pro
Pour your milkshake into a chilled glass for an extra touch of luxury. Top it with whipped cream, a drizzle of chocolate syrup, maybe some chocolate shavings or sprinkles. Don’t forget the cherry on top if you’re feeling classic. Serve immediately with a straw and a long spoon—because you’ll want to scoop up every last bit.
Tips for the Best Chocolate Milkshake Ever
Common Mistakes to Avoid
Even though making a chocolate milkshake seems foolproof, there are a few common mistakes that can make or break your drink:
- Using Low-Quality Ice Cream: The ice cream is the soul of your shake. If you skimp on this, you’ll taste the difference. Always go for high-quality brands or homemade ice cream for a richer taste.
- Adding Too Much Milk: While milk helps blend the shake, overdoing it can water down the flavor and make it too runny. Start with a smaller amount and add gradually.
- Over-Blending: Yes, blending too long can actually heat up your shake slightly, which melts the ice cream and ruins that frosty texture. 30-45 seconds is usually perfect.
- Forgetting to Chill the Glass: This might sound extra, but a cold glass keeps your milkshake from melting too fast and gives that authentic soda shop vibe.
- Not Tasting Before Serving: Always give your shake a quick taste before pouring. Maybe it needs more chocolate, maybe more milk—it’s all about balance.
Being aware of these pitfalls means your chocolate milkshake will hit all the right notes every single time.
Expert Tips to Elevate the Flavor
Want to make a milkshake that tastes like it’s straight from a gourmet dessert café? Here’s how to level up:
- Use Flavored Ice Cream: Think chocolate fudge brownie, chocolate chip, or mocha for an extra dimension.
- Infuse Your Milk: Heat your milk with a cinnamon stick or a dash of espresso powder, then cool it before blending.
- Add a Scoop of Malt Powder: It gives your shake that vintage diner feel and a unique nutty flavor.
- Garnish Creatively: Beyond whipped cream, try marshmallows, cookie crumbs, mini chocolate bars, or even a drizzle of caramel or peanut butter.
- Use Cold Brew Coffee: Swap some of the milk for cold brew for a mocha twist that adults will especially love.
- Experiment with Extracts: A drop of peppermint, almond, or orange extract can transform your basic chocolate milkshake into something spectacular.
These tips turn your basic shake into a flavor-packed indulgence. You’ll never go back to the plain version again!
FAQs about Chocolate Milkshake Recipe
Q1: Can I make a chocolate milkshake without ice cream?
Yes, you can! Use chilled milk, ice cubes, and cocoa powder or chocolate syrup. Blend until frothy for a creamy, low-calorie version.
Q2: What is the best type of milk for a chocolate milkshake?
Whole milk gives the richest texture, but you can also use almond, soy, or oat milk for a dairy-free option.
Q3: How do I make a thick chocolate milkshake?
Use less milk and more ice cream. Adding a frozen banana or a spoon of peanut butter also adds thickness and flavor.
Q4: Can I add toppings to my chocolate milkshake?
Absolutely! Whipped cream, chocolate chips, sprinkles, or crushed cookies make delicious toppings.
Q5: How long can I store a chocolate milkshake?
It’s best enjoyed fresh, but you can refrigerate it for up to 24 hours. Stir well before drinking as separation may occur.
Q6: Can I make a vegan chocolate milkshake?
Yes! Use plant-based milk and dairy-free chocolate ice cream or frozen banana with cocoa powder for a vegan-friendly treat.
Q7: Is chocolate milkshake good for kids?
In moderation, yes. It’s a fun treat packed with calcium, especially when made with fresh milk and less sugar.
Q8: Can I use chocolate bars instead of syrup?
Yes. Melt the chocolate bar before blending for a richer, more decadent flavor.
Conclusion
There’s something truly magical about a chocolate milkshake—it’s nostalgic, indulgent, and incredibly simple to make. With just a few ingredients and a blender, you can create a dessert that’s better than anything you’d find at a fast-food chain. Whether you’re whipping one up for a cozy night in or impressing your guests with a gourmet twist, this guide has you covered.
Remember, the secret lies in using quality ingredients, paying attention to texture, and not being afraid to get creative. Milkshakes are meant to be fun, so mix things up, try new flavors, and enjoy the process. Once you’ve mastered this classic recipe, the possibilities are endless—from boozy milkshakes for adults to over-the-top creations that would rival a dessert bar.


