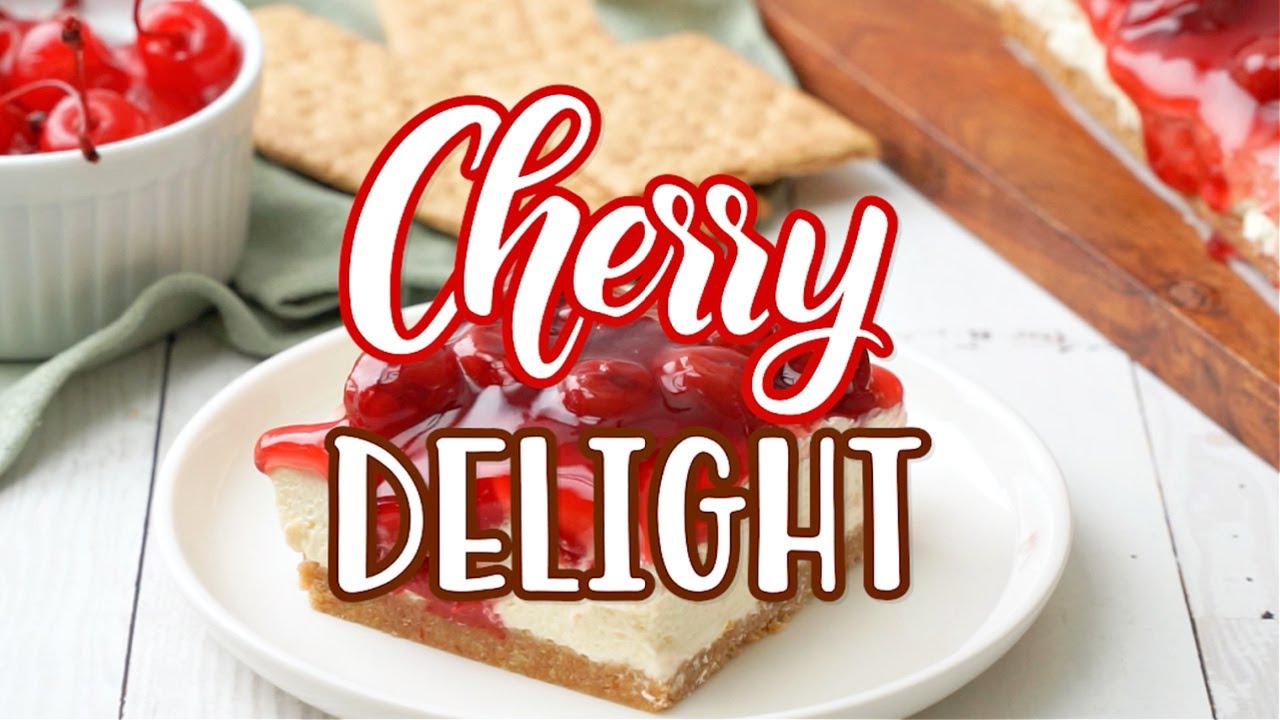
Cherry Delight Recipe: Cherry Delight is the kind of dessert that instantly brings comfort, nostalgia, and sweetness to any table. Imagine layers of buttery graham cracker crust, silky cream cheese filling, and a vibrant cherry pie topping—it’s a simple yet elegant treat that requires minimal baking and effort. It’s especially popular for potlucks, holidays, and family gatherings where people crave something that’s creamy, fruity, and refreshing.
Often considered a “no-bake cheesecake,” Cherry Delight offers that rich cheesecake texture without the hassle of baking in a water bath or worrying about cracks. It’s light, luscious, and just the right amount of sweet. The graham cracker crust adds the perfect crunch, the cream cheese middle is indulgently smooth, and the cherry topping brings a tart brightness that ties everything together.
You’ll often find Cherry Delight in recipe books passed down from grandmas or scribbled on note cards tucked into family cookbooks. And with good reason—it’s a crowd-pleaser that always hits the mark.
Why You’ll Love This Dessert
There are dozens of reasons why Cherry Delight should make its way into your dessert rotation, but let’s hit the high notes:
- Easy to Make: No fancy techniques or complicated steps. Just mix, layer, and chill.
- No Baking Required (Mostly): Some versions need a brief bake for the crust, but many are completely no-bake.
- Make-Ahead Friendly: It actually tastes better after sitting in the fridge for a few hours.
- Customizable: Switch out the cherry topping for blueberries, strawberries, or even chocolate drizzle.
- Perfect for Any Occasion: Whether it’s a summer BBQ, Christmas dinner, or just a Tuesday night—this dessert works.
Once you try this recipe, it’ll become one of your go-to favorites. Whether you’re serving it to guests or just treating yourself, Cherry Delight delivers maximum flavor with minimal fuss.
Ingredients Needed
One of the best parts about this recipe is how few ingredients it actually requires. You probably already have most of them in your kitchen.
Base Crust Ingredients
To make that irresistible graham cracker crust, you’ll need:
- 2 cups graham cracker crumbs (about 14 full crackers)
- 1/2 cup unsalted butter, melted
- 1/4 cup granulated sugar
You can buy pre-crushed graham crackers, but crushing your own gives you a bit more texture and control over the consistency. The sugar enhances the sweetness, and the butter binds it all together for a firm, buttery crust that holds up under the creamy filling.
Cream Cheese Layer Ingredients
Here’s where the magic happens. This creamy layer is the heart of Cherry Delight:
- 2 packages (8 oz each) cream cheese, softened
- 1 cup powdered sugar
- 1 teaspoon vanilla extract
- 1 tub (8 oz) whipped topping (like Cool Whip)
The cream cheese adds tang and richness, while the powdered sugar sweetens things up without the grittiness of granulated sugar. Vanilla extract adds warmth, and the whipped topping makes the filling lighter and airier.
Cherry Topping Ingredients
You’ll need just one thing here:
- 1 can (21 oz) cherry pie filling
That’s it! Canned cherry pie filling is perfectly sweet and gooey, with that gorgeous ruby-red color that makes the dessert pop. Of course, you can always make your own topping from scratch if you’re feeling ambitious, but the canned version works wonderfully.
Kitchen Tools You’ll Need
Before diving into the recipe, make sure your kitchen is prepped. Here’s what you’ll need:
- Mixing bowls (at least two)
- Electric hand mixer or stand mixer
- Rubber spatula
- 9×13-inch baking dish
- Measuring cups and spoons
- Food processor or ziplock bag + rolling pin (to crush graham crackers)
- Offset spatula (optional but helpful for smooth layers)
Having these tools ready will make the process smoother and more enjoyable. Trust me, you don’t want to be elbow-deep in cream cheese and realize you forgot to pull out the hand mixer!
How to Make Cherry Delight – Step-by-Step Preparation Guide
Step 1: Preparing the Graham Cracker Crust
Let’s start at the bottom—the buttery graham cracker crust that supports the whole dessert.
- Crush the graham crackers: Place them in a food processor or crush them in a ziplock bag using a rolling pin until fine.
- Mix with sugar and butter: Combine crumbs with melted butter and sugar in a bowl. Stir until the mixture is evenly moistened.
- Press into dish: Pour the mixture into a 9×13-inch baking dish. Press down firmly using the bottom of a measuring cup or your hands.
- Chill or bake: If you’re going the no-bake route, place the crust in the fridge for 10-15 minutes to set. For a firmer crust, bake it at 350°F (175°C) for 8-10 minutes and let it cool completely.
You want the crust to be firm but not rock-hard—just solid enough to hold the creamy filling. Once it’s set, you’re ready to move on to the best part: the luscious cream cheese layer.
Step 2: Mixing the Cream Cheese Filling
Now it’s time to whip up the star of the show: that dreamy, creamy layer of goodness that melts in your mouth. This step is super simple but requires a bit of mixing power.
- Soften the cream cheese: If you haven’t already, let your cream cheese sit out for about 30 minutes. Softened cream cheese blends much smoother and prevents lumps.
- Beat the cream cheese and sugar: Using a hand mixer or stand mixer, beat the softened cream cheese and powdered sugar together until the mixture is fluffy and smooth. This usually takes about 2–3 minutes.
- Add vanilla extract: Blend in the vanilla extract to enhance the flavor.
- Fold in whipped topping: Gently fold the whipped topping into the cream cheese mixture. Be careful not to overmix—you want to keep the airiness that the whipped topping brings.
This creamy mixture should be light, slightly tangy, and sweet. The whipped topping balances the density of the cream cheese, giving it a mousse-like texture that spreads easily and sets beautifully.
Step 3: Assembling the Layers
With your crust ready and filling whipped to perfection, it’s time to build your Cherry Delight.
- Spread the cream cheese mixture: Pour the cream cheese filling over the cooled graham cracker crust. Use an offset spatula or the back of a spoon to spread it evenly across the dish.
- Smooth the top: Try to get the top as smooth as possible so that your cherry topping has a nice flat surface to rest on.
- Chill briefly: You can place the dish in the fridge for about 15-20 minutes to help the filling firm up a bit before adding the topping.
This step is like creating a fluffy mattress for your cherry topping. It’s essential to make sure everything is even and smooth—this helps with the final presentation and makes slicing easier too.
Step 4: Adding the Cherry Topping
Here’s where the magic happens. That bold, ruby-red cherry layer isn’t just a treat for the taste buds—it’s eye candy too.
- Open the can of cherry pie filling: Give it a gentle stir with a spoon to redistribute the fruit and glaze.
- Spoon it on: Drop dollops of the cherry topping all over the surface of the cream cheese layer. This prevents having to spread it too much and disturbing the layer underneath.
- Gently spread: Use a spoon or spatula to carefully spread the topping until it evenly covers the cream layer.
Don’t worry if the cherries aren’t spaced out perfectly—that rustic, glossy cherry look is part of the charm. You now have a fully assembled Cherry Delight ready to be chilled!
Step 5: Chilling and Serving
Cherry Delight isn’t a dessert you serve right away. It needs time to firm up, meld together, and get deliciously cold.
- Chill in the refrigerator: Cover the dish with plastic wrap or foil and place it in the fridge for at least 4 hours. Overnight is even better.
- Serve cold: Once set, slice into squares using a clean knife (wiping between cuts helps keep the layers neat).
- Optional garnish: Add a dollop of whipped cream or a fresh mint leaf to each serving for a fancy touch.
The result? A dessert that’s cool, creamy, tangy, sweet, and just all-around heavenly. It holds together beautifully when sliced, and each bite offers that perfect trio of crunch, cream, and cherry.
Tips and Tricks for the Perfect Cherry Delight
Creating a flawless Cherry Delight doesn’t require culinary school credentials, but a few pro tips never hurt, right?
- Use full-fat cream cheese for the richest flavor and best texture. Low-fat can be watery and won’t set as firmly.
- Don’t skip the chill time. Seriously, it makes all the difference in how well your dessert sets and slices.
- Layer evenly. Uneven layers can make serving a mess and might leave someone with a cherry-less piece (no one wants that).
- Get creative. Swap out the graham cracker crust for crushed Oreos, vanilla wafers, or even gingersnaps.
- Make it ahead. Cherry Delight is a dream for entertaining—make it the night before your party and just pull it out when it’s dessert time.
Following these little tips can take your Cherry Delight from just good to absolutely unforgettable.
Variations of Cherry Delight
While the classic Cherry Delight recipe is already a crowd-pleaser, sometimes you just want to switch things up and try something a little different. That’s where variations come in. With a few swaps and creative spins, you can reinvent this beloved dessert in exciting new ways.
Chocolate Cherry Delight
Want to add a little decadence to your dessert? Chocolate and cherry are a match made in dessert heaven.
- Chocolate crust: Instead of graham crackers, crush up chocolate sandwich cookies (like Oreos) and mix with melted butter.
- Add cocoa to the filling: Mix a tablespoon of unsweetened cocoa powder into your cream cheese layer for a subtle chocolate flavor.
- Chocolate chips: Sprinkle mini chocolate chips between layers or on top for added texture and flavor.
This version tastes like a chocolate-covered cherry in dessert form—perfect for Valentine’s Day, anniversaries, or whenever that chocolate craving hits hard.
No-Bake Cherry Delight
If you’re avoiding the oven entirely, the no-bake version is your best friend. It follows the same process with just a few tweaks:
- Skip baking the crust—just press it firmly into the pan and chill it longer (about 30 minutes) to help it set.
- Use stabilized whipped cream instead of homemade whipped cream to ensure it holds up.
This variation is ideal for summer months when you don’t want to turn on the oven, or for busy nights when you need something easy and impressive.
Storing and Making Ahead
One of the reasons Cherry Delight is such a winner is its make-ahead potential. In fact, it needs time to set, making it the perfect dessert for prepping ahead of your big event or gathering.
- Storage: Keep Cherry Delight tightly covered in the fridge. It stays fresh for up to 5 days.
- Make-ahead: You can make it up to 24 hours in advance. Just wait to add any optional garnishes until right before serving.
- Freezing: Want to keep it even longer? Freeze it! Wrap the dish tightly in plastic wrap and foil. It can be frozen for up to 2 months. Thaw in the fridge overnight before serving.
Just note: the texture may be slightly different after freezing, especially with whipped topping. But flavor-wise, it’s still a hit.
Common Mistakes to Avoid
Even though Cherry Delight is pretty foolproof, there are a few common hiccups that can trip you up. Let’s dodge those dessert disasters:
- Using warm cream cheese: It should be soft, not hot. Overly warm cream cheese can cause a runny filling.
- Overmixing the whipped topping: Be gentle when folding it in. Overmixing deflates the air, and you’ll lose that fluffy texture.
- Not chilling long enough: This dessert needs at least 4 hours in the fridge. Cutting too soon can result in a sloppy mess.
- Uneven layers: Take your time spreading each layer smoothly and evenly.
- Soggy crust: Make sure your crust is packed tightly and (if baking) completely cooled before adding the filling.
Avoid these pitfalls, and you’ll be enjoying slice after perfect slice without stress.
Nutritional Information
Here’s a quick look at the typical nutrition breakdown for a serving (based on 12 servings per batch):
| Nutrient | Amount per Serving |
|---|---|
| Calories | 320–350 kcal |
| Total Fat | 20g |
| Saturated Fat | 10g |
| Carbohydrates | 32g |
| Sugars | 22g |
| Protein | 4g |
| Fiber | 1g |
| Sodium | 180mg |
These numbers will vary based on the exact brands and quantities you use. To lighten it up, try reduced-fat cream cheese, light whipped topping, or a thinner layer of crust.
FAQs about Cherry Delight Recipe
Q1: Can I make Cherry Delight ahead of time?
Yes! Cherry Delight is a perfect make-ahead dessert. Prepare it a day in advance and let it chill in the fridge for at least 4 hours—or overnight—for the best flavor and texture.
Q2: Can I use fresh cherries instead of cherry pie filling?
Absolutely! If you prefer a homemade touch, cook fresh cherries with a bit of sugar and cornstarch until thickened. Let it cool before spreading over the dessert.
Q3: What can I use instead of graham crackers for the crust?
You can swap graham crackers with crushed vanilla wafers, digestive biscuits, or even Oreos for a richer taste.
Q4: Is Cherry Delight freezer-friendly?
Yes, you can freeze Cherry Delight. Cover it tightly and freeze for up to 1 month. Thaw in the fridge before serving. Note: the texture may change slightly.
Q5: Can I make this recipe without cream cheese?
Cream cheese gives the dessert its classic creamy texture. However, you can try substituting it with mascarpone or a stabilized whipped topping if needed.
Q6: How long does Cherry Delight last in the fridge?
Stored properly in an airtight container, it stays fresh in the refrigerator for up to 4–5 days.
Q7: Can I make it sugar-free?
Yes! Use sugar-free graham crackers, a sugar substitute like erythritol in the filling, and a sugar-free cherry pie topping for a diabetic-friendly version.
Conclusion
Cherry Delight is the kind of dessert that just feels like home. It’s easy, creamy, fruity, and perfect for practically any occasion—from holiday dinners to summer picnics to weeknight treats. With its rich layers and crowd-pleasing taste, this recipe is a guaranteed hit. Best of all, it’s super customizable. You can make it classic, chocolaty, fruity, or even gluten-free. Once you’ve made it once, you’ll find yourself coming back to this dessert again and again. So go ahead, grab your ingredients and make some sweet memories—one delicious slice at a time.


