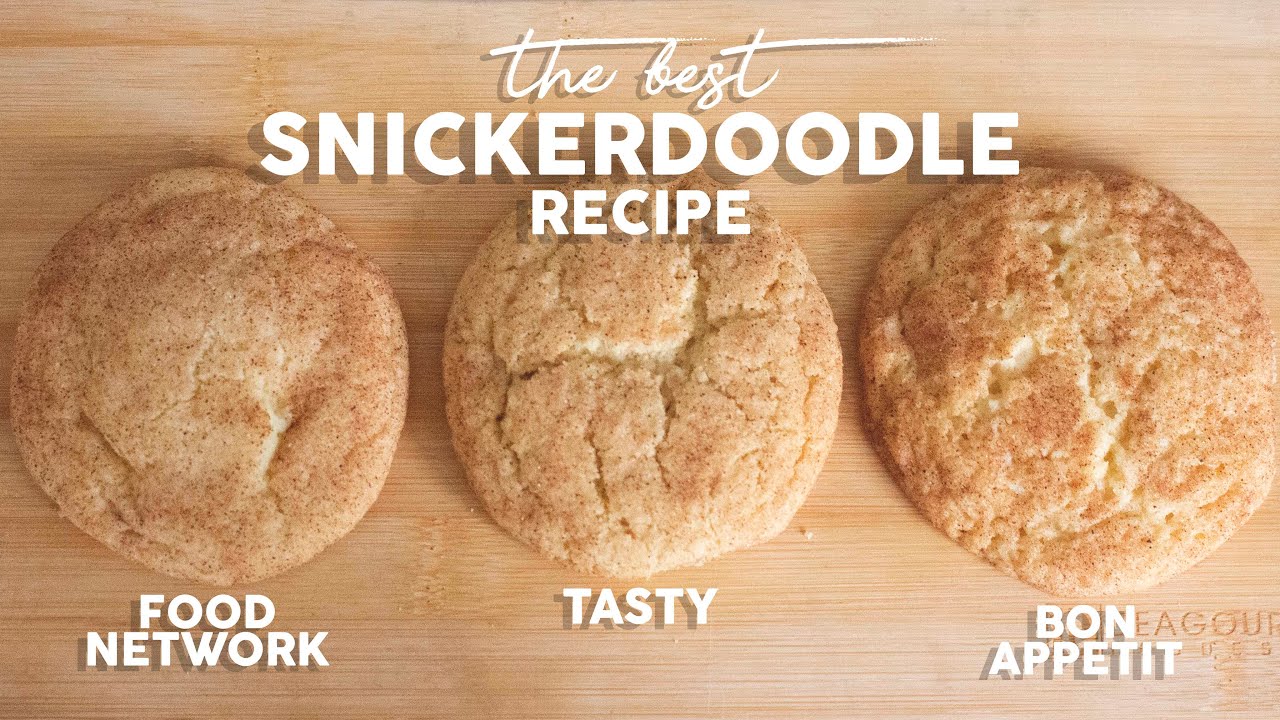
Best Snickerdoodle Recipe: Ah, the classic snickerdoodle—soft, chewy, and rolled in a sweet cinnamon-sugar coating. If cookies had comfort food cousins, snickerdoodles would be it. These aren’t your average sugar cookies. Snickerdoodles have a slightly tangy flavor thanks to one magic ingredient (we’ll get into that soon), and their crackly tops make them irresistibly beautiful. Whether you’re baking for the holidays, a casual get-together, or just to satisfy a cookie craving, this recipe will quickly become your go-to.
A snickerdoodle has a unique identity—cinnamon-kissed and cozy. The crisp edges and gooey centers blend the best textures into one simple treat. Best of all? They’re super easy to make, even for beginners.
History and Popularity
Snickerdoodles date back to the late 1800s and are believed to have German or Dutch roots. Their name might sound funny, but there’s a bit of charm in its silliness. Some say it’s a corruption of the German word “Schneckennudeln,” which translates to “snail noodles” (a type of pastry), while others think it’s just one of those whimsical names that stuck.
Fast-forward to today, and snickerdoodles are a staple in American kitchens. They appear on holiday platters, bake sales, and Pinterest boards alike. What makes them so loved? Simplicity and flavor. You don’t need fancy ingredients or complicated techniques. Just a bit of butter, sugar, and spice.
Ingredients Needed for Snickerdoodles
Basic Ingredients List
Let’s start with the basics. Here’s what you’ll need to whip up a batch of mouthwatering snickerdoodles:
- 1 cup (2 sticks) unsalted butter, softened
- 1 ½ cups granulated sugar
- 2 large eggs
- 2 ¾ cups all-purpose flour
- 2 teaspoons cream of tartar
- 1 teaspoon baking soda
- ¼ teaspoon salt
- 2 tablespoons ground cinnamon (for rolling)
- ¼ cup granulated sugar (for rolling)
These ingredients are probably already in your pantry. That’s the beauty of this recipe—no need to hunt down exotic flavors or fancy extracts.
Why Cream of Tartar Is Essential
This ingredient deserves its own spotlight. Cream of tartar isn’t just a random baking soda partner—it’s the backbone of what makes a snickerdoodle truly a snickerdoodle. Without it, you’d just have a regular sugar cookie.
So what does it do?
- Gives that tangy flavor – It balances the sweetness with a subtle acidity.
- Helps the texture – It reacts with baking soda to give the cookies that signature chewy center and crisp edge.
- Prevents sugar crystallization – That’s what helps keep the cookies soft for days.
Don’t skip this. If you leave out cream of tartar, you’re not making snickerdoodles anymore. Period.
Tools You’ll Need
Must-Have Kitchen Tools for Baking
Here’s a quick checklist of tools that’ll make your cookie adventure smooth and mess-free:
- Mixing bowls – One large, one medium
- Electric mixer or stand mixer – For creaming butter and sugar
- Measuring cups and spoons – Accuracy matters here
- Spatula – Silicone ones work best
- Baking sheet – Preferably light-colored
- Parchment paper or silicone baking mat – For easy release and even baking
- Cooling rack – So your cookies don’t get soggy bottoms
You don’t need top-of-the-line equipment, just a few reliable basics.
Tips for Preparing Your Workspace
Before you start mixing, set yourself up for success. Prepping your space keeps the process fun and stress-free:
- Clear your counter – Make room to roll dough balls and set out ingredients.
- Pre-measure everything – Mise en place saves you from scrambling mid-recipe.
- Keep a damp towel handy – Sticky fingers and floury surfaces are part of the deal.
Once you’ve got your tools and ingredients in place, it’s go time.
Step-by-Step Snickerdoodle Recipe
Step 1: Gather Ingredients and Preheat the Oven
Start strong. Preheat your oven to 375°F (190°C). Line your baking sheets with parchment paper or a silicone mat. Pull out your butter and eggs to bring them to room temperature—they’ll mix better this way.
Take a moment to measure everything and keep it within arm’s reach. A smooth start sets the tone for the whole bake.
Step 2: Mix Dry Ingredients
In a medium bowl, whisk together:
- Flour
- Cream of tartar
- Baking soda
- Salt
This step ensures everything is evenly distributed. You don’t want a clump of baking soda ruining your cookie vibe.
Step 3: Cream Butter and Sugars
In a large bowl, use your electric mixer to beat the butter and sugar until light and fluffy—about 2-3 minutes. Add in the eggs one at a time, beating well after each.
This step creates air in the dough, which leads to soft, thick cookies. Don’t skimp on mixing time!
Step 4: Combine Wet and Dry Mixtures
Now it’s time to bring everything together.
Gradually add your dry ingredients into the creamed butter and sugar mixture. Do this in batches, mixing after each addition until a dough forms. You can use a spatula for this if you prefer a gentler mix, especially towards the end when the dough starts to thicken.
Don’t overmix here—just stir until the flour is fully incorporated. The dough should be soft but not sticky. If it’s too wet, chill it for 10–15 minutes in the fridge before rolling. You want a dough that holds shape but isn’t too stiff.
This is where the cookie magic starts to come alive. You’ll notice that delightful cinnamon aroma already teasing your senses.
Step 5: Roll Dough in Cinnamon Sugar
Time to give your cookies their signature coating.
In a small bowl, mix the ¼ cup sugar with 2 tablespoons of cinnamon. This is your cookie’s outerwear—warm, sweet, and a little spicy.
Scoop out dough using a tablespoon or a cookie scoop for even sizes. Roll the dough between your palms to form a ball, then toss each ball into the cinnamon-sugar mixture until completely coated. Don’t be shy—make sure every bit of surface is covered.
Place the coated dough balls on your prepared baking sheet, spacing them about 2 inches apart to allow for spreading.
Pro tip: Want extra texture? Double dip the dough balls in the cinnamon-sugar mix for an extra crackly crust.
Step 6: Bake and Cool
Now, pop those beauties into your preheated oven and bake for 8–10 minutes. You’ll know they’re ready when the edges are set but the centers look slightly underbaked. That’s the secret to getting that chewy goodness.
As soon as they come out, let them rest on the baking sheet for 5 minutes before transferring to a wire rack. They’ll continue to cook slightly from residual heat and firm up to the perfect consistency.
Try to resist eating them right away (we know, it’s hard). But trust us, letting them cool a bit enhances the flavor and texture.
Expert Tips for Perfect Snickerdoodles
Avoiding Common Mistakes
Even simple cookies can go wrong if you’re not careful. Here are a few things to watch out for:
- Overbaking: This is the #1 mistake. If they look perfectly baked in the oven, they’re probably overdone. Take them out when the centers still look soft.
- Skipping cream of tartar: We said it before, and we’ll say it again—don’t do it. Without this ingredient, it’s just not a snickerdoodle.
- Not measuring flour correctly: Scoop and level. If you pack the flour, your cookies could turn dry and cakey.
- Too much sugar on the outside: Yes, it’s tempting to go heavy on the cinnamon sugar, but too much can make the cookies overly crunchy.
How to Keep Snickerdoodles Soft and Chewy
Want bakery-quality softness? Here’s how:
- Store with a slice of bread: Place a slice of white bread in the container with the cookies. It keeps moisture inside without affecting the flavor.
- Don’t overbake: Yes, we’re saying it again because it’s that important.
- Use real butter: Margarine won’t cut it. Butter gives snickerdoodles their rich flavor and tender crumb.
Storing and Freezing Snickerdoodles
Best Storage Techniques
Once your cookies are cooled, you can store them in an airtight container at room temperature for up to 5 days. To keep them extra soft, follow that bread trick we just mentioned. Just remember to change the bread slice every couple of days.
Layering them with parchment paper prevents them from sticking together, especially if they’re a bit warm when stored.
Freezing for Long-Term Use
Good news—snickerdoodles freeze like a dream.
To freeze the dough:
- Scoop and roll dough into balls.
- Coat with cinnamon sugar.
- Freeze on a baking sheet until solid, then transfer to a zip-top bag.
To bake from frozen: Just add an extra 1–2 minutes to the baking time. No need to thaw.
To freeze baked cookies:
- Let them cool completely.
- Layer with parchment paper in a container or zip-top bag.
- Thaw at room temperature when ready to enjoy.
These are perfect for making ahead and pulling out when you want a quick treat or have unexpected guests.
FAQs about Best Snickerdoodle Recipe
Q1: What makes a snickerdoodle different from a sugar cookie?
Snickerdoodles stand out because of one magical ingredient — cream of tartar. It gives them that signature tang and chewy texture that sugar cookies just can’t match.
Q2: Can I make snickerdoodles without cream of tartar?
Yes, but it won’t be a classic snickerdoodle. You can sub in baking powder, but you’ll lose the tangy kick and chewy vibe that makes snickerdoodles iconic.
Q3: Why are my snickerdoodles flat?
Flat cookies often mean your butter was too soft or melted, or your dough wasn’t chilled. Cold dough = thick, puffy cookies with that soft center you crave.
Q4: How long do snickerdoodles last?
Stored in an airtight container, they stay soft and tasty for up to 5 days at room temperature. You can also freeze them for up to 3 months.
Q5: Can I freeze snickerdoodle dough?
Absolutely. Roll the dough into balls (skip the cinnamon-sugar coating), freeze them, and coat just before baking. Instant cookie magic whenever you need it!
Q6: Do I need to chill the dough before baking?
Chilling isn’t mandatory, but it helps control spread and enhances flavor. Even 30 minutes in the fridge can level up your batch.
Q7: What’s the best sugar-to-cinnamon ratio for coating?
A classic mix is ¼ cup granulated sugar to 1 tablespoon ground cinnamon. Feel free to adjust for your own cinnamon-spice-loving heart.
Q8: Can I make snickerdoodles gluten-free?
Yep! Just use a 1:1 gluten-free baking flour blend. They’ll still be soft, chewy, and loaded with cinnamon-sugar love.
Conclusion
There you have it—the best snickerdoodle recipe, broken down step by step for bakers of all levels. These cookies are more than just a sweet treat; they’re a warm hug in every bite. From the soft, chewy center to the cinnamon-sugar sparkle on top, snickerdoodles are timeless and always a crowd-pleaser.
Whether you’re baking for a holiday, a birthday, or just because you deserve something sweet (you do!), this recipe will deliver every time. With a few pantry staples and some love, you’ll be serving up nostalgic, bakery-style cookies that no one can resist.
So go ahead—preheat that oven, roll up your sleeves, and get baking. Your perfect batch of snickerdoodles awaits.


